92
JUPITER L-S and LCD Series Control Panel Instruction Manual
Section 5 — Connecting the L-S, LCD Panel
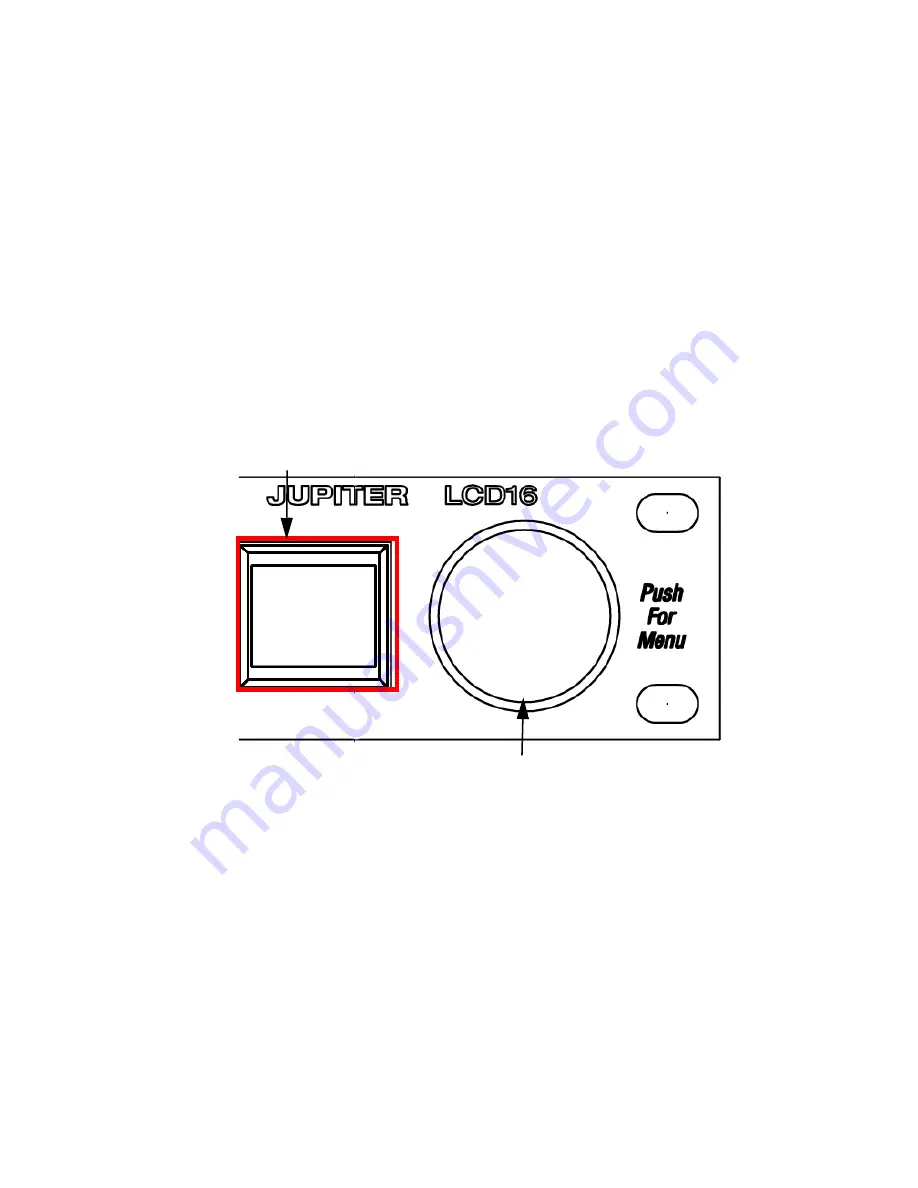
Follow these steps to change the Connection Type setting using the LCD16
panel’s menu:
1.
Press the Scroll wheel to access the Panels’ Main menu.
2.
Press the
Panel Setup?
button. This button is the fifth button to the left of
the Scroll wheel. The Setup Menu will then appear.
3.
Press the
Connection Type?
button. This button is the #5 button. See
for the button order. The Connection menu will then appear
(
Note
The example in
is for reference only, it is not meant to be an exact
replica of the displayed contents.
Figure 63. LCD16 Connection Menu
4.
Use the Scroll wheel to change the Connection type in the N: field to
Serial.
The
Connection
button will then turn green.
5.
Press the
Connection
button to apply the change. You will then be given
an option to change the Device ID.
6.
Use the Scroll wheel to scroll to the preferred Device ID setting.
7.
Press the
Connection
button to apply the change.
The
Connections
button will then turn red and the following text will
then appear, “Settings Updated -Standby-.”The Panel will then reboot
and apply the changed settings.
Connection
C: Lan
N: Lan
Display Windows
Scroll Wheel
Summary of Contents for JUPITER CONTROL PANEL L32 -
Page 12: ...12 JUPITER L S and LCD Series Control Panel Instruction Manual Contents ...
Page 14: ...14 JUPITER L S and LCD Series Control Panel Instruction Manual Preface ...
Page 30: ...30 JUPITER L S and LCD Series Control Panel Instruction Manual Regulatory Notices ...
Page 156: ...156 JUPITER L S and LCD Series Control Panel Instruction Manual Section 7 LCD Introduction ...
Page 164: ...164 JUPITER L S and LCD Series Control Panel Instruction Manual Section 10 LCD Configuration ...
Page 206: ...206 JUPITER L S and LCD Series Control Panel Instruction Manual Glossary ...
Page 216: ...216 JUPITER L S and LCD Series Control Panel Instruction Manual Index ...


