


79
GV Matrix
User Manual
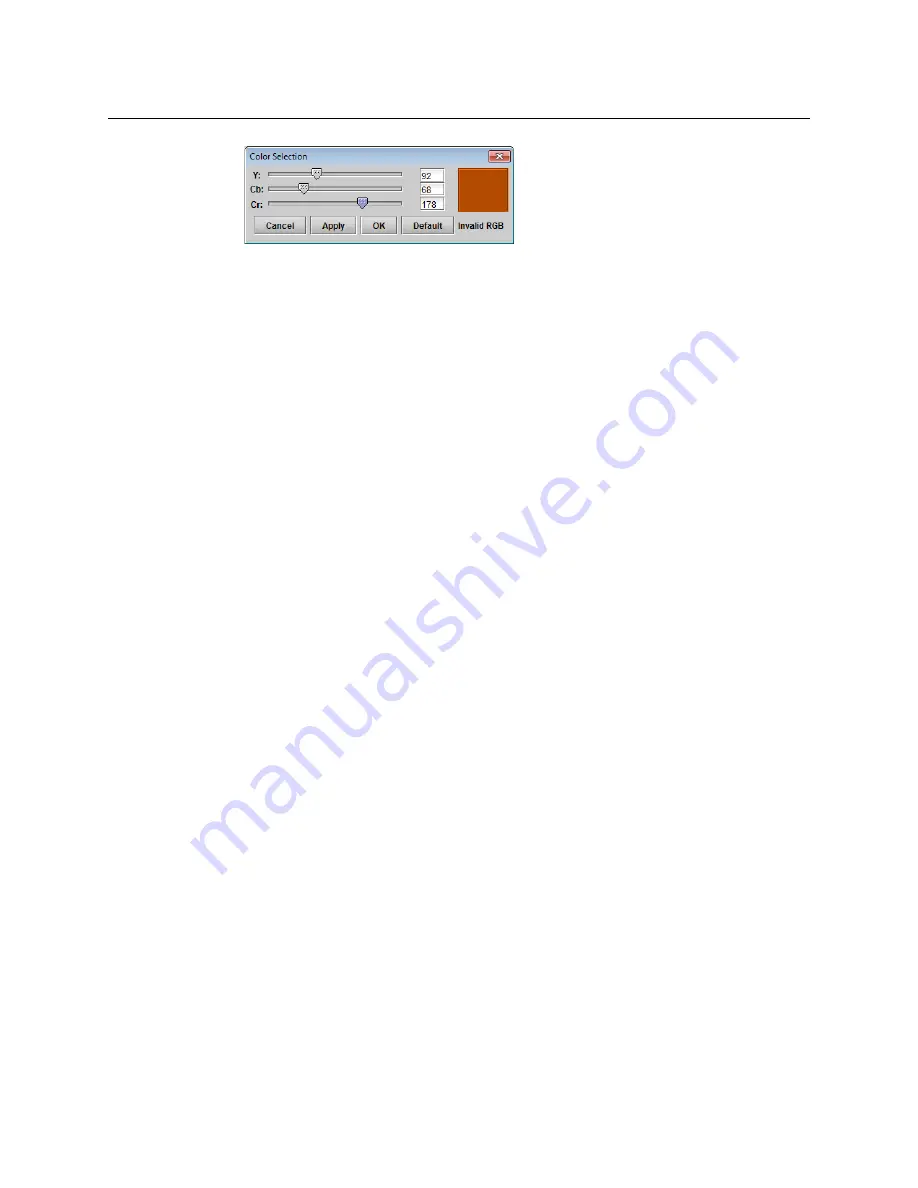
2 Click
Default
to select and apply the default color (Black: Y=16; Cb=Cr=128).
3 Move the sliders, or type into the data boxes, to adjust the color.
Invalid colors will be flagged as
Invalid RGB
beneath the color patch in this window,
and inside the color patch in the Test panel window.
4 Click
Apply
to confirm your changes, or
Cancel
to close the window and leave the color
unchanged.
5 Click
OK
to close the window after applying your changes.
To enable the video pattern on inputs and outputs
1 Click on a checkbox in the
Video Pattern Enable
grid to apply the video test pattern to
that input or output.
2 Click on the appropriate checkbox in the
ALL
column to apply the pattern to all inputs
or all outputs.
To configure the audio pattern for the test signal
1 Choose an amplitude by moving the slider or typing in the data box.
Range: -96 sBFS to 0 sBFS
2 Choose a frequency by moving the slider or typing in the data box.
Range: 20 Hz to 20000 Hz
To enable the audio pattern on inputs and outputs
1 Click on a checkbox in the
Audio Pattern Enable
grid to apply the audio test pattern to
that input or output.
2 Click on the appropriate checkbox in the
ALL
column to apply the pattern to all inputs
or all outputs.
Options
There is one option available for the XIO-4901.
XIO-4901-OPT-MDX
is a software option that enables audio embedding / de-embedding
on all SDI inputs and outputs on the XIO-4901 module.
To enable this option
1 Purchase the option from Grass Valley.
You will be provided with an activation key
2 Click
Options
.
Summary of Contents for GV MATRIX
Page 12: ...xii Notices ...
Page 16: ...xvi Notices ...
Page 34: ...18 Getting Started Ethernet Link Redundancy Channel Bonding ...
Page 104: ...88 Configuring Your GV Matrix Asynchronous Video ...


