


Note:
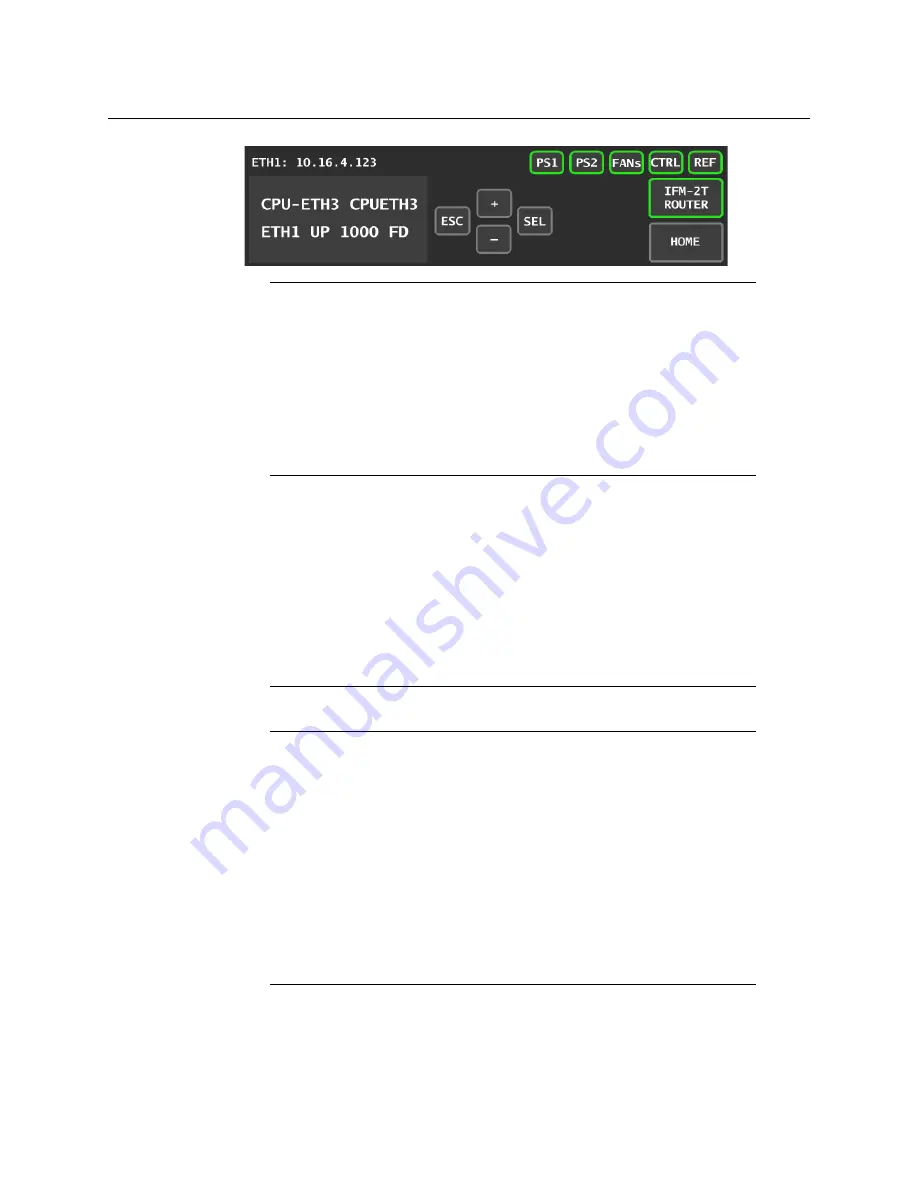
You can navigate the menu by using the four virtual buttons on the
touch display:
• Touch the [+] and [-] buttons to navigate between menu options or
between parameter values.
• Touch SEL to access the next menu level. When a parametyer value is
shown on the display, modify the value by using the [+] and [-] buttons,
and then touch SEL to apply the value.
• Touch ESC to go back to the previous menu level.
• Once you have completed your changes, touch CTRL again to exit the
menu.
11
GV Matrix
User Manual
2 Touch [-] repeatedly until ETH1 OPTIONS appears on the display, and then touch SEL.
IP ADDRESS appears on the display.
3 Touch SEL.
The current IP address value appears on the display.
4 Change the current values using the virtual buttons:
• Touch [+] and [-] to change the value at the current input position.
• Touch SEL to move one postion to the right, and to accept the current value.
• Touch ESC to move one position to the left and leave the current value unchanged.
Note:
Touching ESC when the input focus is in the first position returns you
to the previous menu level.
5 Once you have accepted all values in the desired address, touch ESC repeatedly to
move to the first position, and then touch ESC again to move back to the previous level.
IP ADDRESS appears on the display.
6 Touch [-] until NETWORK MASK appears on the display, and then touch SEL.
The current network mask value appears on the display.
to change the network mask values.
8 Touch [-] until GATEWAY appears on the display, and then touch SEL.
The current gateway value appears on the display.
to change the gateway values.
10 Touch CTRL on the display to exit the Controller menu.
Notes
• If you do not touch any buttons on the local control panel, the controller
will revert to its normal standby mode after 30 seconds.
Summary of Contents for GV MATRIX
Page 12: ...xii Notices ...
Page 16: ...xvi Notices ...
Page 34: ...18 Getting Started Ethernet Link Redundancy Channel Bonding ...
Page 104: ...88 Configuring Your GV Matrix Asynchronous Video ...


