744
EDIUS — User Reference Guide
Appendix A — Hardware Settings
5.
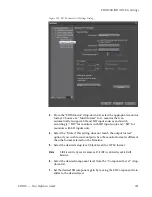
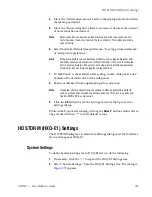
Set the SD Component Gain by moving the slider to select the desired
value.
6.
From the Audio Monitor drop-down list, select the desired channel(s)
for audio monitoring.
7.
If audio is output via HDMI, select the desired audio channel output.
8.
Enter the vertical blanking interval line(s) on which VITC (vertical
interval timecode) is output.
9.
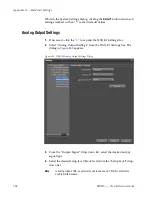
Click the
OK
button to save the settings and close the General I/O
Settings dialog.
While in the General I/O Settings dialog, clicking the
Default*
button
returns all settings marked with an “*” to their default values.
Input Settings
1.
If necessary, click the “+” to expand the HTX-E1 Settings tree.
2.
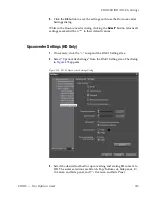
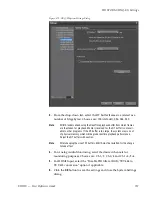
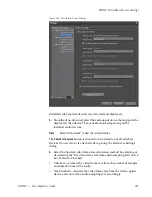
Select “Input Settings” from the HTX-E1 Settings tree. The dialog in
Figure 884
appears.
Summary of Contents for EDIUS
Page 22: ...22 EDIUS User Reference Guide Preface ...
Page 124: ...124 EDIUS User Reference Guide Section 1 Getting Started Figure 111 Sequence Marker Palette ...
Page 173: ...EDIUS User Reference Guide 173 Customize Settings Figure 153 Keyboard Shortcut Settings ...
Page 248: ...248 EDIUS User Reference Guide Section 3 Capturing and Importing Clips and Stills ...
Page 302: ...302 EDIUS User Reference Guide Section 4 Clip Operations and Management ...
Page 480: ...480 EDIUS User Reference Guide Section 5 Timeline Operations ...
Page 708: ...708 EDIUS User Reference Guide Section 8 Exporting Project Output ...
Page 752: ...752 EDIUS User Reference Guide Appendix A Hardware Settings ...
Page 764: ...764 EDIUS User Reference Guide Appendix B Special Procedures ...
Page 778: ...778 EDIUS User Reference Guide Appendix C Input Output Formats ...

