EDIUS — User Reference Guide
399
Trimming Clips
Ripple Trim
When Ripple mode is On, trimming clips produces the results shown in
this section. For more information on ripple mode, see
Ripple Mode
on
page 306
.
1.
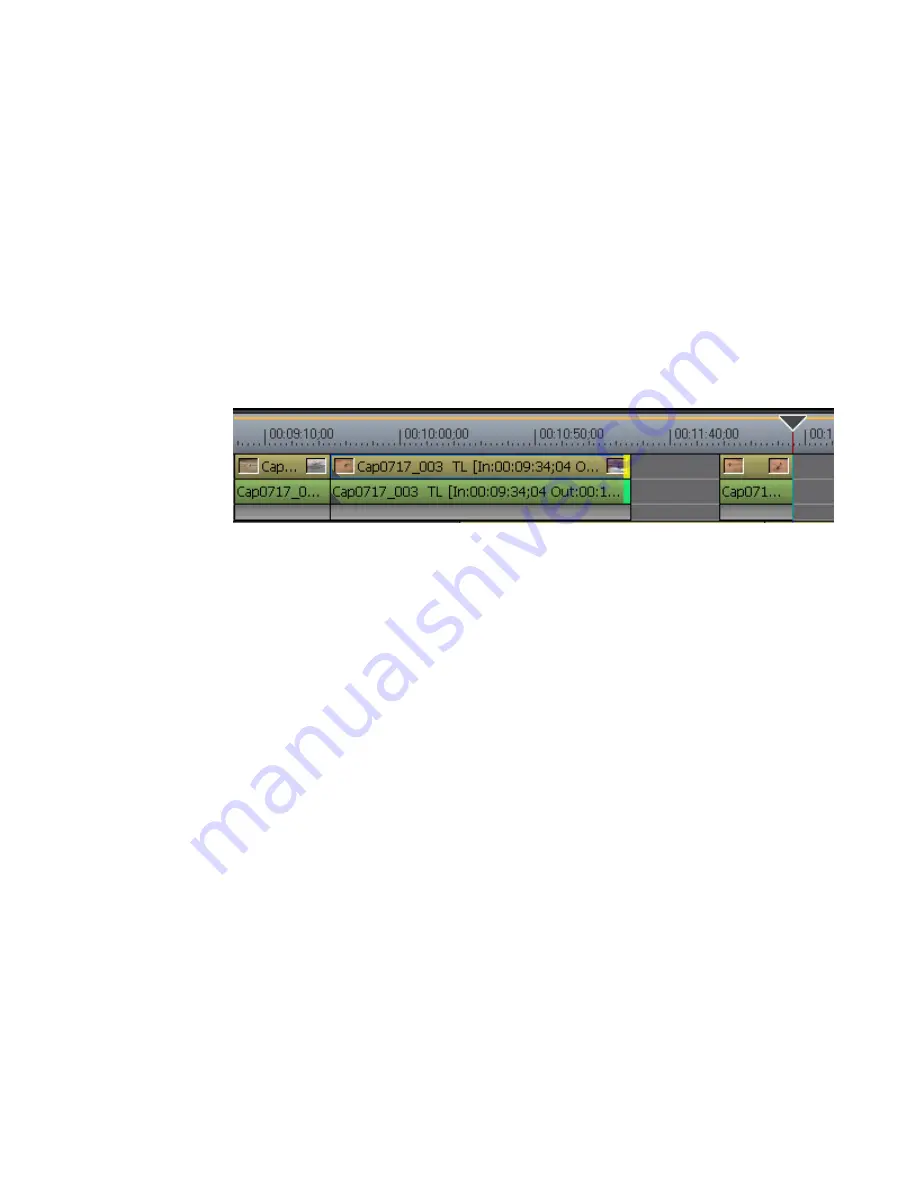
Click at the beginning (In point) or the end (Out point) of a clip.
The color of the cut point changes to green or yellow as illustrated in
Figure 438
and trimming is enabled. The yellow cut point is the currently
selected cut point.
Note
A cut point may also be selected by clicking the
Trim - Select IN point
or
Trim
- Select OUT point
buttons in the Trim Window.
Figure 438. Ripple Mode Trimming at Ends of Clips
2.
Move the cursor to the cut point.
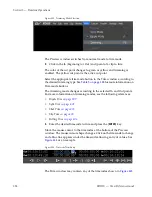
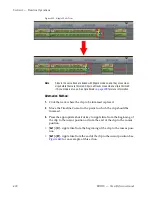
The cursor changes shape as shown in
Figure 439
.
3.
Drag the cursor to the left or right to trim the clip at the end point.
Note
You can fine tune trimming by 1-frame or 10-frame units by using the trim
buttons in the trim window or the corresponding keyboard shortcuts. See
Trim Mode Operation Buttons
on page 388
for more details.
Summary of Contents for EDIUS
Page 22: ...22 EDIUS User Reference Guide Preface ...
Page 124: ...124 EDIUS User Reference Guide Section 1 Getting Started Figure 111 Sequence Marker Palette ...
Page 173: ...EDIUS User Reference Guide 173 Customize Settings Figure 153 Keyboard Shortcut Settings ...
Page 248: ...248 EDIUS User Reference Guide Section 3 Capturing and Importing Clips and Stills ...
Page 302: ...302 EDIUS User Reference Guide Section 4 Clip Operations and Management ...
Page 480: ...480 EDIUS User Reference Guide Section 5 Timeline Operations ...
Page 708: ...708 EDIUS User Reference Guide Section 8 Exporting Project Output ...
Page 752: ...752 EDIUS User Reference Guide Appendix A Hardware Settings ...
Page 764: ...764 EDIUS User Reference Guide Appendix B Special Procedures ...
Page 778: ...778 EDIUS User Reference Guide Appendix C Input Output Formats ...

