– 38 –
Water Valve
WARNING: The water valve is NOT grounded and
may present a risk of electric shock during servicing.
Disconnect electric power prior to servicing.
The water valve supplies water to the misting nozzle
on demand from the control board. The water valve
KDVDÀRZUDWHRIJDOORQSHUPLQXWH
operates on
120 VAC, and has an approximate coil resistance of
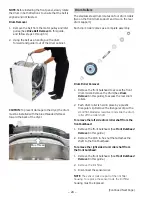
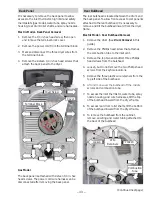
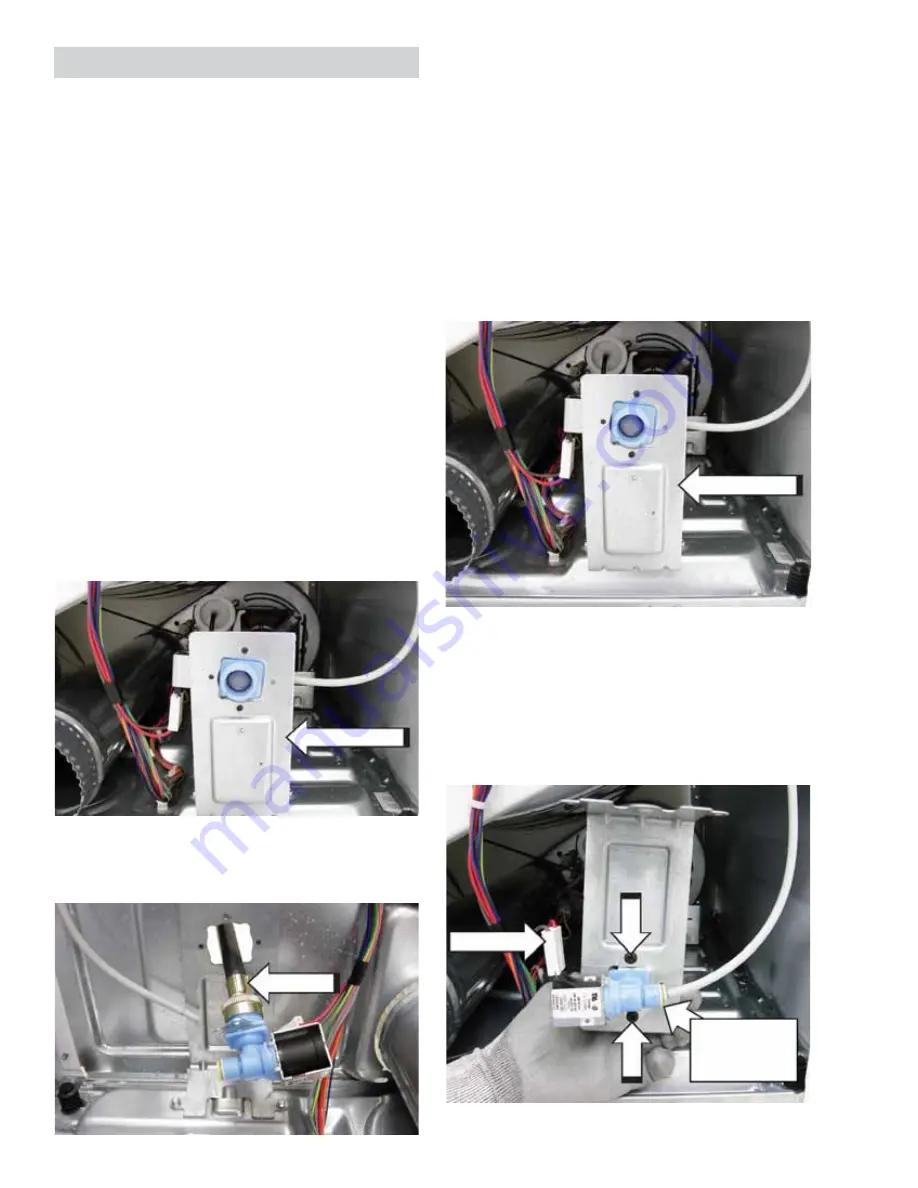
The water valve is front or rear serviceable. It is
DWWDFKHGWRDEUDFNHWWKDWLVDWWDFKHGWRWKHÀRRURI
the dryer.
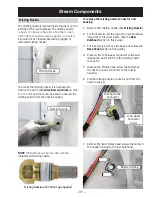
Water Valve Removal (Front Service)
1.
7XUQRȺWKHZDWHUVXSSO\WRWKHGU\HU
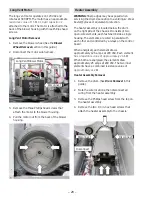
2. Remove the drum. (See Drive Belt and Drum.)
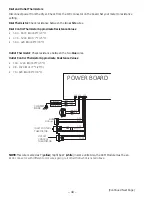
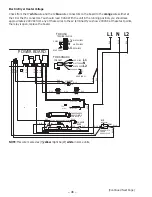
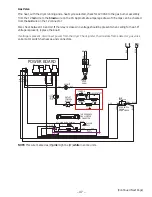
3. Disconnect the coil wire harness.
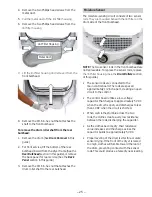
4. Press on the John Guest connector collar and
release the water line from the water valve.
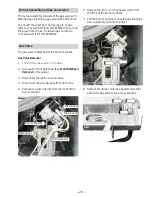
5. Remove the two Phillips head screws that attach
the valve to the valve bracket.
6. Pull the valve and the attached water supply
hose into the dryer.
7. Disconnect the hose from the valve.
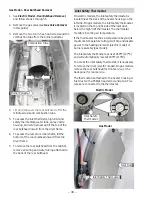
Water Valve Removal (Rear Service)
1.
7XUQRȺWKHZDWHUVXSSO\WRWKHGU\HU
2. Disconnect the hose from the valve.
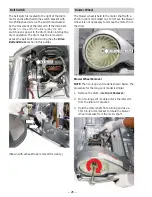
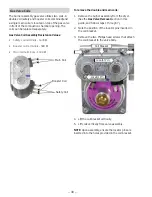
3. Remove the back panel. (See Back Panel.)
4. Remove the two 1/4 in. hex head screws that
DWWDFKWKHYDOYHEUDFNHWWRWKHGU\HUÀRRU
NOTE: In the following step, the bottom of the valve
EUDFNHWLVLQVHUWHGLQDVORWLQWKHGU\HUÀRRU
5.
6OLGHWKHYDOYHEUDFNHWRXWIURPWKHGU\HUÀRRU
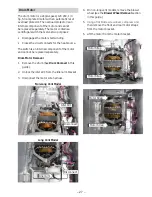
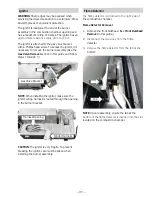
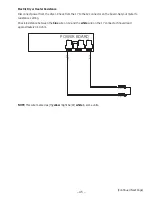
6. Invert the valve bracket and disconnect the coil
wire harness.
7. Press on the John Guest connector collar and
release the water line from the water valve.
8. Remove the two Phillips head screws that attach
the valve to the valve bracket.
Disconnect
John Guest
Connector
Collar
Hose
Valve Bracket
John Guest
Connector
Collar

