6.3 Running the Getting Started Wizard
When you add a network interface, a default route (via the default gateway)
is automatically created for the interface after network settings are applied
and the ETERNUS CS800 reboots. For example, if you add an interface with IP
address 10.20.185.172, a route with the destination IP address 10.20.185.0
is automatically added. If you delete the default route, it is automatically
added again the next time network settings are applied and the ETERNUS
CS800 reboots. For more information about interface routing, see
Configuring Interface Routing
Some network configurations require that you specify routing details for an interface. You
need to specify routing details if the host or client the interface connects to is on a
different subnet that is not reachable using the default gateway. You also need to specify
routing details if you have configured multiple network segments (replication, data, or
management) on the same subnet. For more information and examples, see
Under
IP Address Configuration > Routing Details
, enter routing information for one or
more interfaces (see
"Network Page: Routing Details" on page 114
):
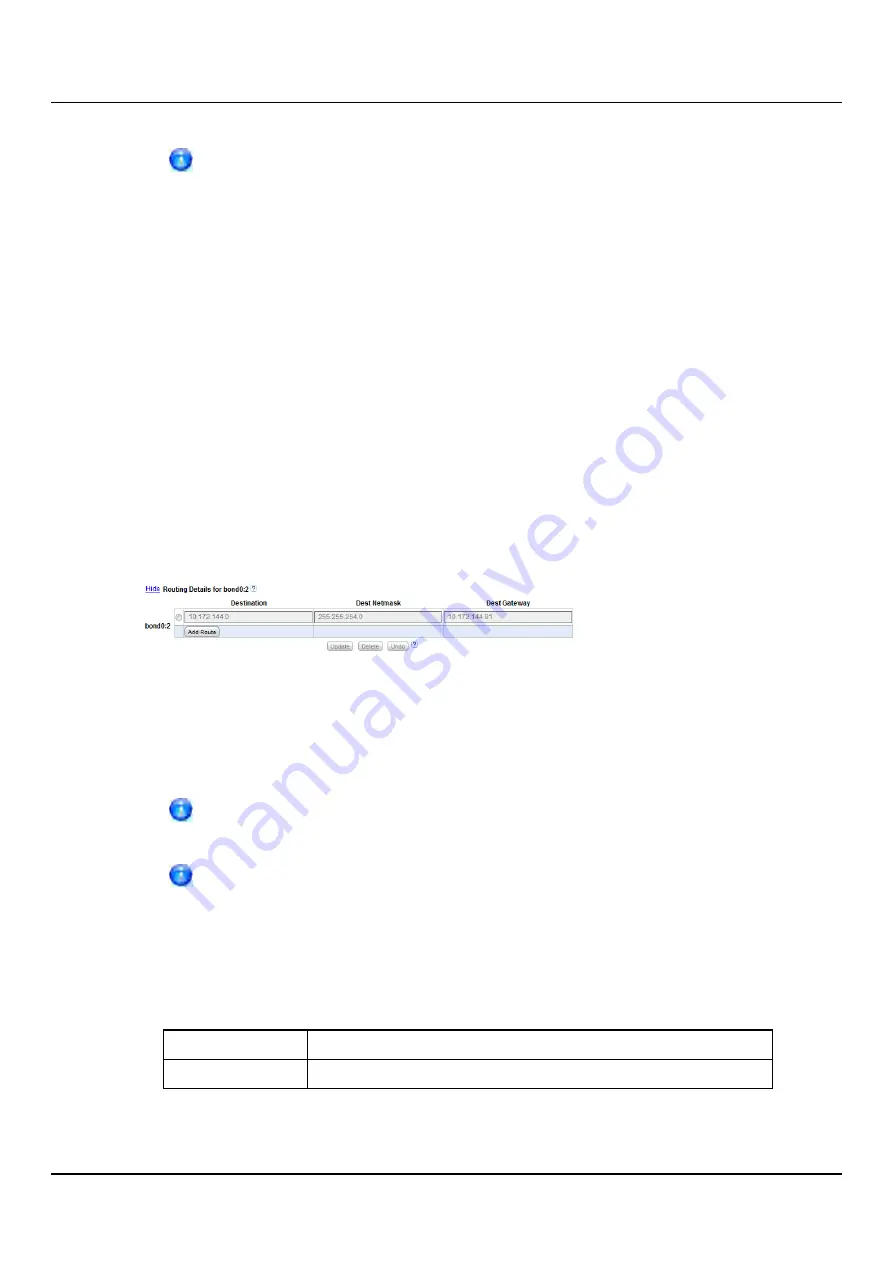
Figure 85: Network Page: Routing Details
1. In the
IP Address Table
(above routing details), select an interface to add or modify
routing data. (To select an interface, click the radio button next to the interface index
name, for example,
bond0:2
.)
After selecting an interface in the
IP Address Table
, the
Routing Details
table below expands to display available routes (if any).
A maximum of 8 routes per interface are allowed.
2. If necessary, click the
Show
link to show the routing details table.
3. Click
Add Route
to add a route to the selected interface.
Or select a route to edit its settings.
4. Enter the following network information as provided by your network administrator:
Destination
The destination network for the route.
Dest Netmask
The network mask for the route.
ETERNUS CS800
114
Summary of Contents for ETERNUS CS800 S6
Page 1: ...English ETERNUS CS800 S6 User Guide V3 2 7 Edition April 2017 ...
Page 131: ...7 3 The Remote Management Console Figure 98 Remote Management Pages Map ETERNUS CS800 131 ...
Page 173: ...8 8 AIS Connect Figure 132 AISConnect Wizard Confirm ETERNUS CS800 173 ...
Page 449: ...16 2 Storage Subsystem Figure 313 Inserting the 3 5 inch HDD module ETERNUS CS800 449 ...


