Printer Connection and Software Installation
91
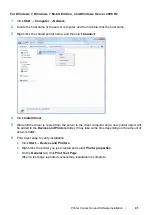
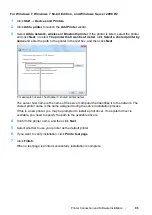
For Windows 7, Windows 7 64-bit Edition, and Windows Server 2008 R2
1
Click
Start
→
Computer
→
Network
.
2
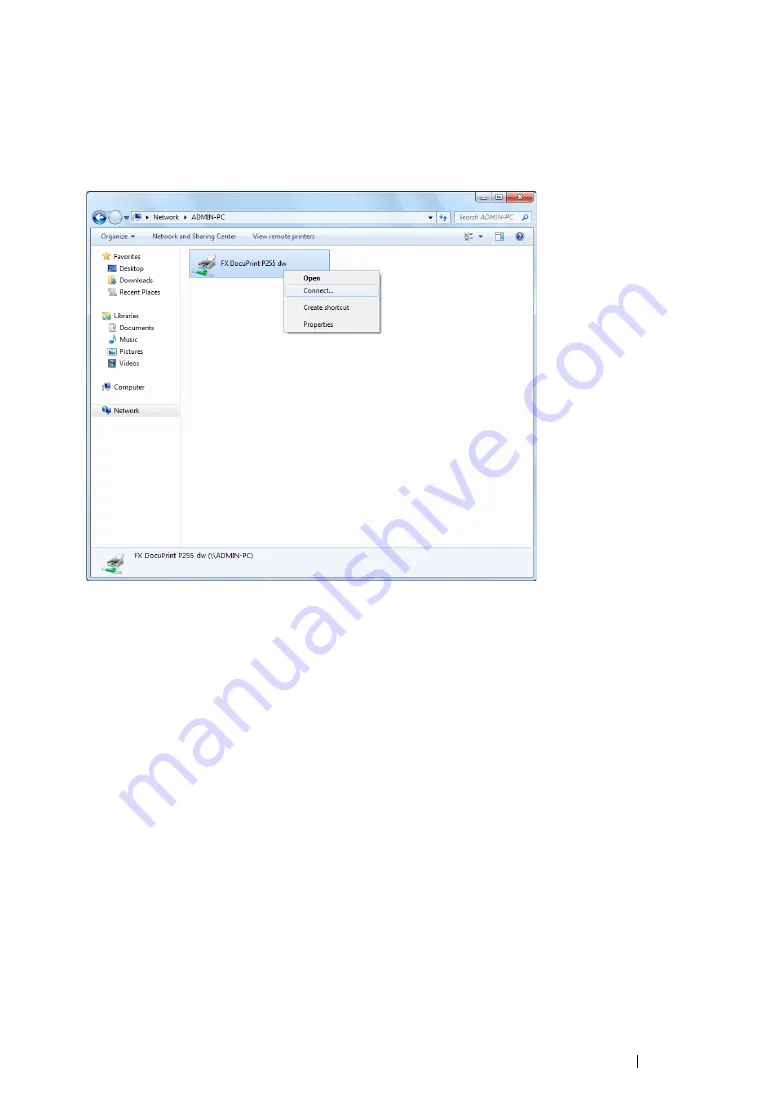
Locate the host name of the server computer, and then double-click the host name.
3
Right-click the shared printer name, and then click
Connect
.
4
Click
Install driver
.
5
Wait until the driver is copied from the server to the client computer and a new printer object will
be added to the
Devices and Printers
folder. It may take some time depending on the amount of
network traffic.
6
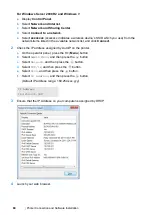
Print a test page to verify installation.
a
Click
Start
→
Devices and Printers
.
b
Right-click the printer you just created and select
Printer properties
.
c
On the
General
tab, click
Print Test Page
.
When a test page is printed successfully, installation is complete.
Summary of Contents for DocuPrint P255 dw
Page 1: ...User Guide DocuPrint P255 d P255 dw ...
Page 6: ...6 Contents ...
Page 26: ...26 Product Features ...
Page 38: ...38 Basic Operation ...
Page 69: ...Printer Connection and Software Installation 69 5 Select Advanced ...
Page 114: ...114 Printer Connection and Software Installation ...
Page 197: ...Troubleshooting 197 4 Lower the levers to the original position 5 Close the rear cover ...
Page 226: ...226 Troubleshooting ...
Page 248: ...248 Contacting Fuji Xerox ...
Page 252: ...252 Index X XML Paper Specification print driver 58 96 ...

