IDEA Auto-SYNC with RGB/VGA/DVI Analog Video
154 TIMS MVP
™
Setup and Configuration Guide
Menu Item
Description
The first button (on the left) is to hide or show the circle.
Clicking this toolbar button toggles the circle visibility state
between shown and hidden.
The second button (from the left) always centers the circle in
the image with its edges extending to almost the full
height/width of the image, leaving a small border. A 1:1 aspect
ratio between the width
–
height is always maintained. When
the size of the image changes, the circle will always
automatically re-center when you press this button.
The third button, showing the circle with red arrows extending
from it, is for sizing and moving the circle.
When this button is selected, centering is turned off so you can
resize the circle.
•
Use your mouse to click the center of the circle (where the
+
is shown) so that the circle can then be moved.
•
Use your mouse to click on any edge of the circle to drag it
inward or outward to change the size of the circle. The circle
resizes from the edge that is dragged, with the opposite edge
maintaining its currently anchored position.
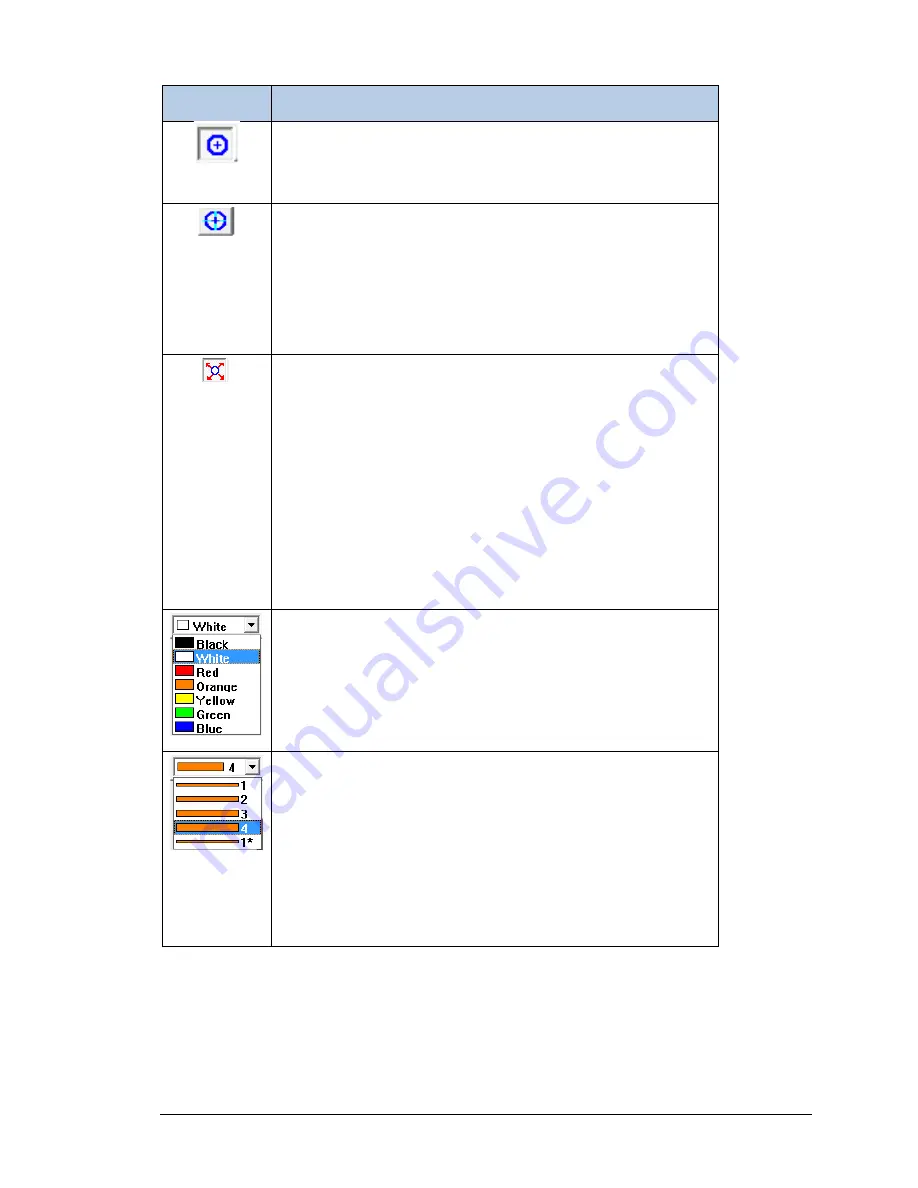
The color selection drop-down menu allows you to change the
color of the circle.
The circle line width lets you change the width in pixels of the
circle line edges. The selections are 1, 2, 3, 4, and 1* pixels.
•
The first 4 selections change the width to be 1 pixel, 2 pixels,
3 pixels, and 4 pixels, respectively. With any of these
selections when the image is zoomed, the width increases
accordingly.
•
The 1* width selection always maintains a 1-pixel width
regardless of the current zoom state.
Summary of Contents for TIMS 2000 EN
Page 1: ...060000 91 Rev 1...


