2.
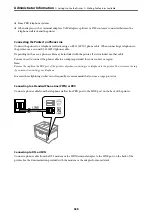
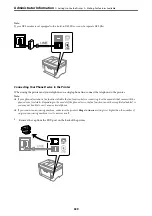
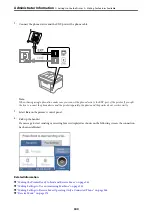
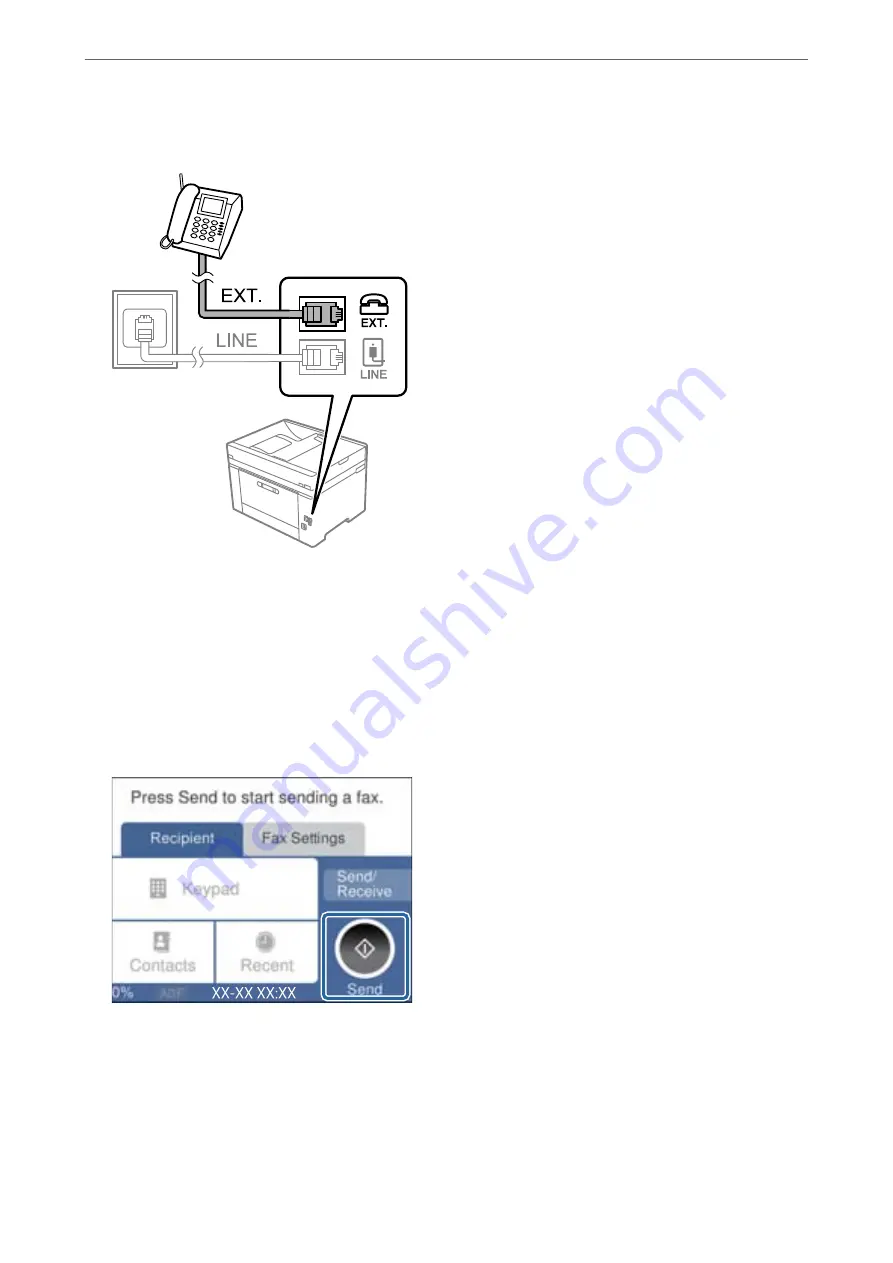
Connect the phone device and the EXT. port with a phone cable.
Note:
When sharing a single phone line, make sure you connect the phone device to the EXT. port of the printer. If you split
the line to connect the phone device and the printer separately, the phone and the printer do not work correctly.
3.
Select
Fax
on the printer's control panel.
4.
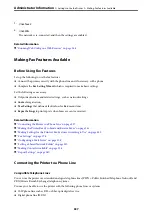
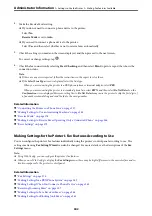
Pick up the handset.
If a message to start sending or receiving faxes is displayed as shown on the following screen, the connection
has been established.
Related Information
&
“Making the Printer Ready to Send and Receive Faxes” on page 341
&
“Making Settings to Use an Answering Machine” on page 343
&
“Making Settings to Receive Faxes Operating Only a Connected Phone” on page 344
&
>
>
340
Summary of Contents for C11CH68401
Page 17: ...Part Names and Functions Front 18 Inside 20 Rear 21 ...
Page 29: ...Loading Paper Paper Handling Precautions 30 Paper Size and Type Settings 30 Loading Paper 31 ...
Page 34: ...Placing Originals Placing Originals 35 Originals that are not Supported by the ADF 36 ...
Page 369: ...Where to Get Help Technical Support Web Site 370 Contacting Epson Support 370 ...

