26
Replacement
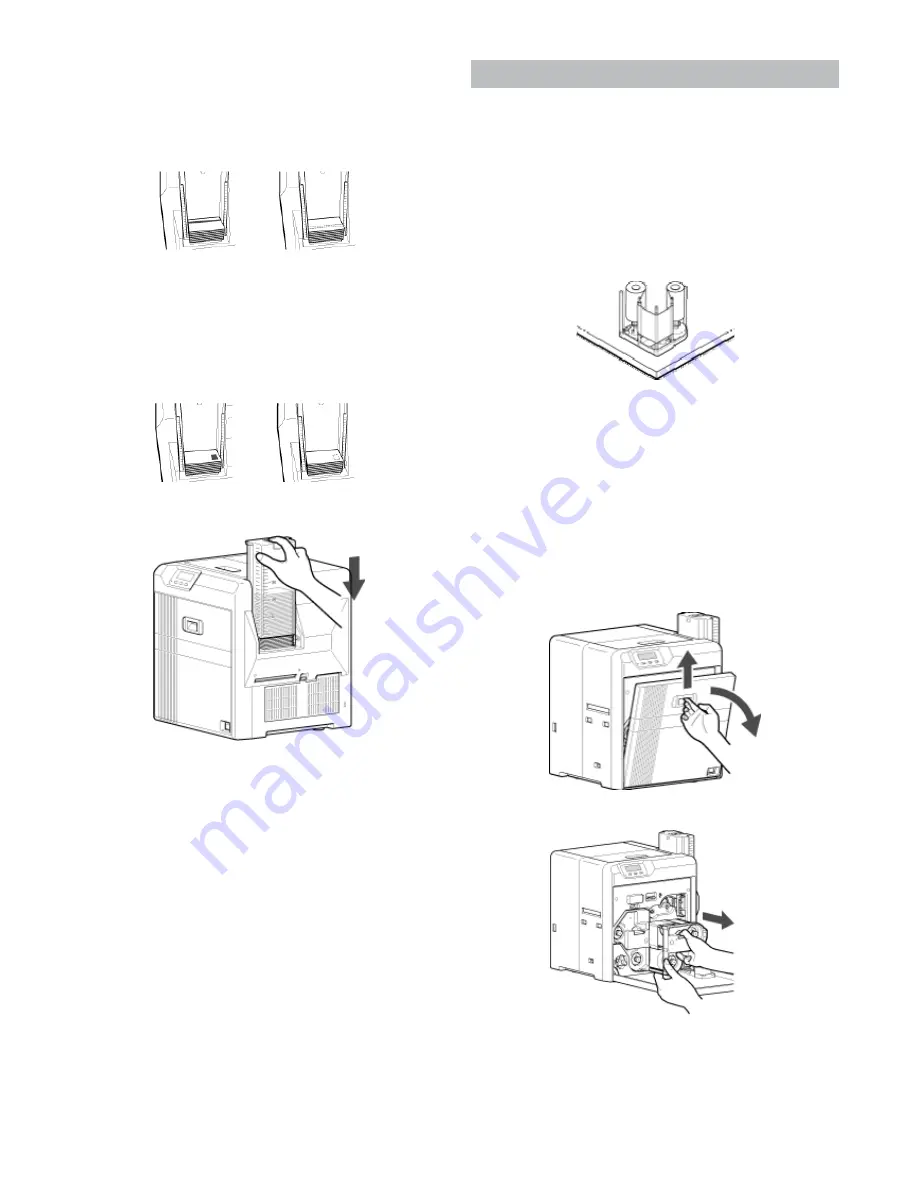
Magnetic cards
●
Set the card with the magnetic stripe facing upward and toward
the printer, or facing downward and toward you.
ISO contact IC cards
●
Set the card with the Contact IC terminal facing upward and to-
ward the rear of the printer, or downward and toward the front
of the printer.
4
Install the card hopper cover.
Ink Ribbon
Ink ribbon has run out
●
Replace with a new ink ribbon.
Print this page
Note:
●
If the security lock function is turned on, turn off the function from the
computer to unlock the printer. After closing the door, turn on the func-
tion again from the computer.
●
Stand the cassette on a flat surface as illustrated in the diagram. Avoid
doing so on a floor as dust attached to the retransfer film may cause
printing errors.
●
Do not touch the inked surface (the side that faces outward when in-
stalled) with your hand. Touching it may cause printing errors. Put on
the supplied gloves when handling the ink ribbon.
●
When installing a used ink ribbon, align the yellow side of the unused
ribbon with the arrow indicated on the label of the cassette. If the posi-
tion of the yellow side is not properly aligned, the print may turn out
light.
●
When handling the cassette, hold it with both hands. Accidentally drop-
ping the cassette may damage it or result in injuries.
●
Do not perform work on the printer door. Do not place heavy objects or
apply load on the printer. Doing so may damage it.
●
During replacement, clean the four bobbin holders on the printer. Burrs
generated by friction between the bobbins and bobbin holders may be
adhered to the ink ribbon or retransfer film, causing printing errors.
1
Open the printer door.
2
Press and hold down the cassette button, and pull out the ink ribbon
cassette (on the right) to remove the ink ribbon.
3
Install a new ink ribbon.
●
Install while referring to the indication on the label of the cassette.
Summary of Contents for EDIsecure X ID 8300
Page 14: ...14 Operation ...
Page 15: ...15 Operation ...


