112
| Authentication
Dell PowerConnect W-Series Instant Access Point 6.1.3.4-3.1.0.0
| User Guide
Retry count— Enter a value between 1 and 5. The default value is 3.
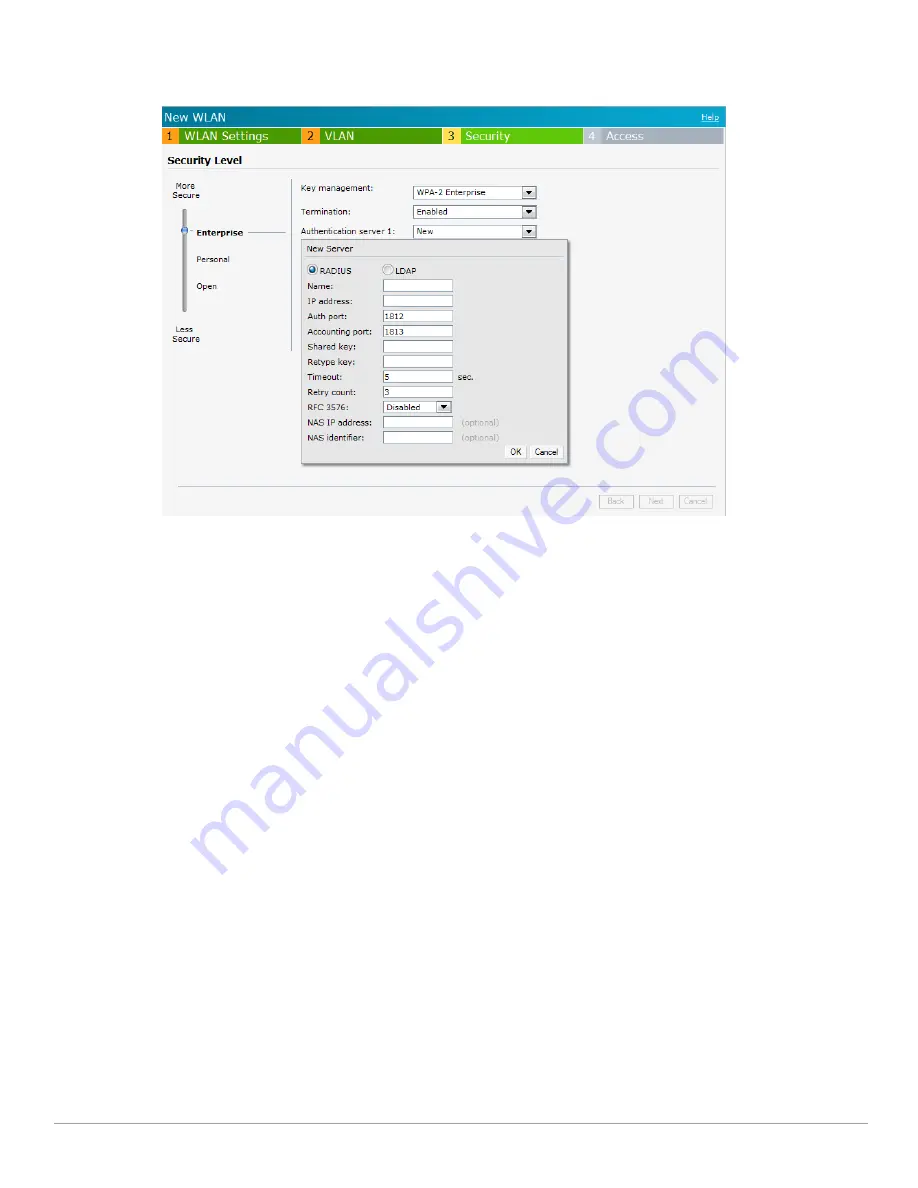
Figure 97
Configuring an External RADIUS Server
6. Click
OK
after updating the fields.
7.
Reauth interval
— When set to a value greater than zero, the Access Points will periodically reauthenticate all
associated and authenticated clients.
8.
Blacklisting
— Select
Enabled
if you want clients to be blacklisted after a certain number of authentication
failures.
Max authentication failures
— Users who fail to authenticate the number of times specified here will be
dynamically blacklisted. The maximum value for this entry is 10.
Navigate to
PEF > Blacklisting
in the WebUI to specify the duration of the blacklisting on the Blacklisting
tab of the PEF window.
9.
For Internal users—
Click
Users
to populate the system’s internal authentication server with users. For
information about adding a user, see
“Adding a User” on page
235
.
10. Click
Next
to continue and then click
Finish.
Enabling Instant RADIUS
To enable Instant RADIUS:
1. Click the
Settings
at the top right corner of the Instant UI.
2. Select
Enabled
from the
Dynamic RADIUS Proxy
drop-down list. When enabled, the Virtual Controller
network will use the IP Address of the Virtual Controller for communication with external RADIUS servers.
You must set the Virtual Controller IP address as a NAS client in the RADIUS server if Dynamic RADIUS
Proxy is enabled.
Summary of Contents for PowerConnect W-IAP3WN
Page 1: ...Dell PowerConnect W Series Instant Access Point 6 1 3 4 3 1 0 0 User Guide ...
Page 10: ...10 Contents Dell PowerConnect W Series Instant Access Point 6 1 3 4 3 1 0 0 User Guide ...
Page 106: ...106 NTP Server Dell PowerConnect W Series Instant Access Point 6 1 3 4 3 1 0 0 User Guide ...
Page 134: ...134 Authentication Dell PowerConnect W Series Instant Access Point 6 1 3 4 3 1 0 0 User Guide ...


