V.
CONFIGURING BRIC LINK II
LOGIN
A er using
Device Manager
to
fi
nd or set BRIC-Link II’s IP address, begin con
fi
gura on by opening a web browser
and entering that IP address into the URL
fi
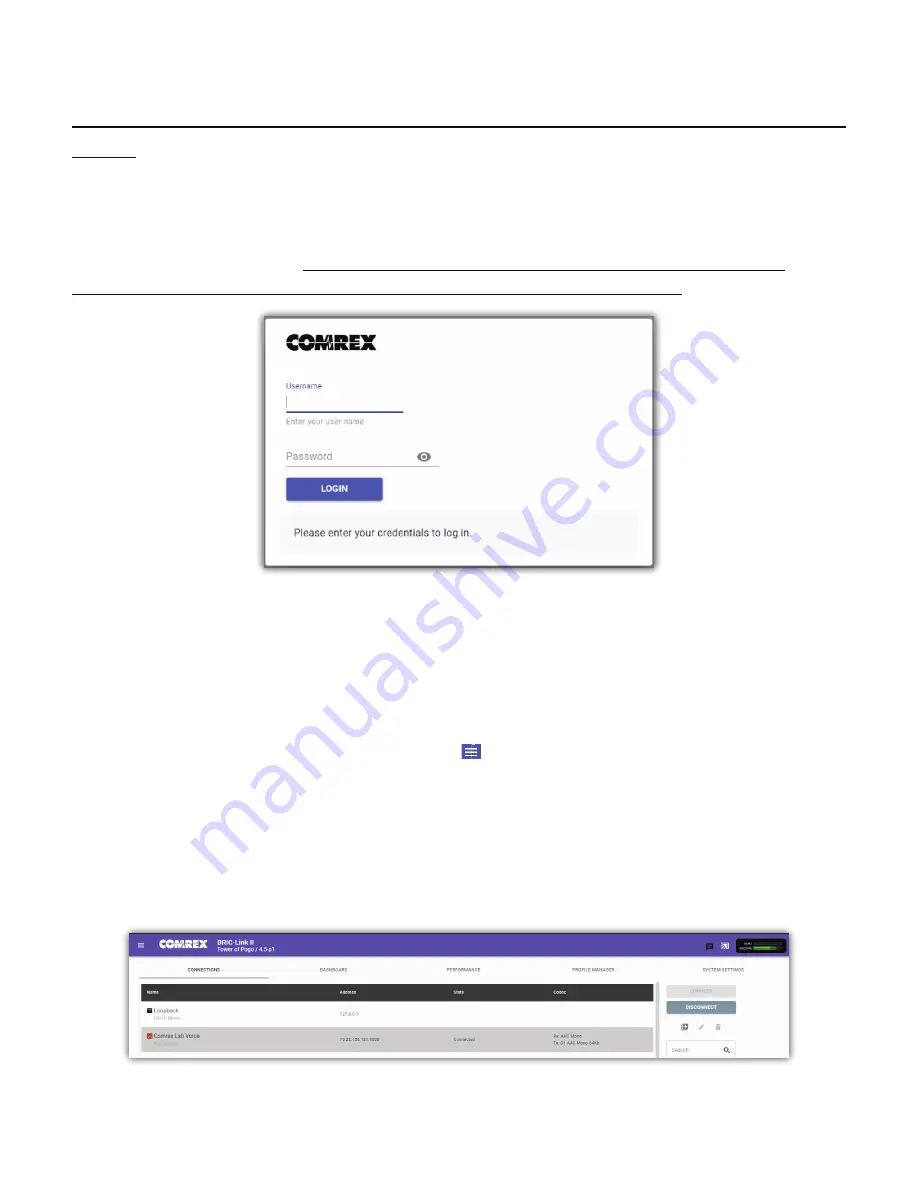
eld. Upon connec on to BRIC-Link II, a login screen will appear (
Figure
12
). Enter any username and the correct password (default =
comrex
). This will access the “web GUI”, or
Graphical
User Interface
display (
Figure 13
). Note: It is highly recommended to change from the default password to
something more secure. See
page 36
for details on changing the Remote Control Password.
INTERFACE PAGE SECTIONS
There are three main parts to the user interface screen (
Figure 13
):
•
Main Informa on Banner
(
1
): This blue banner shows the
Product Type, Unit Name
and
Current Firmware
on the le side. The
Meters
on the right side display audio levels for ac ve connec ons to the BRIC-Link II.
The far-le side contains a “Hamburger” bu on ( ) which provides quick access to certain se ngs. This
banner and the “Con
fi
gura on Tabs” below will remain on screen as you navigate the interface.
•
Con
fi
gura on Tabs
(
2
): These tabs control which func on of the interface you want to use, and consist of
Connec
Ɵ
ons, Dashboard, Performance, Pro
fi
le Manager
, and
System Se
ƫ
ngs
. They are described in detail
in this sec on. Selec ng one of these tabs determines what is displayed below in the “Content Panel”.
•
Content Panel
(
3
): The primary focus of the BRIC-Link II user interface. The working contents of the
currently chosen tab will appear here, underneath the tabs. This is where you will control connec ons,
modify se ngs, monitor performance, etc.
2
1
3
Summary of Contents for BRIC-Link II
Page 1: ...Product Manual ...
Page 2: ...BRIC Link II June 2021 ...
Page 3: ... ...
Page 4: ... ...
Page 5: ... ...
Page 6: ... ...
Page 7: ... ...
Page 8: ... ...


