Chapter 2: To get started
98-140012-H
To make the first call or data session
27
To make the first data connection (LAN)
Do as follows:
1. Connect a LAN cable between your computer and LAN#1 or LAN#2 on the EXPLORER 710.
2. When power up and pointing is completed, you can start a Standard data connection from
the display or from the web interface. See
To start or stop a data connection using the
The status text in the display shows the active connection.
To make the first data connection (WLAN)
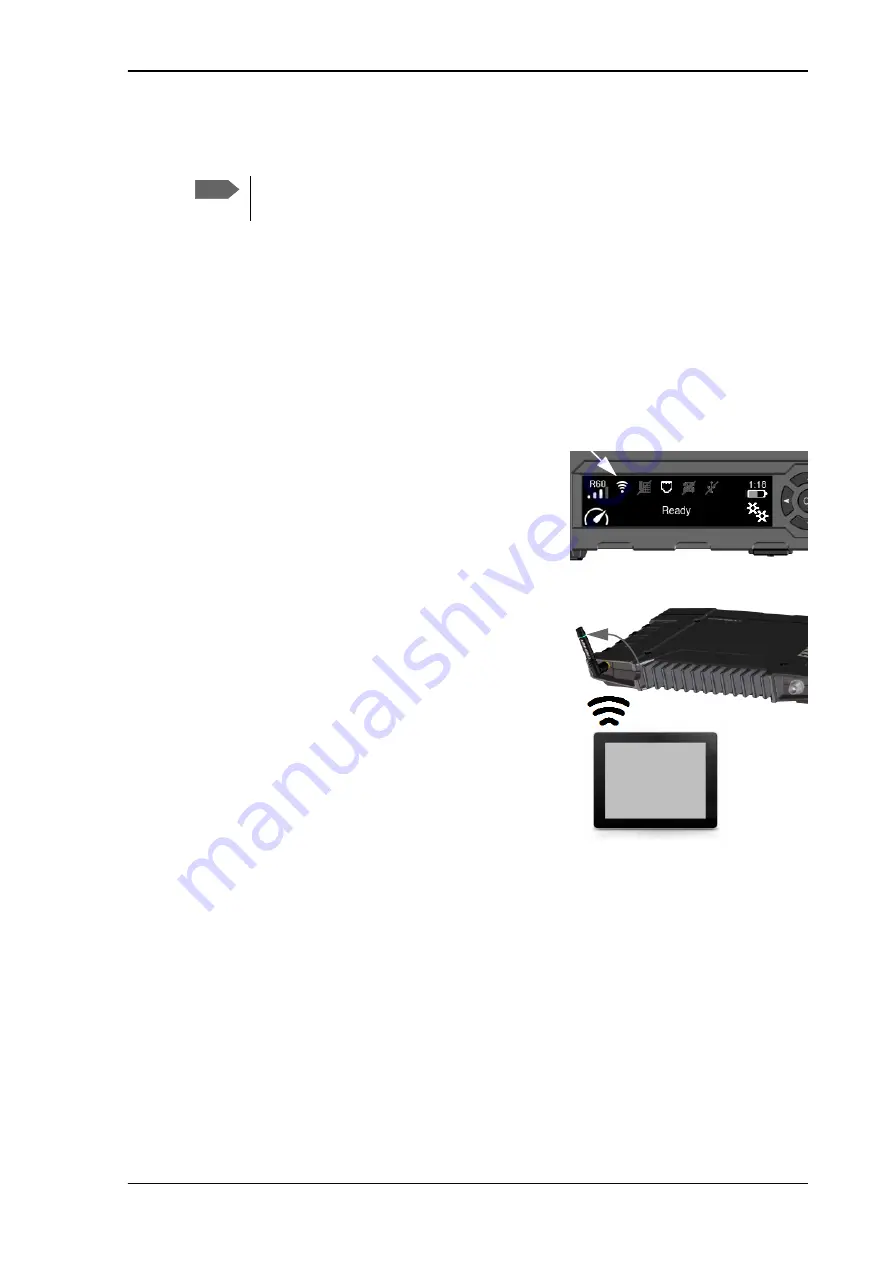
To connect to the WLAN interface, do as follows:
1. Check that WLAN is enabled in your EXPLORER 710.
The top line of the display shows which interfaces
are enabled.
If WLAN is disabled, use the keypad arrows to
highlight the WLAN icon and OK to enable WLAN.
2. If your device is not close to the terminal, turn the
WLAN antenna of the transceiver into an upright
position.
3. Place your WLAN-enabled device (computer, tablet
or smartphone) close to the EXPLORER 710, but
not
in front of the antenna.
4. On your device, search for available WLAN networks.
5. Select the EXPLORER 710 WLAN access point when
it appears in your list of available wireless networks.
The default name is
EXPLORER710
.
6. If you are prompted, enter the password. By default,
the password is the
serial number
of your
EXPLORER 710 and the encoding type is
WPA2
.
You can find the serial number in the display menu under
Properties > Hardware > Unit
serial number.
7. When your device shows that it is connected to the EXPLORER 710, you can start a data
connection as described in the next section.
For information on how to configure the WLAN interface, see
Note
For the LAN interface to work without any further setup, your computer must be set
up to obtain an IP address and DNS server address automatically.


