


15-4
Cisco TelePresence System TX9000 and TX9200 Assembly, Use & Care, and Field-Replaceable Unit Guide
OL-27038-01
Chapter 15 First-Time Setup
Powering on the System and Enabling the Cisco TelePresence Administration Software GUI
Caution
Do not allow the Cisco logo to remain on the screen for more than 30 minutes. Leaving a static image
on a plasma display for a long period of time can cause “burn in” of the image and cause permanent
damage to the display.
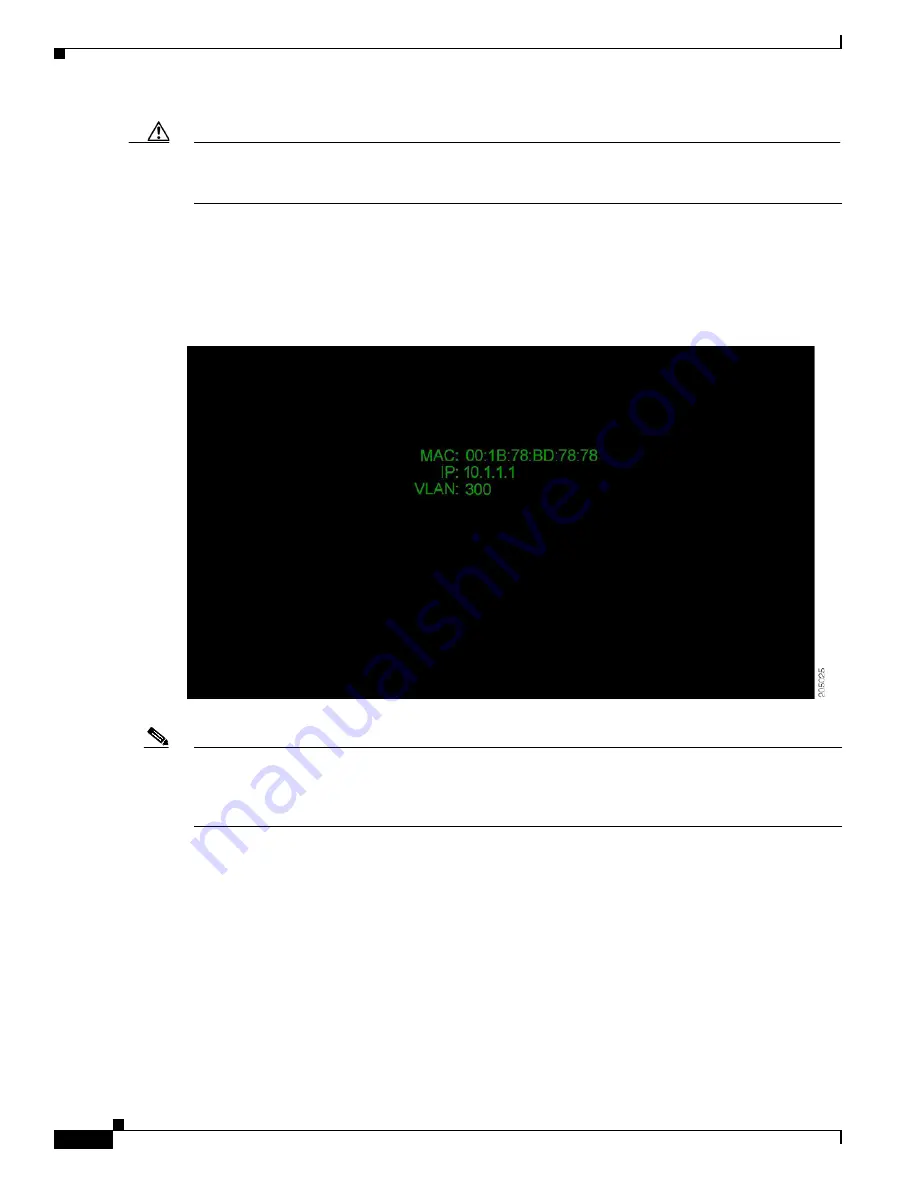
Step 4
After bootup completes, make a note of the IP address that displays on the center of the screen as shown
in
. You use that information to log in to the Cisco TelePresence System Administration. This
IP address displays until you log in to Cisco TelePresence System Administration or use Secure Shell
(SSH) to log in to the TX9000 and TX9200.
Figure 15-2
System IP Address
Note
If the IP address that displays is 192.168.100.2, the system could not contact the DHCP server or your
system does not use DHCP. If your network does not use DHCP, set a static IP address for your system
as described in the
“Setting Up a TX9000 or TX9200 System That Uses a Static Network Address”
Step 5
If you have not already done so, configure the Cisco Unified Communications Manager GUI. For
detailed instructions to configure Cisco Unified Communications Manager, refer to the
Cisco Unified Communications Manager Installation Guide for the Cisco TelePresence System
for your
software release.
Step 6
Open a browser on a computer that is connected to your network.
Step 7
In the URL field, type the IP address that you obtained in
and press
Enter
. The browser launches
Cisco TelePresence System Administration.


