"OCR software" is software that converts text scanned as an image into text data that can be
edited in word processors and other programs.
Output Size
Select an output size.
Output size options vary by the item selected in
Destination
.
Flexible
Adjust the cropping frames (scan areas) freely.
In thumbnail view:
Drag the mouse over a thumbnail to display a cropping frame. When a cropping frame is
displayed, the portion within the cropping frame will be scanned. When no cropping frame is
displayed, each frame is scanned individually.
In whole image view:
When no cropping frame is displayed, the entire Preview area will be scanned. When a cropping
frame is displayed, the portion within the cropping frame will be scanned.
Paper Size (such as L or A4)
Select an output paper size. The portion within the cropping frame will be scanned at the size
of the selected paper size. Drag the cropping frame to enlarge/reduce it while maintaining the
aspect ratio.
Monitor Size (such as 1024 x 768 pixels)
Select an output size in pixels. A cropping frame of the selected monitor size will appear and the
portion within the cropping frame will be scanned. Drag the cropping frame to enlarge/reduce it
while maintaining the aspect ratio.
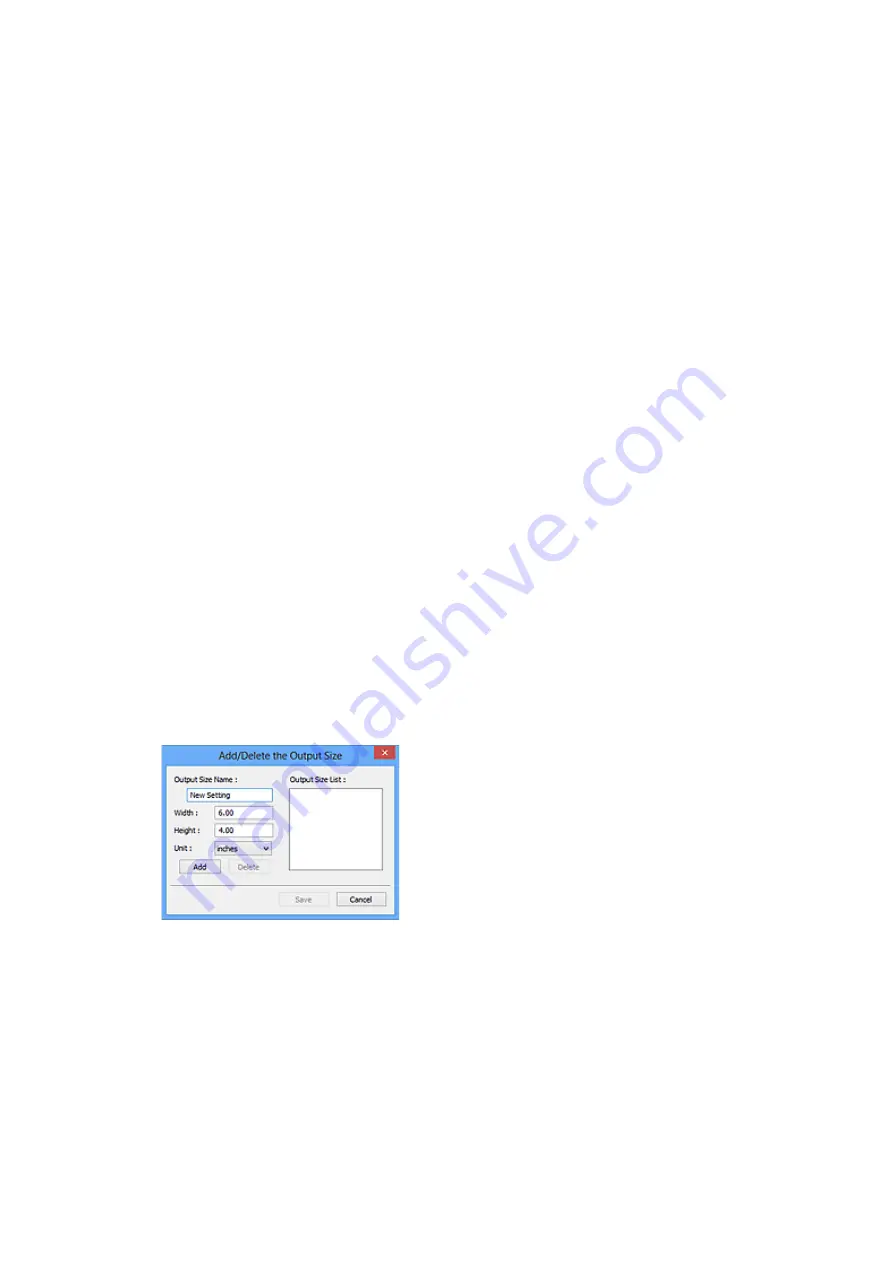
Add/Delete...
Displays the
Add/Delete the Output Size
dialog box for specifying custom output sizes. This
option can be selected when
Destination
is
or
Image display
.
In the
Add/Delete the Output Size
dialog box, multiple output sizes can be specified and then
saved at one time. Saved items will be registered to the
Output Size
list and can be selected,
along with the predefined items.
Adding:
Enter
Output Size Name
,
Width
, and
Height
, and then click
Add
. For
Unit
, select
inches
or
mm
if
Destination
is
; if it is
Image display
, only
pixels
can be selected. The name of the
added size appears in
Output Size List
. Click
Save
to save the items listed in
Output Size List
.
309
Summary of Contents for TS5350i Series
Page 9: ...C000 456...
Page 38: ...2 The password is specified automatically when the printer is turned on for the first time 38...
Page 73: ...TR9530 series TS3300 series E3300 series 73...
Page 86: ...86...
Page 96: ...96...
Page 103: ...Checking Ink Status from Your Computer 103...
Page 127: ...127...
Page 129: ...Safety Safety Precautions Regulatory Information WEEE 129...
Page 149: ...9 Attach the protective material to the printer when packing the printer in the box 9 149...
Page 153: ...Main Components Front View Rear View Inside View Operation Panel 153...
Page 182: ...Setting Items on Operation Panel 182...
Page 279: ...Printing Using Canon Application Software Easy PhotoPrint Editor Guide 279...
Page 289: ...Scanning Scanning from Computer Windows Scanning from Computer macOS 289...
Page 293: ...Note To set the applications to integrate with see Settings Dialog Box 293...
Page 306: ...ScanGear Scanner Driver Screens Basic Mode Tab Advanced Mode Tab 306...
Page 351: ...Other Network Problems Checking Network Information Restoring to Factory Defaults 351...
Page 389: ...Scanning Problems Windows Scanning Problems 389...
Page 390: ...Scanning Problems Scanner Does Not Work ScanGear Scanner Driver Does Not Start 390...
Page 403: ...Errors and Messages When Error Occurred Message Support Code Appears 403...


