


Click
OK
when the confirmation message appears.
When a message prompting you to change the media type appears, select a media type from the list
and click
OK
.
3.
Check the paper size
3.
Check the
Page Size
list. When you want to change it, select another page size from the list. The list
displays only sizes that can be used for borderless printing.
4.
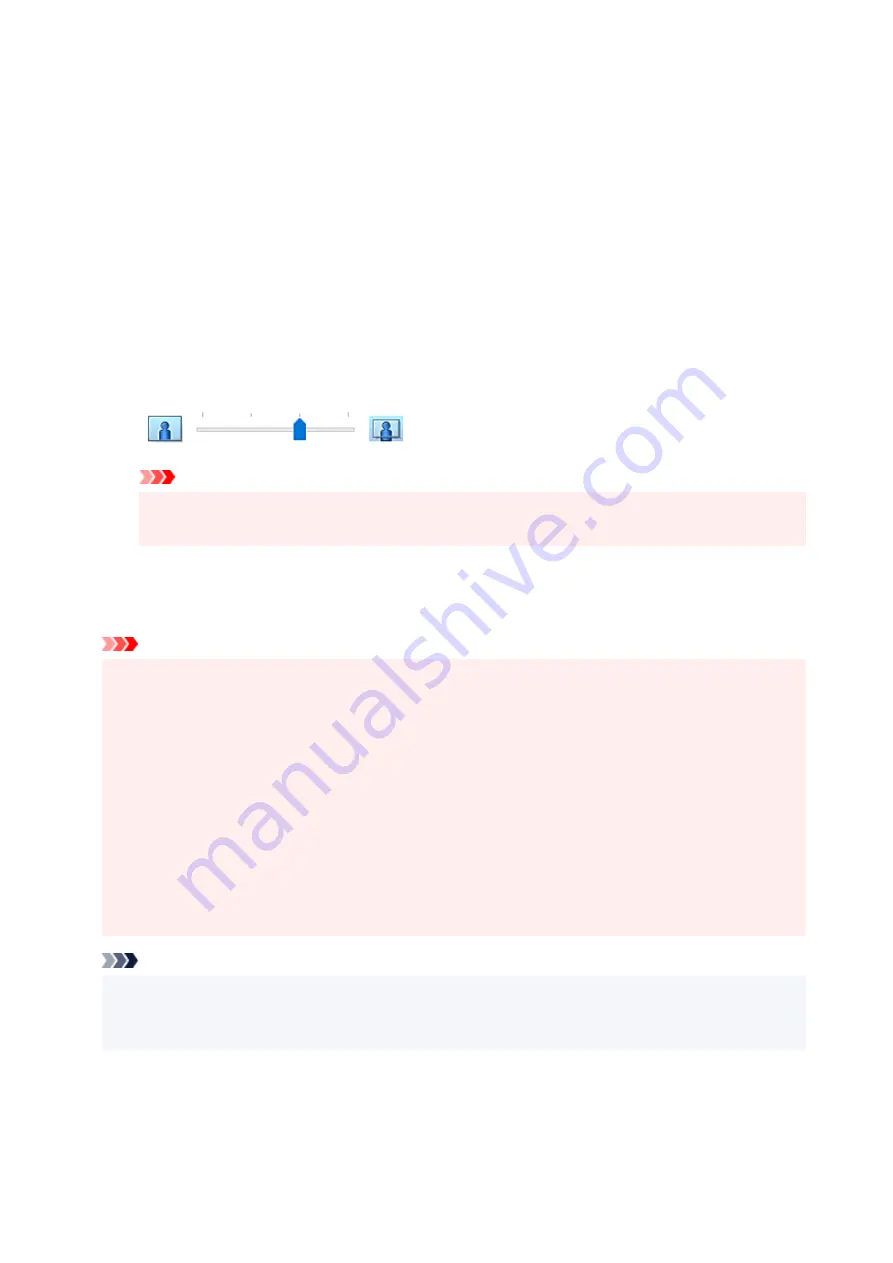
Adjust the amount of extension from the paper
4.
If necessary, adjust the amount of extension using the
Amount of Extension
slider.
Moving the slider to the right increases the amount extending off the paper, and moving the slider to
the left decreases the amount.
It is recommended to set the slider at the second position from the right for most cases.
Important
• When the
Amount of Extension
slider is set to the rightmost position, the back side of the
paper may become smudged.
5.
Click
OK
5.
When you perform print, the data is printed without any margins on the paper.
Important
• When a page size that cannot be used for borderless printing is selected, the size is automatically
changed to the valid page sizes for borderless printing.
• When
Borderless
is selected, the
Printer Paper Size
,
Duplex Printing
,
Stapling Side
settings, and
the
Stamp/Background...
button on the
Page Setup
tab appear grayed out and are unavailable.
• When
Envelope
,
Light Fabric Iron-on Transfers
,
Dark Fabric Iron-on Transfers
,
High
Resolution Paper
, or
T-Shirt Transfers
is selected from the
Media Type
list on the
Main
tab,
you cannot perform borderless printing.
• Depending on the type of the media used during borderless printing, the print quality may deteriorate
at the top and bottom of the sheet or stains may form.
• When the ratio of the height to the width differs from the image data, a portion of the image may not
be printed depending on the size of the media used.
In this case, crop the image data with an application software according to the paper size.
Note
• When
Plain Paper
is selected for
Media Type
on the
Main
tab, borderless printing is not
recommended. Therefore, the message for media selection appears.
When you are using plain paper for test printing, select
Plain Paper
, and click
OK
.
226
Summary of Contents for TS5350i Series
Page 9: ...C000 456...
Page 38: ...2 The password is specified automatically when the printer is turned on for the first time 38...
Page 73: ...TR9530 series TS3300 series E3300 series 73...
Page 86: ...86...
Page 96: ...96...
Page 103: ...Checking Ink Status from Your Computer 103...
Page 127: ...127...
Page 129: ...Safety Safety Precautions Regulatory Information WEEE 129...
Page 149: ...9 Attach the protective material to the printer when packing the printer in the box 9 149...
Page 153: ...Main Components Front View Rear View Inside View Operation Panel 153...
Page 182: ...Setting Items on Operation Panel 182...
Page 279: ...Printing Using Canon Application Software Easy PhotoPrint Editor Guide 279...
Page 289: ...Scanning Scanning from Computer Windows Scanning from Computer macOS 289...
Page 293: ...Note To set the applications to integrate with see Settings Dialog Box 293...
Page 306: ...ScanGear Scanner Driver Screens Basic Mode Tab Advanced Mode Tab 306...
Page 351: ...Other Network Problems Checking Network Information Restoring to Factory Defaults 351...
Page 389: ...Scanning Problems Windows Scanning Problems 389...
Page 390: ...Scanning Problems Scanner Does Not Work ScanGear Scanner Driver Does Not Start 390...
Page 403: ...Errors and Messages When Error Occurred Message Support Code Appears 403...


