IMPORTANT
• Punching is available only if the Puncher Unit-BB1 or Professional Puncher-B1 is attached.
• Only the following paper size can be hole punched:
A3, B4, A4, A4R, B5, or B5R / 11" x 17", LGL, LTR, LTRR, or EXEC
• If only the optional Puncher Unit-BB1 is attached, the machine automatically selects how
many holes to punch depending on the selected paper size.
- Two holes in case of LGL and LTRR
- Three holes in case of 11" x 17", LTR and EXEC
• Holes cannot be punched in paper heavier than 201 g/m² / 54 lb bond, vellums, transparencies,
labels, or prepunched paper.
• Paper that is fed from the optional Document Insertion Unit-C1 cannot be hole punched.
NOTE
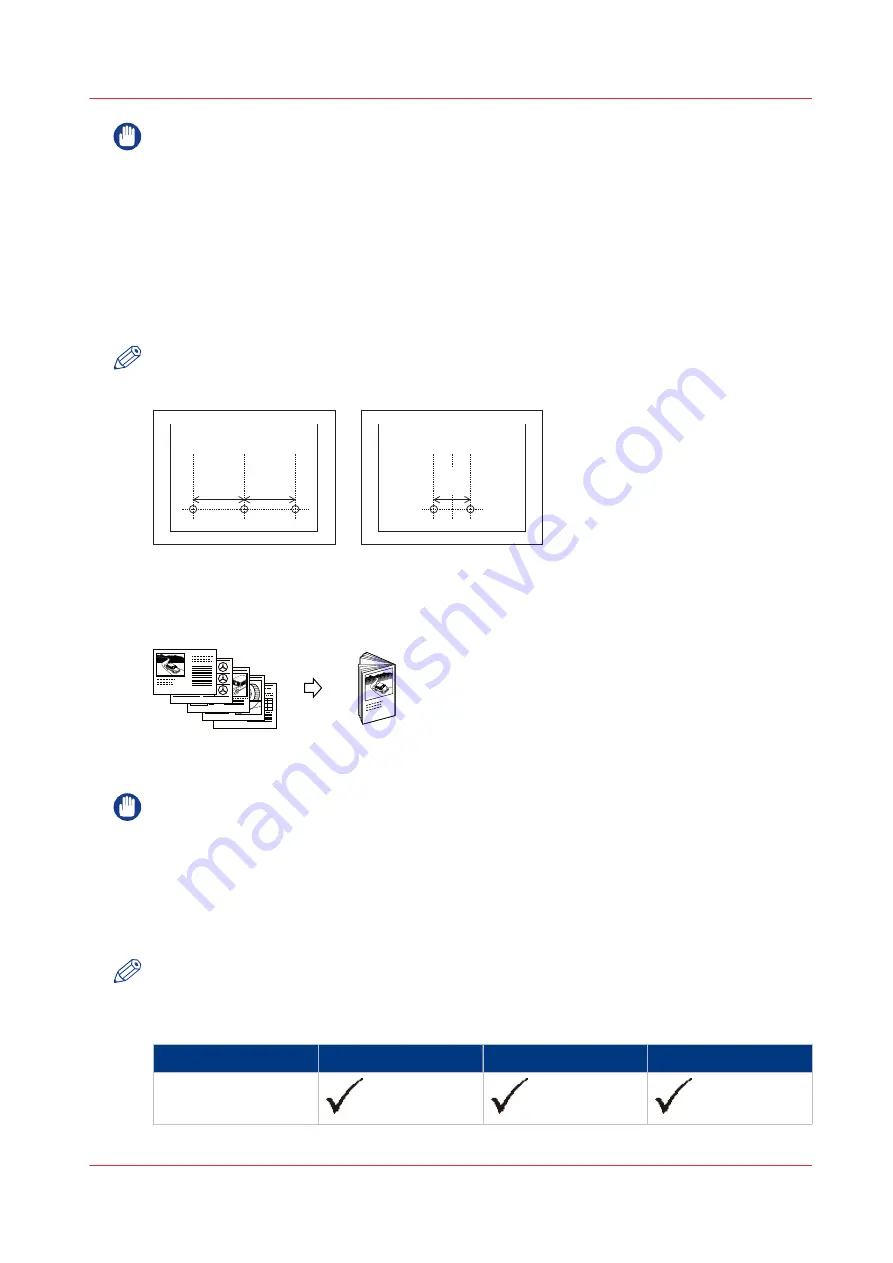
The distance between the punch holes is shown in the illustration below.
4 1/4"
(108 mm)
4 1/4"
(108 mm)
2 3/4"
(70 mm)
[11] Puncher Unit-BB1 (3 holes, 2 holes)
•
Folding without stitching
Folding folds multiple sheets in 2-folds.
5
4
3
2
1
1
[12] Originals at the left-hand side, copies at the right-hand side.The paper is saddle folded with a maximum of 5
sheets.
IMPORTANT
• Saddle folding is available only if the Saddle Finisher-AJ2 is attached.
• The paper is saddle folded with a maximum of 5 sheets (80 g/m²), and then output.
• The sizes of paper that can be used with saddle folding are:
- 330.2 mm x 482.6 mm, 320 mm x 450 mm (SRA3), 304.8 mm x 457.2 mm, A3, B4, A4R, and
irregular size paper (210 mm x 279.4 mm to 330.2 mm x 487.7 mm).
- 13" x 19", 12.60" x 17.72", 12" x 18" , 11" x 17", LGL, LTRT and irregular size paper (8 1/4" x 11"
to 13" x 19 13/64").
NOTE
The following are paper sizes that can be output to the output trays of the machine. However,
some paper sizes may not be output, depending on the set functions.
Input options
Paper size
Upper tray
Lower tray
Booklet tray
A3
4
The stacker/stapler, optional inserter and optional integrated punch unit
Chapter 2 - Main parts
37
Summary of Contents for imagePRESS C7011VPS series
Page 1: ...imagePRESS C7011VPS series C7010VPS series Operation guide ...
Page 8: ...Contents 8 ...
Page 9: ...Chapter 1 Preface ...
Page 15: ...Chapter 2 Main parts ...
Page 41: ...Chapter 3 Power information ...
Page 47: ...Chapter 4 Operating concept ...
Page 54: ... 20 The Add new media window Maintain the Media catalog 54 Chapter 4 Operating concept ...
Page 57: ... 24 The Add color preset window Maintain the Color presets Chapter 4 Operating concept 57 ...
Page 69: ...Chapter 5 Operator panel views ...
Page 77: ...Chapter 6 Adapt printer settings to your needs ...
Page 91: ...Chapter 7 Media handling ...
Page 155: ...Chapter 8 Carry out print jobs ...
Page 225: ...Chapter 9 Carry out copy jobs ...
Page 257: ...Chapter 10 Carry out scan jobs ...
Page 286: ...Optimize the scan quality 286 Chapter 10 Carry out scan jobs ...
Page 287: ...Chapter 11 Use the DocBox optional ...
Page 310: ...Select and print multiple jobs from the DocBox 310 Chapter 11 Use the DocBox optional ...
Page 311: ...Chapter 12 Accounting ...
Page 322: ...Enter an account ID into the printer driver 322 Chapter 12 Accounting ...
Page 323: ...Chapter 13 Add toner and staples ...
Page 341: ...Chapter 14 Maintenance and print quality ...
Page 361: ...Chapter 15 Specifications ...
Page 375: ...Chapter 16 Third Party Software ...
Page 382: ...Library for SDE Compiler 382 Chapter 16 Third Party Software ...


