Create a shared network folder on a workstation
Introduction
The information in this section is intended for key operators.
Before creating a shared network folder on a workstation, the following actions must be carried
out first:
• Enable the hotfolder function.
• Create an automated workflow including a hotfolder.
NOTE
This procedure describes the creation of a shared network folder on a workstation with a
Microsoft
®
Windows
®
XP operating system. However, depending on the operating system of
your workstation, the procedure can be different.
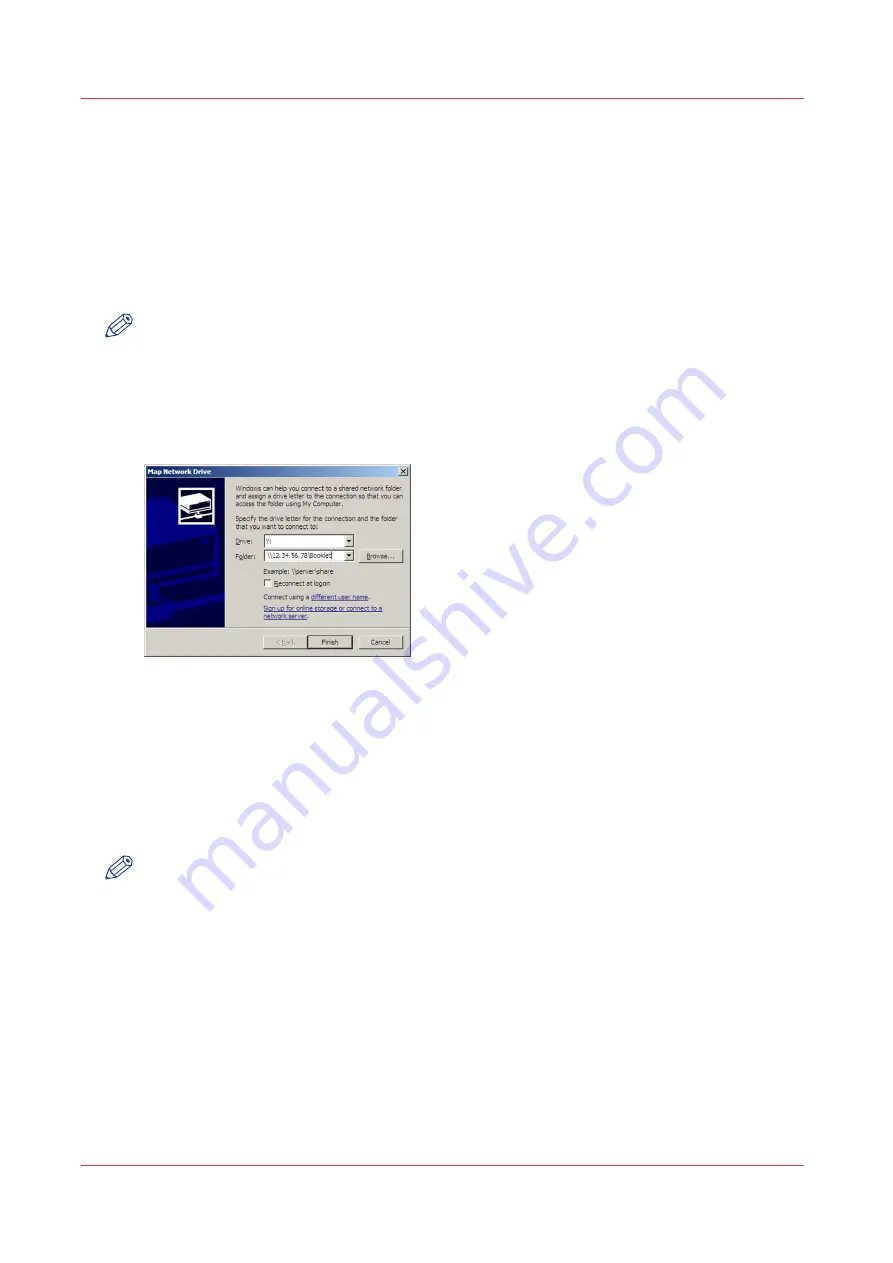
Illustration
[58] Create a shared network drive
Procedure
1.
Open Microsoft
®
Explorer.
2.
Click Tools -> Map Network Drive...
3.
Select a drive letter for the shared network folder.
4.
Enter the name of the shared network folder, for example \\12.34.56.78\Booklet, or click the
'Browse' button to navigate to the required location.
NOTE
Instead of 12.34.56.78 you must enter the host name or IP address of the PRISMAsync controller.
Booklet is the name you gave to the hotfolder when you created the automated workflow.
5.
Click 'Finish'.
A log in screen will appear.
6.
Enter the user name and the password that were defined when the hotfolder function was
enabled in the Settings Editor.
7.
Click 'OK.'
The hotfolder is now ready for use.
8.
If desired, you can create a shortcut to the shared network folder on the desktop of the
workstation.
Create a shared network folder on a workstation
206
Chapter 8 - Carry out print jobs
Summary of Contents for imagePRESS C7011VPS series
Page 1: ...imagePRESS C7011VPS series C7010VPS series Operation guide ...
Page 8: ...Contents 8 ...
Page 9: ...Chapter 1 Preface ...
Page 15: ...Chapter 2 Main parts ...
Page 41: ...Chapter 3 Power information ...
Page 47: ...Chapter 4 Operating concept ...
Page 54: ... 20 The Add new media window Maintain the Media catalog 54 Chapter 4 Operating concept ...
Page 57: ... 24 The Add color preset window Maintain the Color presets Chapter 4 Operating concept 57 ...
Page 69: ...Chapter 5 Operator panel views ...
Page 77: ...Chapter 6 Adapt printer settings to your needs ...
Page 91: ...Chapter 7 Media handling ...
Page 155: ...Chapter 8 Carry out print jobs ...
Page 225: ...Chapter 9 Carry out copy jobs ...
Page 257: ...Chapter 10 Carry out scan jobs ...
Page 286: ...Optimize the scan quality 286 Chapter 10 Carry out scan jobs ...
Page 287: ...Chapter 11 Use the DocBox optional ...
Page 310: ...Select and print multiple jobs from the DocBox 310 Chapter 11 Use the DocBox optional ...
Page 311: ...Chapter 12 Accounting ...
Page 322: ...Enter an account ID into the printer driver 322 Chapter 12 Accounting ...
Page 323: ...Chapter 13 Add toner and staples ...
Page 341: ...Chapter 14 Maintenance and print quality ...
Page 361: ...Chapter 15 Specifications ...
Page 375: ...Chapter 16 Third Party Software ...
Page 382: ...Library for SDE Compiler 382 Chapter 16 Third Party Software ...


