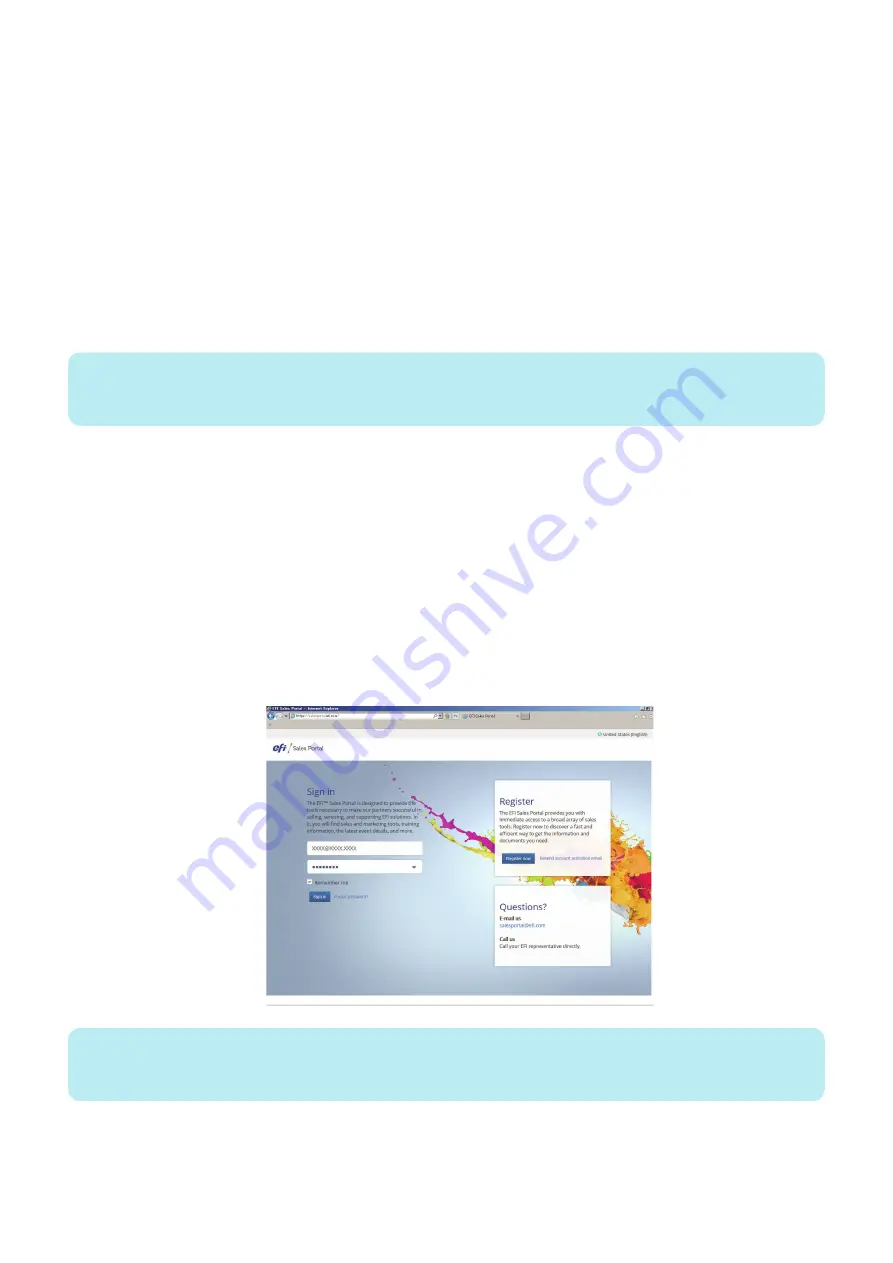
• Account at EFI Sales Portal
You need to have an account at EFI Sales Portal to download the Fiery Installer Builder. If you do not have an account at
EFI Sales Portal, you can register at https://salesportal.efi.com/account/registration/.
• Server name or IP address of the imagePASS
If the EFI Sales Portal account information is not available, or if you are not registered to the EFI Sales Portal, you can use
the server name or IP address of the imagePASS to download the imagePASS system software.
• Any Windows computer with:
• Windows 7, Windows 8, or Windows 10
• USB 3.0 port
• Minimum 500MB of available memory
• Internet connection enabled
To download the system software files, you need an Internet access.
Install the Fiery Installer Builder on this Windows computer.
• USB flash drive
Use the USB flash drive for installing the system software on the imagePASS.
NOTE:
Due to Windows file system restriction, the maximum size of the USB flash drive you can use is 32GB. The minimum size required
is 16GB.
• Ethernet cable
An Ethernet cable is required if you want to install the imagePASS system software through a peer-to-peer network
connection between your computer and imagePASS.
■ Fiery Installer Builder
You can download the Fiery Installer Builder from EFI Sales Portal. Using the Fiery Installer Builder you can perform the following
tasks:
• Download the system software files from EFI cloud server to your local or network storage location.
• Prepare USB flash drive for system software installation.
• Install imagePASS system software stored on a network location.
● To download and install the Fiery Installer Builder
1. From your web browser, access fiery.efi.com/FIB.
NOTE:
When FIB is not found, try the following URL
https://salesportal.efi.com/pages/fiery-servers-and-software/analyst-service-tech-corner/
4. INSTALLING SYSTEM SOFTWARE
45
Summary of Contents for imagePASS-P2
Page 1: ...Revision 1 1 imagePASS P2 Service Manual ...
Page 6: ...Introduction 1 Introduction 2 Specifications 6 ...
Page 13: ...Using the imagePASS 2 Using the imagePASS 9 ...
Page 16: ...Figure 3b The imagePASS Tools menu 2 Using the imagePASS 11 ...
Page 17: ...REPLACING PARTS 3 Replacing Parts 13 ...
Page 44: ...INSTALLING SYSTEM SOFTWARE 4 Installing System Software 40 ...


