Using the imagePASS
This chapter describes how to use the imagePASS.
Starting, shutting down, rebooting, and restarting the imagePASS
Always use the following procedures to start, shut down, reboot, or restart the imagePASS.
IMPORTANT:
Always verify that the imagePASS is not in use before you power off or restart it. Make sure that the system is not processing
or printing a job. Before you take the imagePASS off the network, always obtain permission from the network administrator.
To start the imagePASS
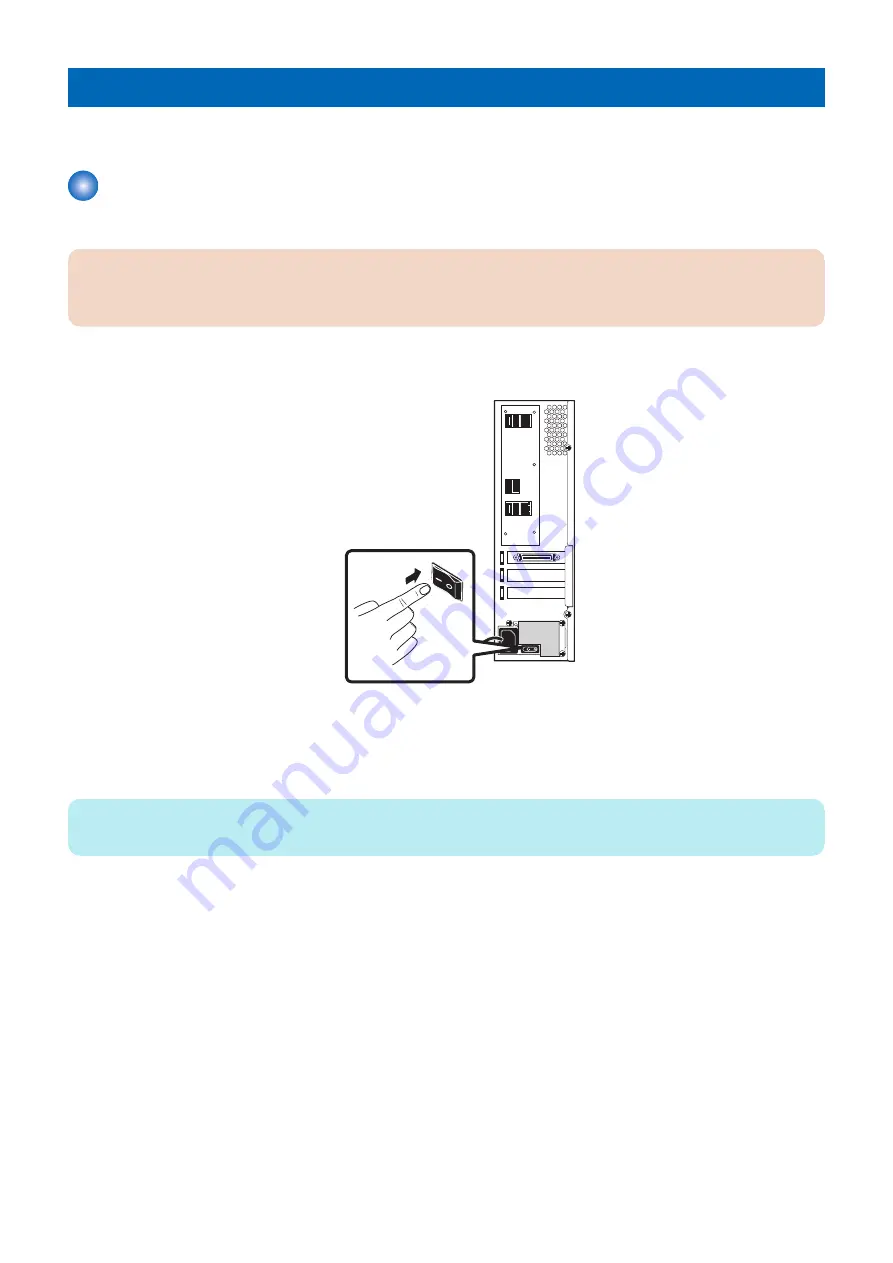
1. Press the power switch to set ON (|).
Figure 2: Starting the imagePASS
2. Power on the printer using the main power switch.
The imagePASS will automatically turns on as the printer warms up.
If it has been enabled in Setup, the imagePASS Start page will also print automatically when the imagePASS is ready for
use.
NOTE:
If the imagePASS does not start up within 15 minutes, see the Startup section of
“If the printer does not print” on page 67
To shut down the imagePASS
1. Make sure that the imagePASS is not receiving, processing, or printing any jobs.
2. Make sure that the printer is not in use.
3. Power off the printer using the main power switch on the front.
The imagePASS will automatically start the shutdown process. Wait for the printer and the imagePASS to power off
completely.
4. Move the imagePASS power switch to the OFF (O) position.
To Reboot the imagePASS
1. Make sure that the imagePASS is not receiving, processing, or printing jobs.
2. From the printer control panel, press the Home button. If the Fiery icon does not appear on the copier touch panel, press the
arrow at the lower right.
3. From the printer touch panel, select Fiery > Tools > Restart Server > Reboot Server.
2. Using the imagePASS
9
Summary of Contents for imagePASS-P2
Page 1: ...Revision 1 1 imagePASS P2 Service Manual ...
Page 6: ...Introduction 1 Introduction 2 Specifications 6 ...
Page 13: ...Using the imagePASS 2 Using the imagePASS 9 ...
Page 16: ...Figure 3b The imagePASS Tools menu 2 Using the imagePASS 11 ...
Page 17: ...REPLACING PARTS 3 Replacing Parts 13 ...
Page 44: ...INSTALLING SYSTEM SOFTWARE 4 Installing System Software 40 ...


