● To replace motherboard components
1. Replace the following cables to the motherboard (see
“To check cable connections” on page 17
connector):
• 10-pin power button cable
Connect one end of the 10-pin power button cable to J351 connector on the printer interface board. Connect the other
end to the J11 connector on the motherboard. The cable connector is keyed to fit only one way.
• Service board cable
• 24-pin power cable. The cable connector is keyed to fit only one way.
• 4-pin power cable. The cable connector is keyed to fit only one way.
• HDD data cable
• Chassis fan cable
2. Replace the printer interface board(see
“To replace the printer interface board” on page 20
).
3. Reassemble the imagePASS(see
“To reinstall and verify the imagePASS” on page 38
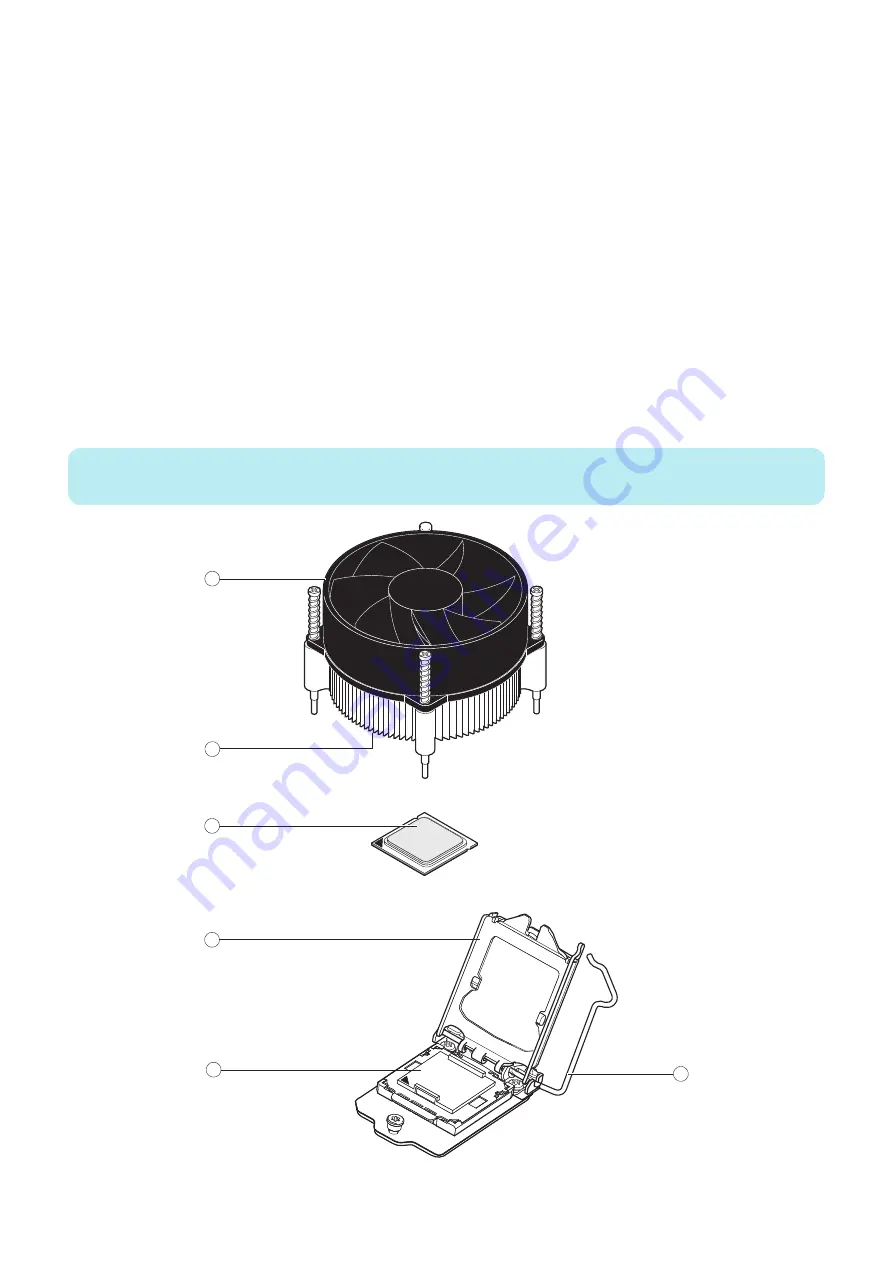
■ CPU and CPU cooling assembly
The CPU is installed in a socket on the motherboard. Before removing the CPU from its socket, remove the
motherboard from the chassis (see
“Removing the motherboard” on page 24
), disconnect the CPU fan cable from the
motherboard, and remove the cooling assembly from the CPU socket (see
assembly consists of a fan and a heatsink.
NOTE:
Do not remove the CPU fan from the heatsink.
1
2
3
4
5
6
Figure 18: CPU cooling assembly
3. REPLACING PARTS
28
Summary of Contents for imagePASS-P2
Page 1: ...Revision 1 1 imagePASS P2 Service Manual ...
Page 6: ...Introduction 1 Introduction 2 Specifications 6 ...
Page 13: ...Using the imagePASS 2 Using the imagePASS 9 ...
Page 16: ...Figure 3b The imagePASS Tools menu 2 Using the imagePASS 11 ...
Page 17: ...REPLACING PARTS 3 Replacing Parts 13 ...
Page 44: ...INSTALLING SYSTEM SOFTWARE 4 Installing System Software 40 ...


