


•
[Redial]
(Redial the last number you dialled.)
Press
[Call History]
>
[Redial]
.
•
[Outgoing Call]
(Select a number from the Outgoing Call history.)
Press
[Call History]
>
[Outgoing Call]
.
Select the number you want, and then press
[Apply]
.
•
[Caller ID History]
(Select a number from the Caller ID history.)
Press
[Call History]
>
[Caller ID History]
.
Select the number you want, and then press
[Apply]
.
•
[Address Book]
(Select a number from the Address Book.)
Press
[Address Book]
.
Do one of the following:
-
Select the number you want, and then press
[Apply]
.
-
Press
, and then enter the first letter of the name and press
[OK]
. Press the name you want to
dial. If the name has two numbers, press the number you want. Press
[Apply]
.
4. Press
[Document Size]
.
Select the document size option you want.
5. Change the fax settings, if needed.
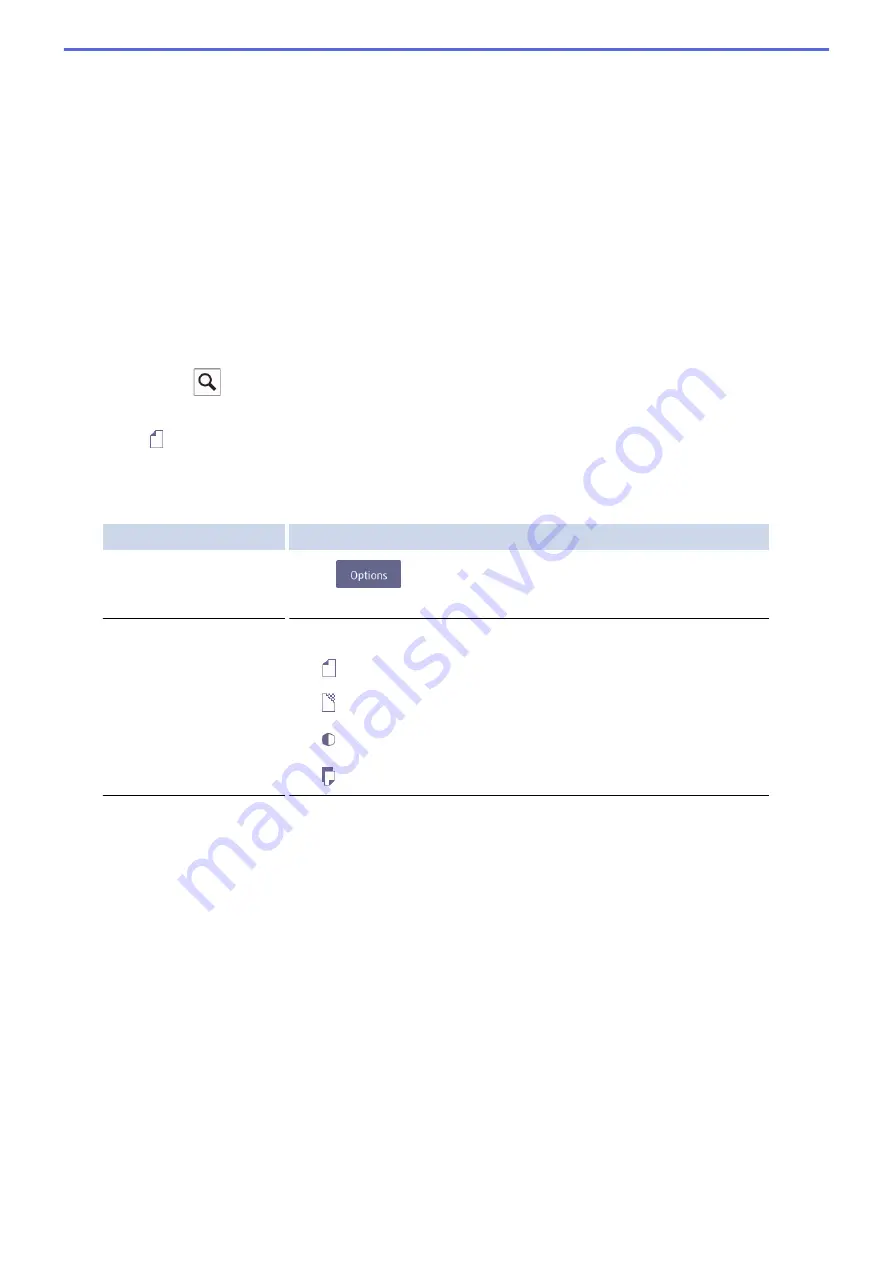
Option
Description
Options
Press
to change the fax settings for the next fax only.
When finished, press
OK
.
Current setting indications Press the following icons to change these settings for the next fax only:
•
Document Size
•
Fax Resolution
•
Contrast
•
2-sided Fax
6. Press
[Fax Start]
.
7. Do one of the following:
•
If you are using the ADF, the machine starts scanning and sending the document.
•
If you are using the scanner glass and selected
[Mono]
in the
[Colour Setting]
, the machine starts
scanning the first page.
Go to the next step.
•
If you are using the scanner glass and selected
[Colour]
in the
[Colour Setting]
, the touchscreen
asks if you want to send a colour fax.
Press
[Yes (Colour fax)]
to confirm. The machine starts dialling and sending the document.
8. When the touchscreen displays
[Next Page?]
, do one of the following:
•
Press
[No]
when finished scanning pages. The machine starts sending the document.
•
Press
[Yes]
to scan another page. Place the next page on the scanner glass, and then press
[OK]
. The
machine starts scanning the page.
Repeat this step for each additional page.
275
Summary of Contents for MFC-J3530DW
Page 26: ...Related Information Touchscreen LCD Overview 19 ...
Page 30: ...Related Information Introduction to Your Brother Machine 23 ...
Page 35: ...Home Paper Handling Paper Handling Load Paper Load Documents 28 ...
Page 60: ... About Envelopes Choose the Right Print Media Error and Maintenance Messages 53 ...
Page 167: ...Related Information Set up a Scan to Network Profile 160 ...
Page 183: ...Related Information Scan Using the Scan Button on Your Brother Machine 176 ...
Page 283: ...Related Information Send a Fax Fax Options 276 ...
Page 290: ... Set up Groups for Broadcasting Enter Text on Your Brother Machine 283 ...
Page 318: ...Related Information Memory Receive Options 311 ...
Page 341: ...Related Information Store Fax Numbers 334 ...
Page 343: ... Store Address Book Numbers 336 ...
Page 364: ... Set the Machine to Power Off Automatically 357 ...
Page 365: ...Home Fax PC FAX PC FAX PC FAX for Windows PC FAX for Mac Sending only 358 ...
Page 420: ... Wi Fi Direct Network Configuration Overview 413 ...
Page 429: ...Related Information Configure Your Brother Machine for Email or I Fax 422 ...
Page 510: ...Related Information Set Up Brother Web Connect 503 ...
Page 514: ...Related Information Set Up Brother Web Connect 507 ...
Page 628: ... My Brother Machine Cannot Print Scan or PC FAX Receive over the Network 621 ...
Page 643: ... Clean the Print Head from Your Brother Machine 636 ...
Page 752: ...Home Appendix Appendix Specifications Enter Text on Your Brother Machine 745 ...
Page 762: ...CHN ENG Version A ...


