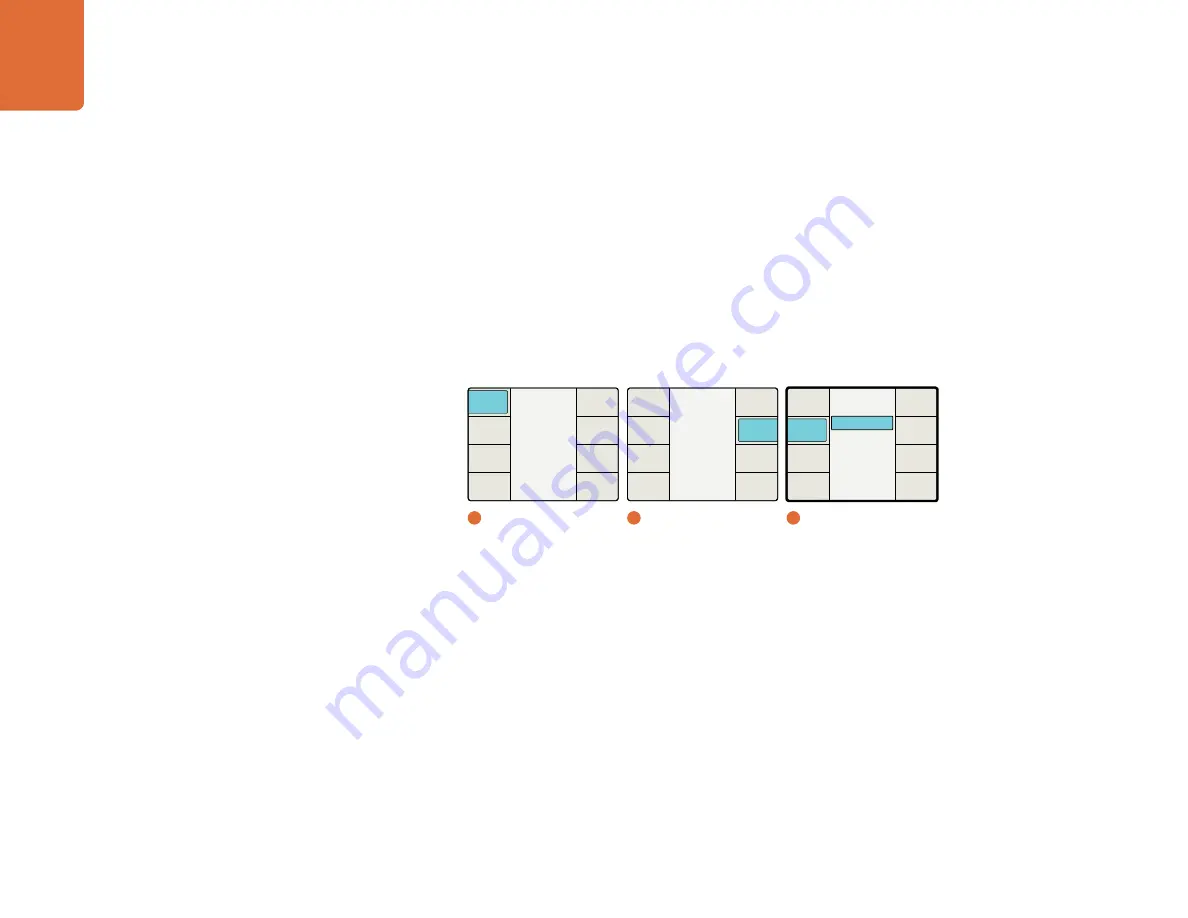
Understanding the LCD Menus
43
Scene Detection
The Scene Detection menu allows you to enable scene cut (or scene change) detection, which will preserve
clean cuts between scenes. Upon detecting a cut, the temporal aperture is reduced from 4 fields to 2 fields
for the first frame of the new scene. This prevents the mixing of fields from the previous and new scenes.
On
– Enables Scene Cut Detection
Off
– Disables Scene Cut Detection
The default mode is
ON
Some video sequences may “stutter” when Scene Detection is turned ON due to the momentary change
in temporal resolution. Video with a text crawl at the bottom of the picture may show this effect. If you see
this anomaly, set the Scene Detection mode to OFF.
Source Type
The Source type sets the algorithmic response of the system based on the type of input video being
received. The default mode is
Auto
; however, if you want to force the response to either the
Film
of
Video
modes, choose the desired Source Type in the menu.
Auto
– This mode will look for film and video based material and will select the appropriate
algorithm. Since the Processor can automatically detect film or video, this mode should be used
in most cases.
Film
– Select this mode when the source material contains a film-like cadence. This means that
duplicate fields have been inserted into the material in order to transfer lower frame rate material
into a higher frame rate transport. An example of this is material shot at a 23.98 frame rate that has
a 3:2 cadence inserted to create material that has a 59.94 field rate.
Video
– Select this mode if the source material does not have duplicate frames inserted into it to
force a particular cadence.
Main Menu
Back
Audio
Setup
3D
Ancillary
Data
Noise
Reduction
Video
1
Main Menu
Video
Back
Advanced
Test
Patterns
Proc
Amp
Aspect
Clip
Color
2
Video
Off
On
Scene Detect
Back
FRC
Aperture
Source
Type
Scene
Detect
Clean
Cadence
3
Advanced / Scene Detect


