Capture and Playback
109
Adobe Premiere Pro CS6
Setting up a Blackmagic Design project
Step 1.
Launch Premiere Pro.
Step 2.
Create a New Project and click on the Scratch Disks tab.
Step 3.
Set the desired Location and Name for your project at the bottom of this window.
Step 4.
Set the locations for your captured video, captured audio, video previews and audio previews.
Step 5.
Click on the General tab and review the Video Rendering and Playback settings. If your graphics
card is supported by Premiere Pro's Mercury Playback Engine, the Renderer option will be
available and you should switch it to "Mercury Playback Engine GPU Acceleration".
Step 6.
Set the Capture Format to Blackmagic Capture and click on the Settings [Mac] or Properties [Win]
button to reveal the Blackmagic Capture Settings for your project. The Video Standard can be set
to NTSC, PAL, HD720 or HD1080. The Video Format can be uncompressed or compressed. Now
click OK.
Step 7.
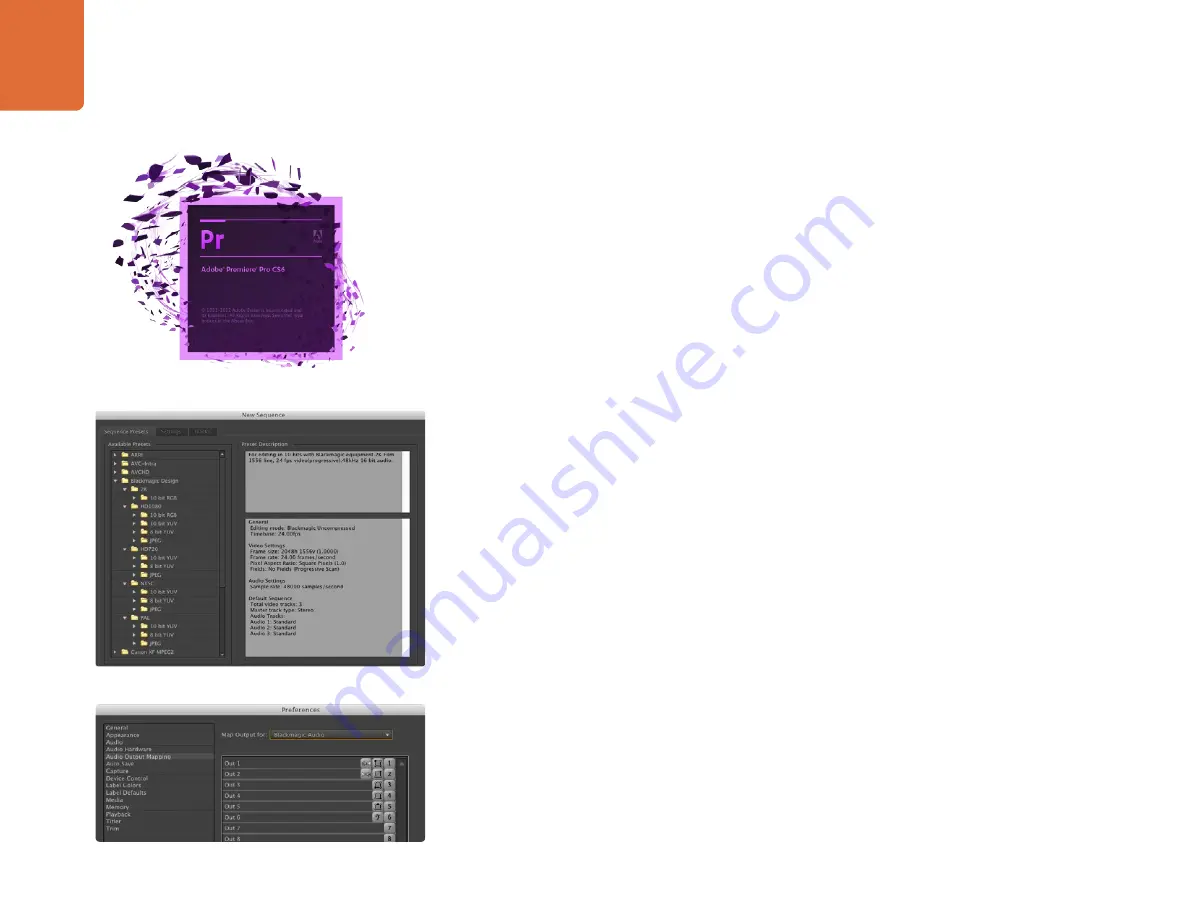
The New Sequence window will appear. To preserve maximum video quality, you'll need to create
a full resolution uncompressed sequence. To do so, click the discovery triangle next to "Blackmagic
Design" select a preset to match the video standard and choose from uncompressed 8 bit YUV,
10 bit YUV or 10 bit RGB. If you don't have the storage space or disk speed for uncompressed
video, choose a JPEG sequence preset for a full resolution, open-standard codec.
Premiere Pro CS6 also includes a variety of sequence presets for compressed and RAW camera
formats. Any clips you drop in to a resulting sequence will be rendered in the compressed or RAW
camera format. For example any clips dropped into a DVCPRO HD sequence will be rendered in
the compressed DVCPRO HD format even if they are uncompressed clips.
When you have selected the desired sequence preset, give the sequence a name and click OK.
Audio
Blackmagic audio hardware needs to be selected each time a new project is created. Go to Preferences >
Audio Hardware and set the Default Device to Blackmagic Audio.
Now go to Preferences > Audio Output Mapping and set "Map Output for" to "Blackmagic Audio".
Configure the mix of the multi-channel audio as desired.
New Sequence
Audio Output Mapping
Adobe Premiere Pro


