


13. Click
OK
.
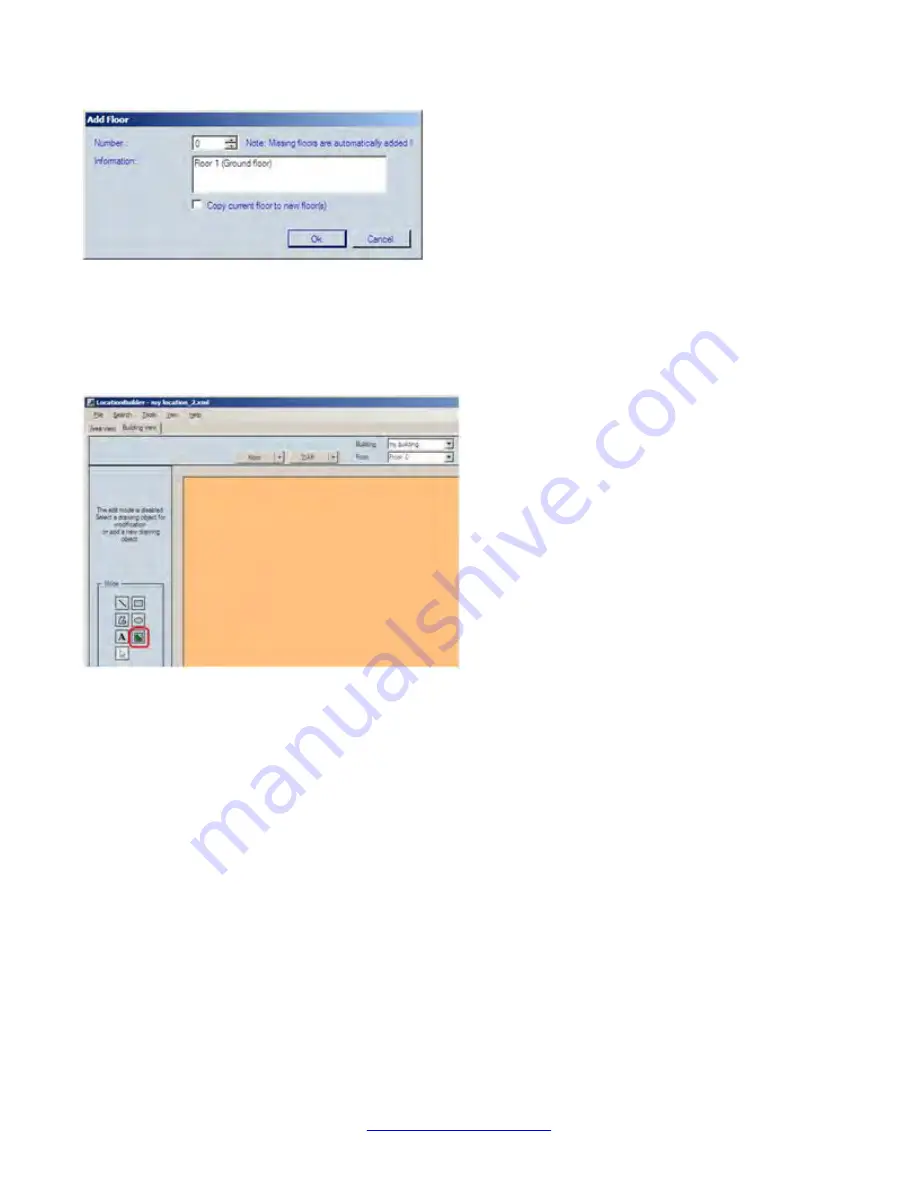
14. Now you must enter the jpg image/picture for floor 0 (ground floor), also called Floor 1 in this jpg image
example. Make sure that you have selected the correct building and make sure that you have selected
“Floor 0”. Now click the “Add New Image” icon (in the screen capture below, the icon with the red circle
around it.
15. Now the window below is opened. Select the “jpg” file representing the ground floor of building. Fill in
the location parameters, to position the ground floor picture in the correct position in the Location. Please
remember the position settings for the adding more floors. The other floors should be positioned on the
same position in the location. When done, click
OK
.
Location builder tool
186 SIP DECT Fundamentals
October 2012
Summary of Contents for CS 1000
Page 6: ...6 SIP DECT Fundamentals October 2012 ...
Page 146: ...System administration 146 SIP DECT Fundamentals October 2012 Comments infodev avaya com ...
Page 174: ...System maintenance 174 SIP DECT Fundamentals October 2012 Comments infodev avaya com ...
Page 204: ...Site survey example 204 SIP DECT Fundamentals October 2012 Comments infodev avaya com ...


