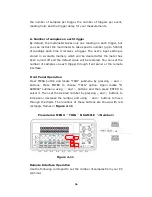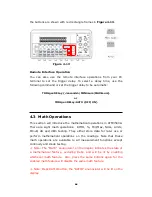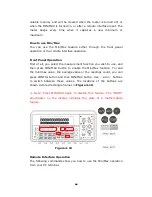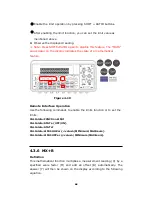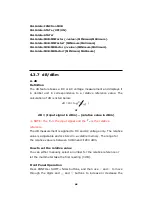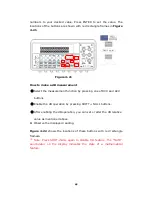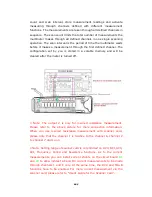
(available measurement for CH1/CH6 only). Or externally
connect current shunts in parallel connection to the required
Channel(s) among CH1 ~ CH10 and current source(s). (The
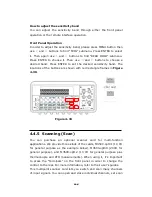
section 4.4.5 has the diagram explanation of the scanner card.)
3.
Insert the scanner card into the DMM carefully.
4.
Connect the output A’s leads to the rear terminal INPUT HI
and LO.
5. Execute the PT-TOOL.
6.
Choose DCI function to activate the MX+B function. You need
to input the “R” value and the Offset “I” value if you know.
7.
Press YES to start the measurement.
※
Note: We can’t accept the input source exceeding (ACV: 125V/
DCV: 110V) or the components on the scanner card might be burned
out. It’s better to use the front terminal to test sources first.
Application 2.
(via the front panel operation for the single current measurement.):
Case: Mr. Obama wants to measure a source, 10A, through a 0.1Ω
current shunt and a ATM3500A DMM. However, the DMM’s tolerance
just can stand the maximum input current, 3A. What should he do?
Please obey the following procedures and illustrations as a big current
measurement solution.
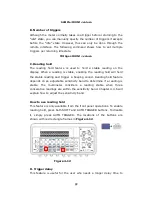
1. Switch the terminal to the front control.
2.
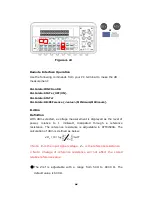
Externally connect a current shunt “0.1Ω” in parallel
connection to the INPUT HI & LO and a current source 10A.
3.
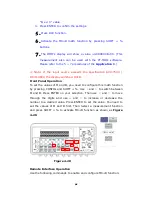
Press CONFIG > SHIFT + % to set the MX+B. You need to
input the current shunt value “M = 1/0.1= 10Ω” and the Offset
90

