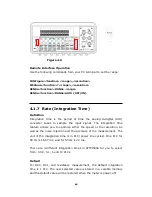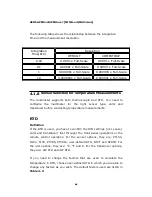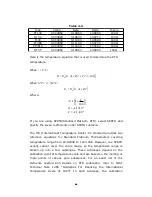
How to set the integration time:
You can set the integration time either through the front panel
operation or through the remote interface operation.
Front Panel Operation
Integration time is set indirectly when you select the measurement
resolution. Please refer to chapter 4.1.3 for details about how to set
resolution or the digits.
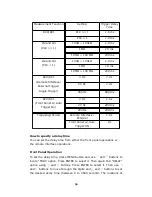
Table 4-1
on
page 51 shows the relationship
between the resolution and the integration time.
Remote Interface Operation
Use the following commands on your PC terminal to set the resolution.
CONFigure:< function> <range>, <resolution>
MEASure:< function>? <range>, <resolution>
SENSe:< function>:RESolution <resolution>
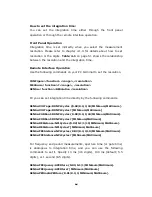
Or you can set integration time directly by the following commands.
SENSe:VOLTage:DC:NPLCycles {0.02|0.1|1|10|MINimum|MAXimum}
SENSe:VOLTage:DC:NPLCycles? [MINimum|MAXimum]
SENSe:CURRent:DC:NPLCycles {0.02|0.1|1|10|MINimum|MAXimum}
SENSe:CURRent:DC:NPLCycles? [MINimum|MAXimum]
SENSe:RESistance:NPLCycles {0.02|0.1|1|10|MINimum|MAXimum}
SENSe:RESistance:NPLCycles? [MINimum|MAXimum]
SENSe:FRESistance:NPLCycles {0.02|0.1|1|10|MINimum|MAXimum}
SENSe:FRESistance:NPLCycles? [MINimum|MAXimum]
For frequency and period measurements, aperture time (or gate time)
is analogous to integration time
,
and you can use the following
commands to set it.
Specify 10 ms (4.5 digits), 100 ms (default; 5.5
digits), or 1 second (6.5 digits).
SENSe:FREQuency:APERture {0.01|0.1|1|MINimum|MAXimum}
SENSe:FREQuency:APERture? [MINimum|MAXimum]
SENSe:PERiod:APERture {0.01|0.1|1|MINimum|MAXimum}
64

