


10.4 Configuring Scheduled Storage
107
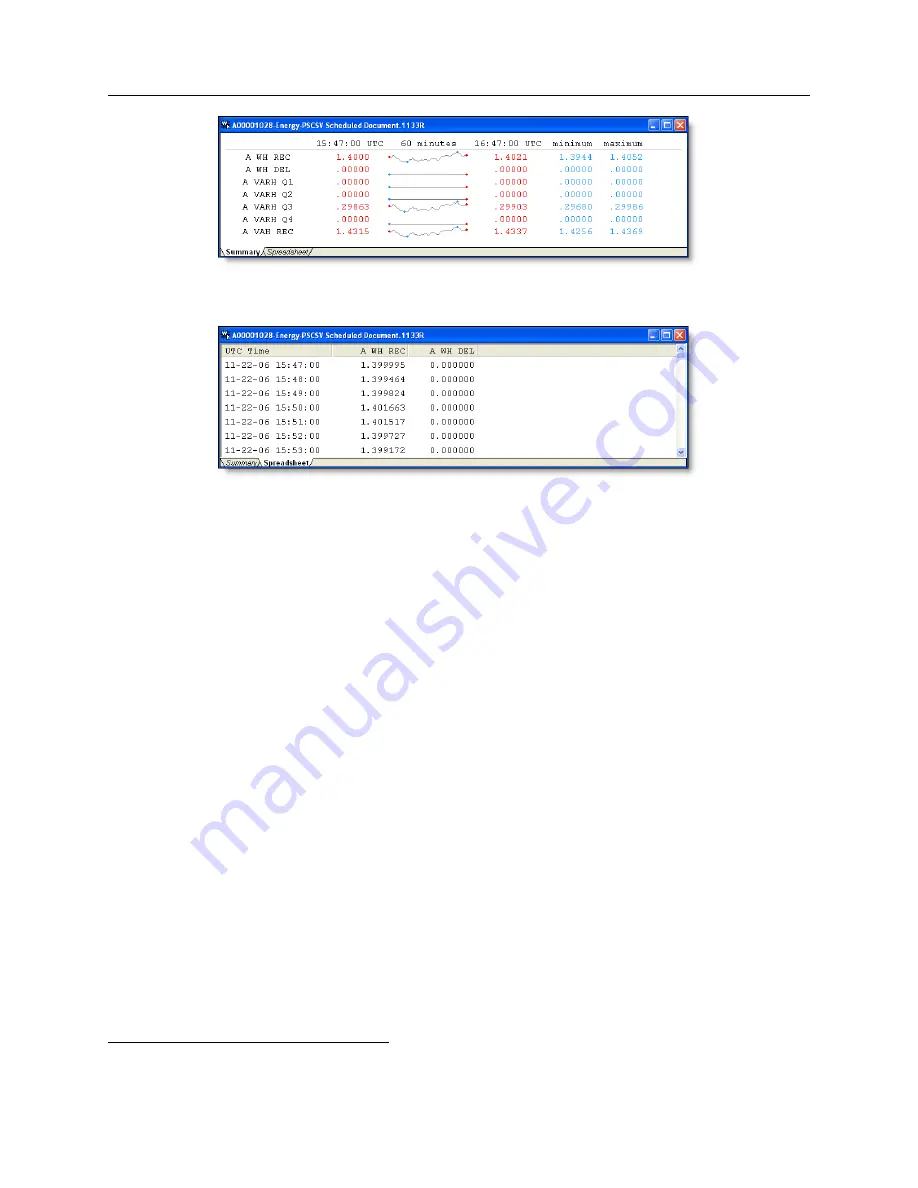
Figure 10.4: Scheduled Data
−
Summary View
Figure 10.5: Scheduled Data
−
Spreadsheet View
10.4
Configuring Scheduled Storage
Configuring Scheduled Storage includes selecting the types of data from the included list and setting
up the storage time interval.
For information on using DNP 3.0 or Modbus to access scheduled data, see “Configuring DNP
3.0 Protocol” and Appendix A.
WARNING:
Save current data before configuring. Configuring Scheduled Storage in the flash
memory module will cause all scheduled data stored in flash memory to be deleted.
1. Open a connection between the 1133A and computer using PSCSV and log on using an
account with permission to configure. If necessary, see “1133A Security.”
2. From the main menu, select Connection
>
Configure
>
Scheduled Data or click the Configure
Scheduled Storage button.
3. Select, from the list of values in each category, the items to be stored as scheduled in flash
memory. These categories include Energy, Voltage, Frequency Variation, Flicker (Pst
) and
Harmonics. Right click with the mouse to increase the selection options.
4. For each set of items (e.g. Energy) select the storage interval in the window at the bottom,
which is the recording rate. Allowable values are every 1, 5, 10, 15, 30 and 60 minutes.
5. Click Apply and then OK to close the configuration menu. PSCSV warns you prior to deleting
previous scheduled data. Click Yes to proceed or No to quit.
1
For Pst flicker, always select “Store this data every 10 minutes”; see Section 7.12


