


4-3
Using Quick CFIG to Autoconfigure a Panel,
Continued
Quick CFIG Reconfigure
All Hardware Option,
3.
Press <ENTER> to continue with the Quick-CFIG option.
4.
Press <NEXT> or <PREVIOUS> until <RECONFIGURE ALL HARDWARE> is
displayed and then press <ENTER>. A warning appears, indicating that this will delete
the current configuration.
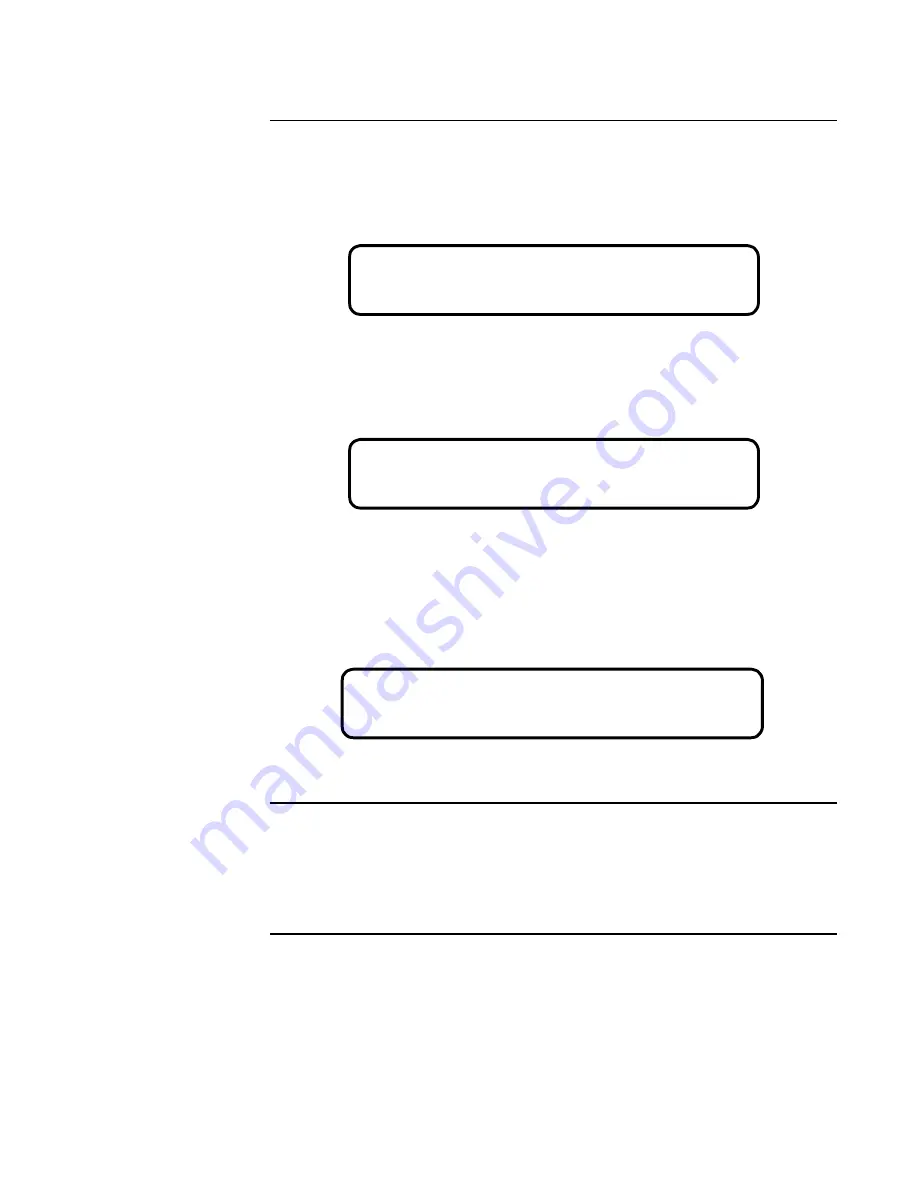
Figure 4-2. Warning Screen
5.
Press <ENTER> to continue. Another warning appears, indicating that you need to press
<ENTER> to confirm the deletion.
Figure 4-3. Confirm Deletion Screen
6.
A message appears indicating that Quick CFIG is reconfiguring the hardware. This
message is followed by another, which indicates that Quick CFIG is scanning for SLCnet
devices. The Reconfigure ALL Hardware function is complete when a message similar to
the following appears.
Figure 4-4. Hardware Detection Completed Notification
Upload the Job from the
Panel to the Laptop
When Quick CFIG completes, you need to upload the job from the panel to the laptop PC on
which the programmer is installed. Once the job is uploaded, you can open it and customize it
as required by the customer, i.e. custom labels, system options, etc.
See "Uploading a Job from the Panel," later in this chapter, for specific information on doing
this.
WARNING <Enter> to Continue WARNING
This will DELETE current configuration
WARNING <Enter> to Continue WARNING
Press <Enter> to confirm deletion
** Automatic Hardware Detection Completed **
Total SLCnet Devices Added: 128


