CP-3000 User’s Guide
6-13
Step 7
.
Press the
FUNCTION
key, the second LED
indicator will illuminate.
Step 8
.
Press the
YES
key, the third LED indicator
will illuminate.
Step 9
.
Press the
NO
key, the fourth LED indicator
will illuminate. Repeat this sequence several
times.
Step 10
.
Set the
Mode Switch
to
PROGRAM
and
press the
YES
key to stop the test. A beep
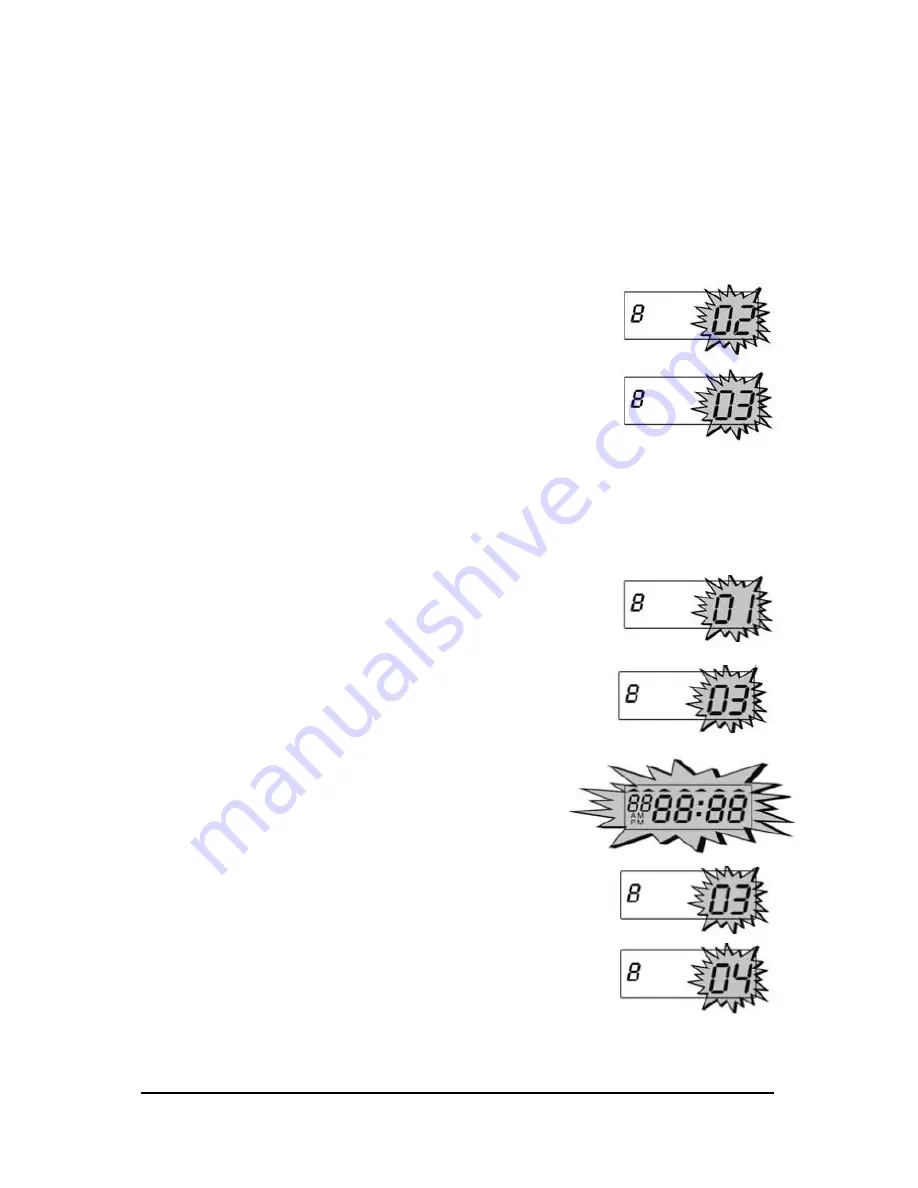
will sound and the test number will flash in
the display.
Step 11
.
Press the
NO
key to move to the next test
or exit the
Diagnostics
menu by pressing
the
FUNCTION
key, or by exiting the
Program Mode
.
LCD Test
Step 1
.
If you have not already done so, enter
the
Program Mode
and press the
FUNCTION
key until the
LED Test
menu item appears in the display.
Step 2
.
Press the
NO
key twice. The
LCD
Test
menu item will appear in the
display.
Step 3
.
Press the
YES
key to select and start
the test. The test number will
disappear and all the segments of
the LCD display will flash.
Step 4
.
Press the
YES
key to stop the test. A
beep will sound and the test number
will flash in the display.
Step 5
.
Press the
NO
key to move to the
next test or exit the
Diagnostics
menu by pressing the
FUNCTION
key, or by exiting the
Program
Mode
.
Summary of Contents for CP-3000
Page 1: ...CP 3000 Electronic Time Recorder User s Guide ...
Page 6: ...iv CP 3000 User s Guide This page intentionally left blank ...
Page 22: ...2 12 CP 3000 User s Guide This page intentionally left blank ...
Page 30: ...3 8 CP 3000 User s Guide This page intentionally left blank ...
Page 56: ...5 4 CP 3000 User s Guide This page intentionally left blank ...
Page 74: ...7 2 CP 3000 User s Guide ...
Page 75: ......


