CP-3000 User’s Guide
3-3
Card Color
The CP-3000 can be used with most of the colored time cards
available. However, when selecting a time card, you should make sure
that the background color of the card does not interfere with the time
card sensors’ ability to read the contrast between the card and the
Column Position Block
in the imprint (see page 3-1). In addition, the
surface of the time card should be smooth, and clean of any oil, dirt, or
dust. A rough or soiled card surface will also impede the time card
sensors’ ability to read the
Column Position Block
in the imprint.
Time Card Settings
The
Time Card Settings
menu in the
Program Mode
is used to verify
that the
Card Type Setting
is correct and to adjust the
Bottom (Bm)
and
Side (Sm) Margins
of the imprint. When adjusting these margins,
the length and location of the imprint should be taken into consideration.
Since the CP-3000 uses the
Column Position Block
on the imprint to
record column position, the imprint can not be aligned with any
corresponding lines or artwork in the card. If this occurs, the card will be
ejected and a “beep” will sound.
Card Type Setting
The only allowable Card Type Setting for the CP-3000 is “18”. This
setting corresponds to a 3.375” (86 mm) wide “Clipper” type card. This
card type is recommended, but others can be used. The card width can
be adjusted mechanically by setting the width of the card throat. To verify
the Card Type Setting, perform the following steps:
Step 1
.
Remove the top cover.
Note:
ESD (Electrostatic Discharge) precautions should be adhered
to before touching the
Mode Switch
.
Step 2
.
Enter the
Program Mode
by setting the
Mode Switch
to
PROGRAM
.
Step 3
.
Press the
FUNCTION
key until the
Time
Card Settings
menu item appears in the
display.
Step 4
.
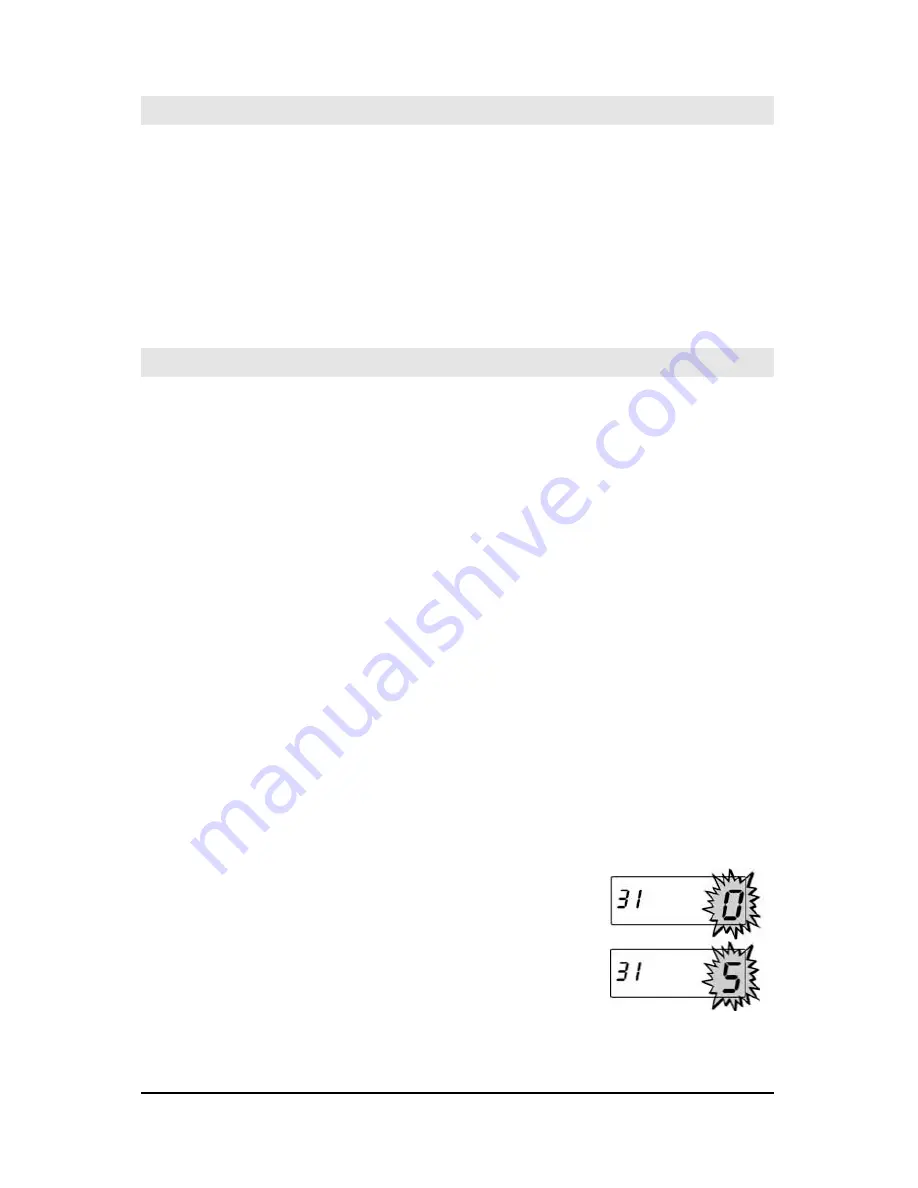
Press the
NO
key to select the
Card Type
Setting Password
of “5”.
Summary of Contents for CP-3000
Page 1: ...CP 3000 Electronic Time Recorder User s Guide ...
Page 6: ...iv CP 3000 User s Guide This page intentionally left blank ...
Page 22: ...2 12 CP 3000 User s Guide This page intentionally left blank ...
Page 30: ...3 8 CP 3000 User s Guide This page intentionally left blank ...
Page 56: ...5 4 CP 3000 User s Guide This page intentionally left blank ...
Page 74: ...7 2 CP 3000 User s Guide ...
Page 75: ......


