CP-3000 User’s Guide
4-11
Step 4
.
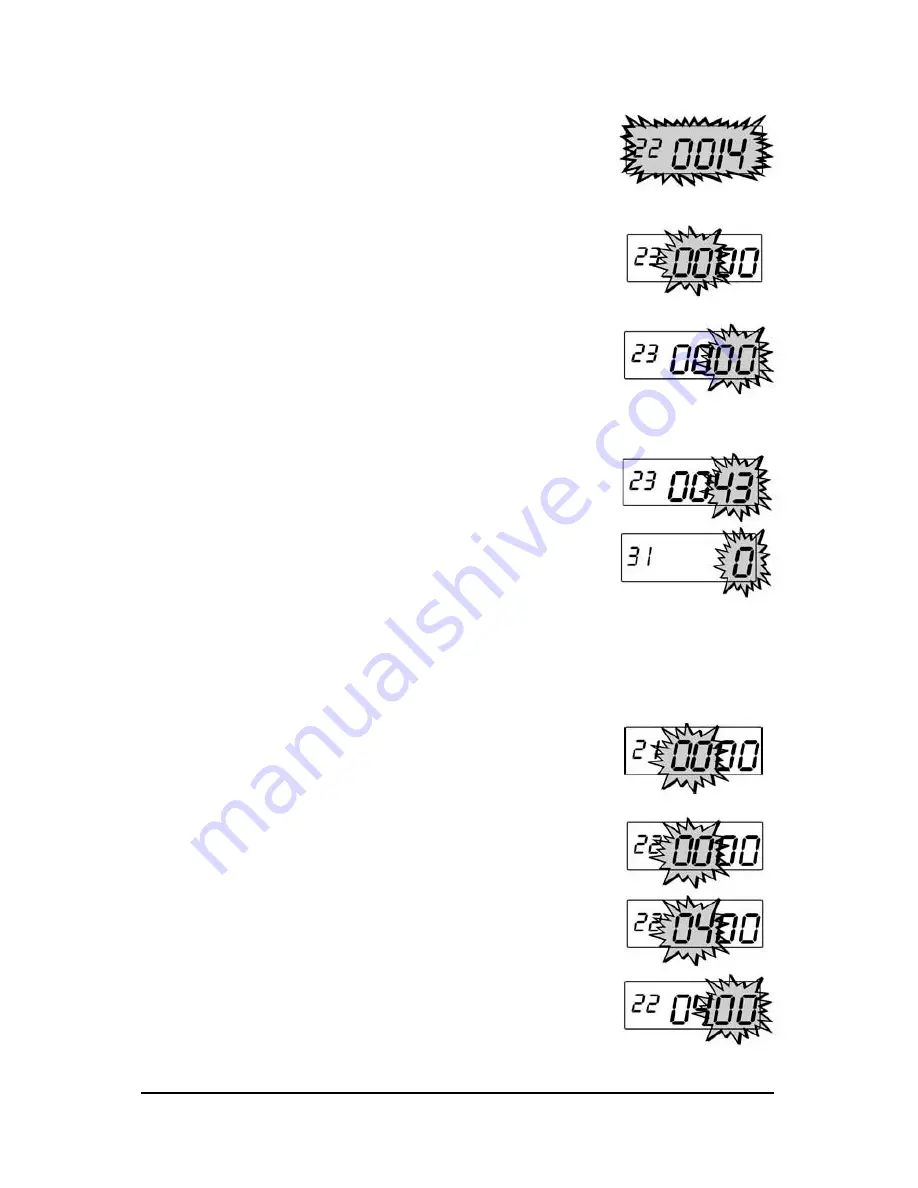
When the desired value is displayed,
pressthe
YES
key. The week number will
flash in the display. To edit these settings,
press the
NO
key. This will return you to
the display described in step 2. To save
these settings, press the
YES
key. When
saved, the next menu item,
DST End
Date
will appear in the display with the
first pair of digits (month) flashing in the
display.
Step 5
.
Press the
NO
key until the correct week
number of the year (01 thru 52) appears
in the display. Holding down the
NO
key
for more than three seconds will
increment thenumber in the display by
ten.
Step 6
.
Press the
YES
key. The value entered will
flash in the display. To edit these settings,
press the
NO
key. This will return you to
the display described in step 4. To save
these settings, press the
YES
key. When
saved, the display will move to the
Time Card Settings
menu.
Step 7
.
Exit the
Program Mode
by setting the
Mode Switch
to
NORMAL
.
By Month and Day
Step 1
.
If you have not already done so, enter
the
Program Mode
and press the
FUNCTION
key until the
Day Change Time
menu item appears in the display.
Step 2
.
Press the
YES
key three times until the
DST Begin Date
menu item appears with
the first pair of digits (month) flashing in the
display.
Step 3
.
Press the
NO
key until the correct month
number (01 thru 12) appears in the display,
and then press the
YES
key. Holding down
the
NO
key for more than three seconds will
increment the number in the display by ten.
When saved, the second pair of digits (date
of the month) will flash in the display.
Summary of Contents for CP-3000
Page 1: ...CP 3000 Electronic Time Recorder User s Guide ...
Page 6: ...iv CP 3000 User s Guide This page intentionally left blank ...
Page 22: ...2 12 CP 3000 User s Guide This page intentionally left blank ...
Page 30: ...3 8 CP 3000 User s Guide This page intentionally left blank ...
Page 56: ...5 4 CP 3000 User s Guide This page intentionally left blank ...
Page 74: ...7 2 CP 3000 User s Guide ...
Page 75: ......


