MODEM COMMUNICATION TO ABB RELAYS
Page 28 of 47
C
FRNT STOP BITS
The selections for Stop Bits are 1 or 2.
21.
Depress the “E” key to accept the selections.
22.
Depress the “C” key to back out of the relay and accept the settings when prompted by the front
panel interface.
Step 4: Configure Hyperterminal
Configuration of HYPERTERMINAL requires a few easy steps. The same configuration of hyperterminal
may be used for two tasks:
•
Configuration of the MODEMS with the AT command sets.
•
Dial out and query of the REL512 MENU ASCII SCREENS for device configuration
and file retrieval.
The REL512 FRONT port as illustrated in TABLE 1 does not offer handshaking. Therefore, setup
requires that no handshaking be used for HYPERTERMINAL. HYPERTERMINAL MUST BE SET UP
WITH COMMUNICATION PARAMETERS WHICH MATCH THAT OF STEP 3 ABOVE, namely:
8
Data Bits
1
Stop Bit
No Parity
19200 Baud
The steps to accomplish this are as follows:
1.
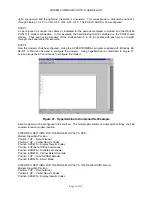
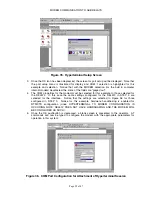
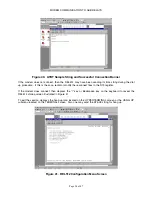
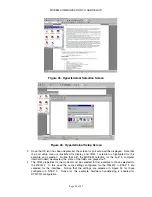
Select HYPERTERMINAL from the WINDOWS menu to reveal the following screen
illustrated in Figure 34.
2.
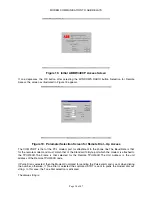
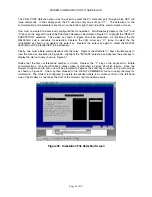
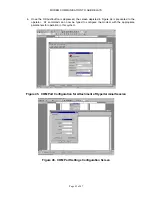
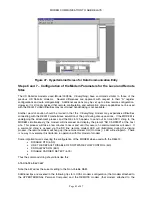
Select the icon labeled Hyperterminal.exe. The screen illustrated in Figure 35 should be
visible. The operator will be prompted for a name as illustrated.
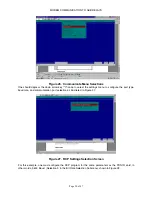
Figure 34. Hyperterminal Selection Screen
Summary of Contents for REL 356
Page 23: ...ABB REL 356 Current Differential Protection 1 10 Product Overview and Specifications ...
Page 83: ...ABB REL 356 Current Differential Protection 3 36 Settings and Application ...
Page 127: ...ABB REL 356 Current Differential Protection 5 28 Testing ...
Page 186: ...LINE SECTIONALIZING USING A PLC AND ABB PROTECTIVE RELAY Page 49 of 53 ...
Page 187: ...LINE SECTIONALIZING USING A PLC AND ABB PROTECTIVE RELAY Page 50 of 53 ...
Page 188: ...LINE SECTIONALIZING USING A PLC AND ABB PROTECTIVE RELAY Page 51 of 53 ...
Page 189: ...LINE SECTIONALIZING USING A PLC AND ABB PROTECTIVE RELAY Page 52 of 53 ...

