6
Xerox Phaser 3635MFP User Guide
111
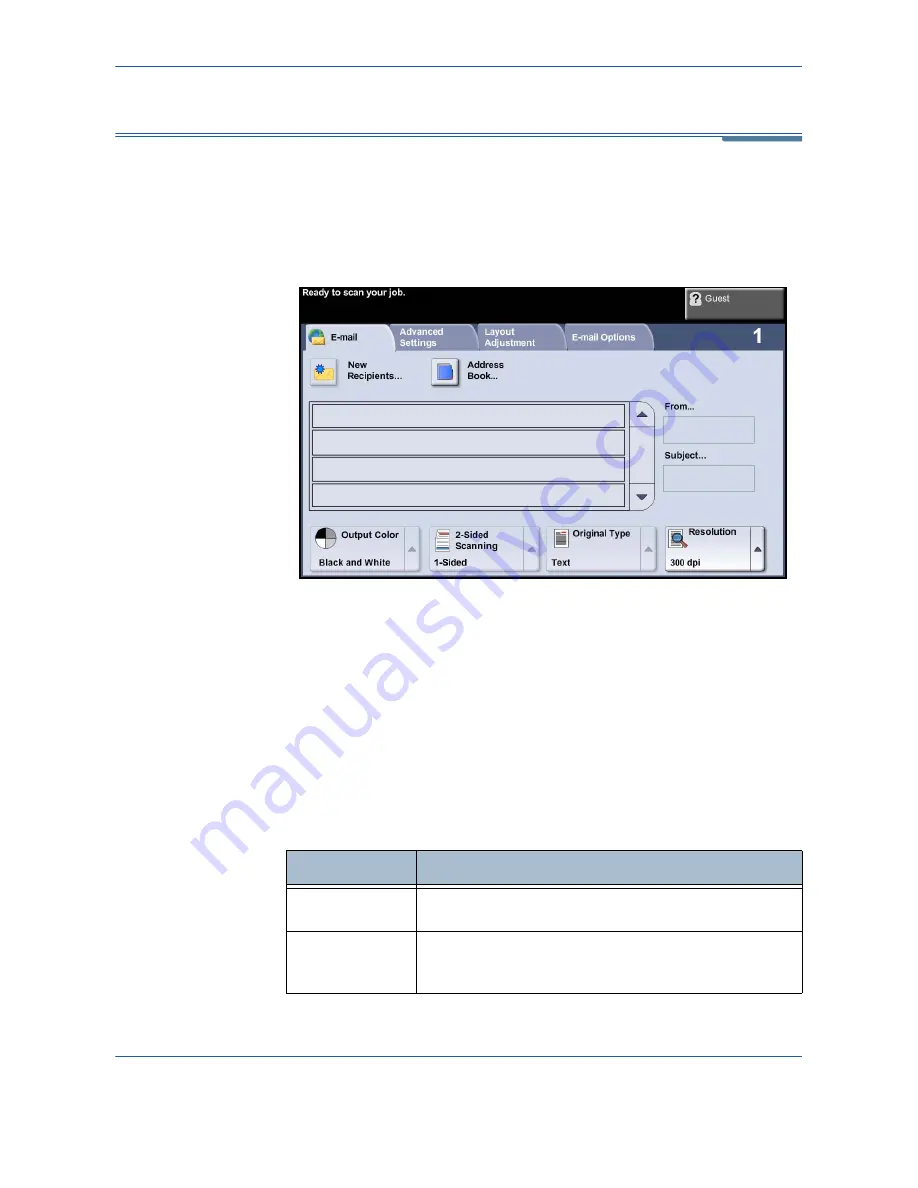
The
screen contains the basic information needed to send a document
as an e-mail attachment.
The
screen allows you to temporarily change the information relating to
your original. Changing these settings allows you to achieve optimum
scanning quality for each E-mail original.
Use the following options to enter recipient information.
From
This button provides information about the sender including the sender's email
address. Select the
From
button to display the e-mail keypad to enter an e-
mail address.
NOTE:
If E-mail is accessed via Authentication Mode, the information
contained will be linked with the login name.
New Recipients
Select the
New Recipients
button to enter one or more recipients for the email
attachment. Selecting the
New Recipients
button displays the e-mail keypad
to enter an e-mail address.
Option
Description
To:
Use the keypad on the touch screen to enter the e-mail
address of the recipient.
Cc:
Use the keypad on the touch screen to enter the e-mail
address of the recipient you wish to be copied on the e-mail
job.
Содержание Phaser 3635MFP/S
Страница 1: ...Xerox Phaser 3635MFP User Guide Version 3 7 21 02 08...
Страница 6: ...Table of Contents iv Xerox Phaser 3635MFP User Guide...
Страница 42: ...2 Getting Started 36 Xerox Phaser 3635MFP User Guide...
Страница 108: ...5 Network Scanning 102 Xerox Phaser 3635MFP User Guide...
Страница 140: ...7 Store to USB 134 Xerox Phaser 3635MFP User Guide...
Страница 148: ...8 Print Files 142 Xerox Phaser 3635MFP User Guide...
Страница 151: ...9 Print Xerox Phaser 3635MFP User Guide 145 2 Click OK to confirm your selections 3 Click OK to print your document...
Страница 187: ...11 Setups Xerox Phaser 3635MFP User Guide 181 Tools User Interface Copy Service Settings Reduce Enlarge Preset...
Страница 202: ...11 Setups 196 Xerox Phaser 3635MFP User Guide...
Страница 216: ...13 Specifications 210 Xerox Phaser 3635MFP User Guide...
Страница 228: ...Index 222 Xerox Phaser 3635MFP User Guide...


