file:///C|/Documents%20and%20Settings/Miz%20B/My%20D...0UGTA/Nuvera%209.0%20UGTA_FINAL/English/psg_iq60.htm8/13/2008 2:37:19 PM
Removing Image Show Through
(when scanning or copying)
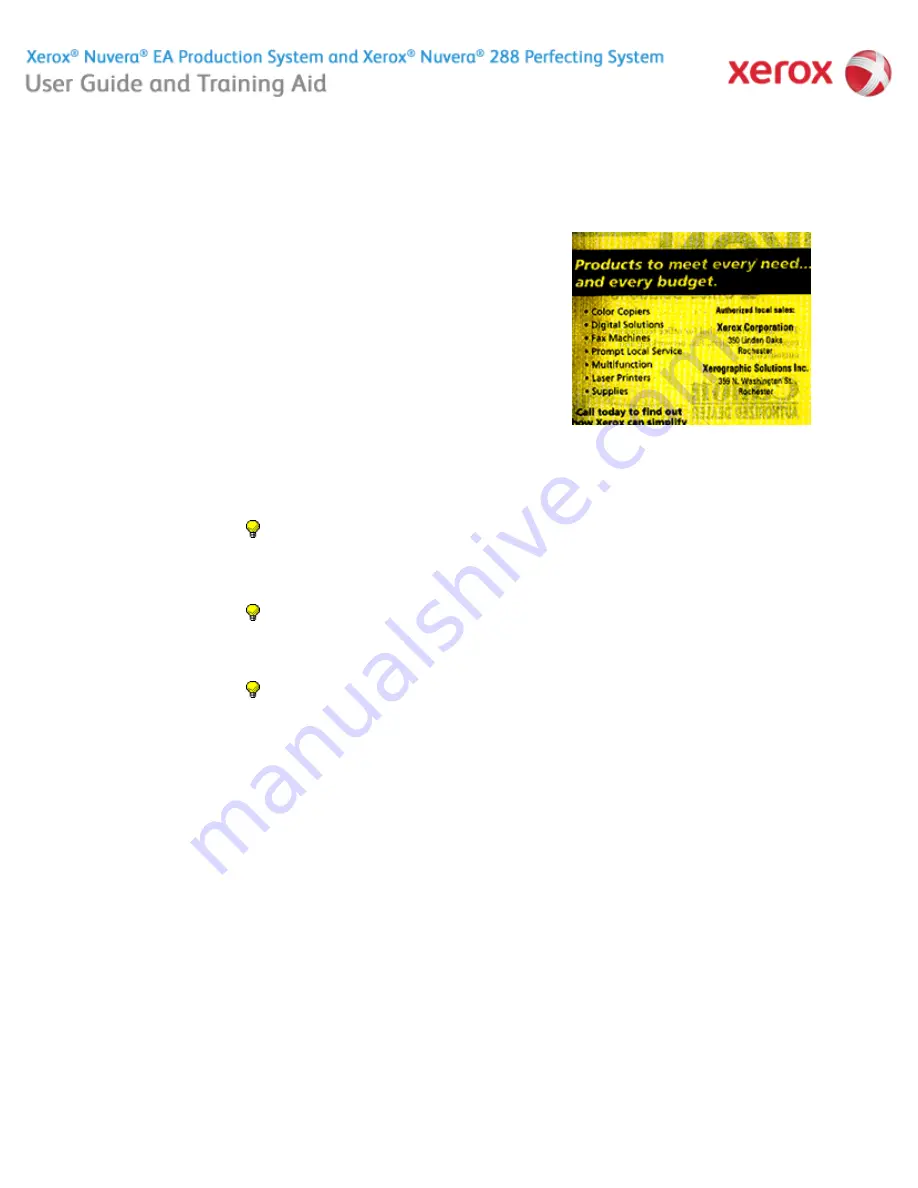
When scanning translucent originals, sometimes the image on
the back side of the page is detected, resulting in a scan of the
image on the other side of the sheet (see figure).
To correct image show through:
1. In the Xerox Nuvera user interface, click the
Copy
Services
button.
2. Click the
Image Quality
tab.
3. Click the
Image Adjustments
button. Verify that the
Background Suppression Strong
checkbox is enabled.
If it is not, click in the checkbox.
4. Click
<Copy>
to scan or copy your document.
Figure 1:
Example of Show Through
Home
|
Resources
|
Search
|
Index
|
How Do I?
|
System Tour
|
|
Maintenance
Problem Solving
TIP:
While this selection is not recommended for
documents with pictures, select the
Image Quality
tab
and click on
Original Type
, then click
[Text]
if you are
scanning an image from a two-sided page. The scanner
will not attempt to interpret and scan the image that
shows through from the second side.
TIP:
When scanning a two-sided original, to reduce or
eliminate image show through, place a piece of dark
(preferably black) paper behind the original document
before scanning. You can also leave the platen glass
cover open when scanning.
TIP:
If you have programmed and run a job, and
received unexpected results, ensure that the system-
wide settings are all set back to their defaults by clicking
<
Clear All
> or <
Reset
> in the user interface. Then
proceed to do job programming pertinent to your job.
About this Site
253 of 256


