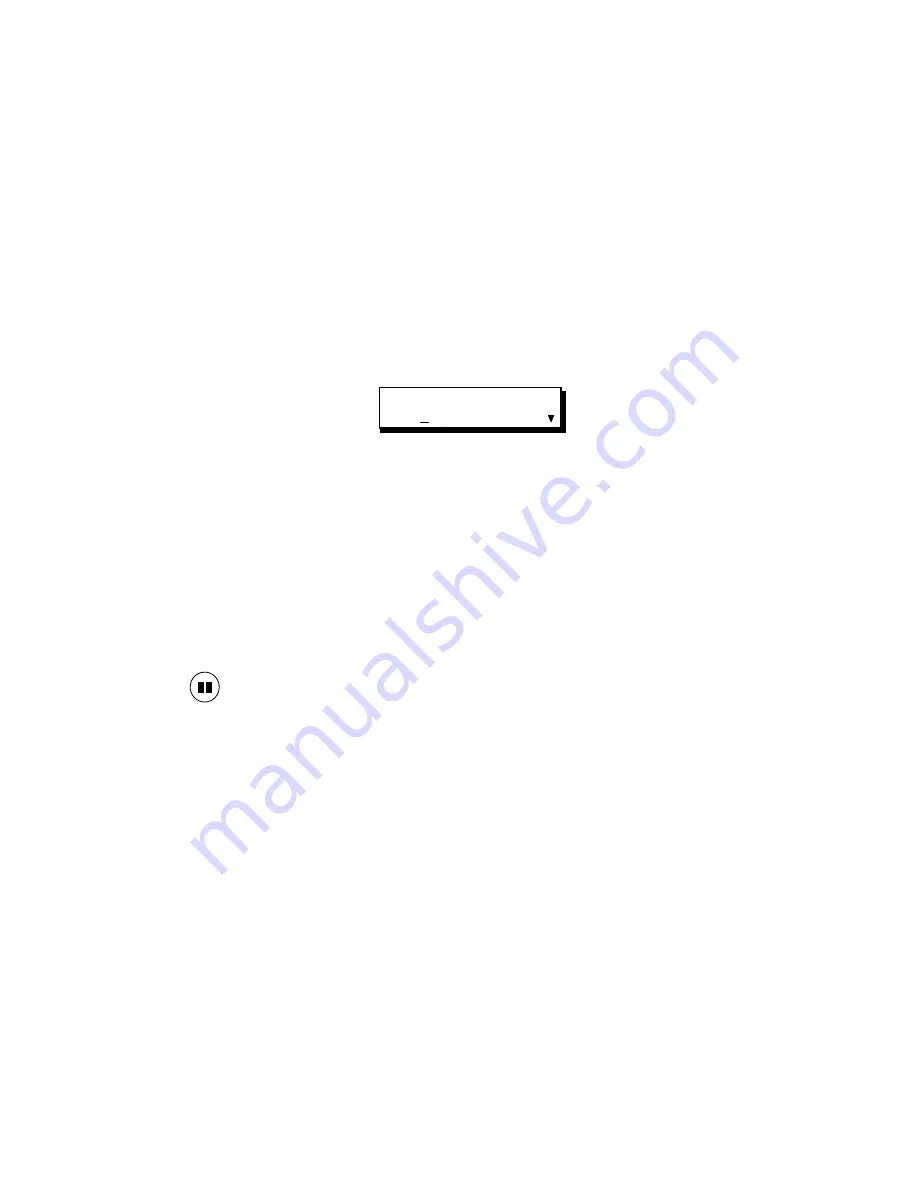
- moving the cursor to CONFIG and pressing [OK]
- moving the cursor to VCRR and pressing [OK].
H. Refer to the IR Table in Appendix A to determine the VCR table numbers
that work with your brand of VCR. If your brand of VCR is not listed in
the table or if you have already tried the VCR table numbers that are listed
for your brand, skip to Step M.
I. Use your VCR's control panel or remote control to put your record VCR
into Record.
J. Move to the VCR field, press [CHG] to activate the numeric keys, then
enter one of the three-digit VCR numbers from Step H.
PROTO=IR CMD=PAUSE
VCR=001 PREROLL=05
K.
IMPORTANT
: Do this step even if the CMD field is already set correctly.
Edit Suite needs to build the commands for you to test, and it will not do
this until the value in the CMD field is changed, you press [SETUP], or
you do the procedure in Step M.
Move to the CMD field and press [CHG] enough times to display the
command used to put your VCR into Record from Record Pause. (This is
the command you determined in Step F.)
L. Make sure the recorder is still in Record, then press Edit Suite's PAUSE—
—transport key. This will send a command to the VCR telling it to
change to Record Pause.
• If the VCR goes into Record Pause, then the table number is correct
and your VCRR configuration is complete. Move to Step 7.
• If the VCR does not go into Record Pause, repeat Steps J, K, and L for
the other VCR codes you determined in Step H.
• If you have tried all the codes you determined in Step H, continue with
Step M.
M. If none of the VCR codes listed in Appendix A worked for your VCR, use
the automatic IR test feature of Edit Suite.
• Change the VCR number to 001, set the CMD field to the correct
command value, and ensure your VCR is still in Record.
• Test Table 001 by pressing Edit Suite's PAUSE transport key. If the
VCR goes into Record Pause, table 001 is the correct table. Skip to Step
7.
Содержание AB-1 Edit Suite
Страница 3: ......
Страница 128: ......
Страница 134: ...Appendix D Edit Control Chart...
Страница 143: ......


