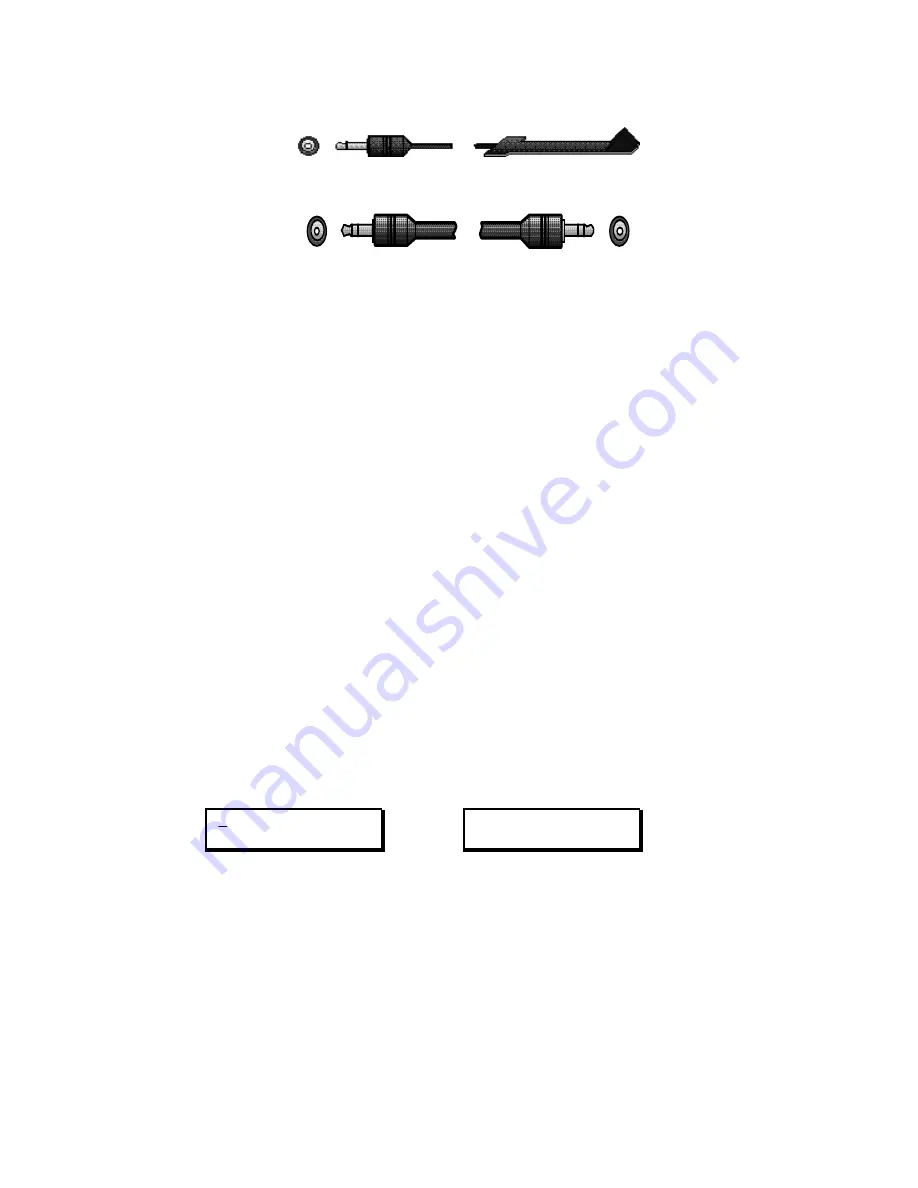
Edit Suite to RS-232/422 (DB-9)
Edit Suite IR to Infrared Wand (mounted near VCR's IR window)
Edit Suite GPI-M/GPI-T to Mixer/Switcher/Titler GPI
2. Set Up and Test VCRs/Mixer/Titler Without Edit Suite
• Edit Suite will be an add-in to your existing video editing setup, so if you
have a mixer or switcher, set up your equipment (VCRs, camcorders,
titlers and monitors) as described in your mixer/switcher manual.
• If you do not have a mixer, connect the audio and video outputs from
your play VCR/camcorder to the corresponding inputs on your record
VCR (via a titler, if applicable). Connect the audio and video outputs from
the record VCR to the inputs on your monitor. Make sure both the
monitor and the VCR are set to receive audio and video inputs.
• Verify that your sources display, play and record as expected. If you have
any problems, refer to Appendix C, Equipment Hookup.
3. Connect Power to Edit Suite
• Connect the Edit Suite power supply to the POWER input jack (back panel
of Edit Suite) and plug the power supply into a working power outlet.
Edit Suite will turn on, run through its startup routine, and then display
either the New Menu or the Demo messages (shown below).
The Demo is a scrolling list of Edit Suite's features. The list will play over
and over again, so move to Step 4 whenever you are ready.
MX1 A B C D SRC GPI
MIXER SPLT INS STOP
Videonics . . .
Edit Suite
New Menu
Demo: Scrolling Feature List
Note: If you have used Edit Suite previously and created any events, either the
Demo or the first event in your list will display.
Содержание AB-1 Edit Suite
Страница 3: ......
Страница 128: ......
Страница 134: ...Appendix D Edit Control Chart...
Страница 143: ......


