EUROBLOC
SERVICE MANUAL FOR HOIST
192/212
This document and the information contained herein, is the exclusive property of Verlinde S.A.S. and represents a non-public, confidential and proprietary trade secret that
may not be reproduced, disclosed to third parties, altered or otherwise employed in any manner whatsoever without the express written consent of Verlinde S.A.S.
Copyright © (2013) Verlinde S.A.S. All rights reserved.
06/2015
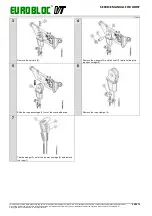
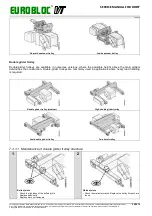
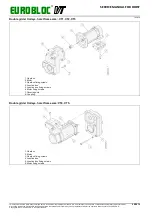
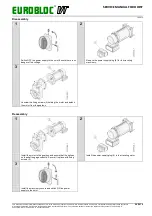
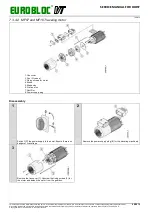
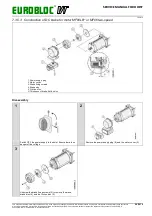
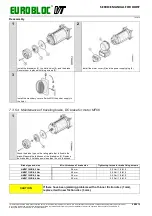
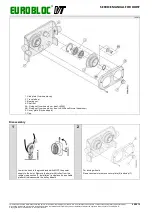
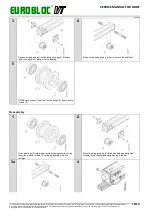
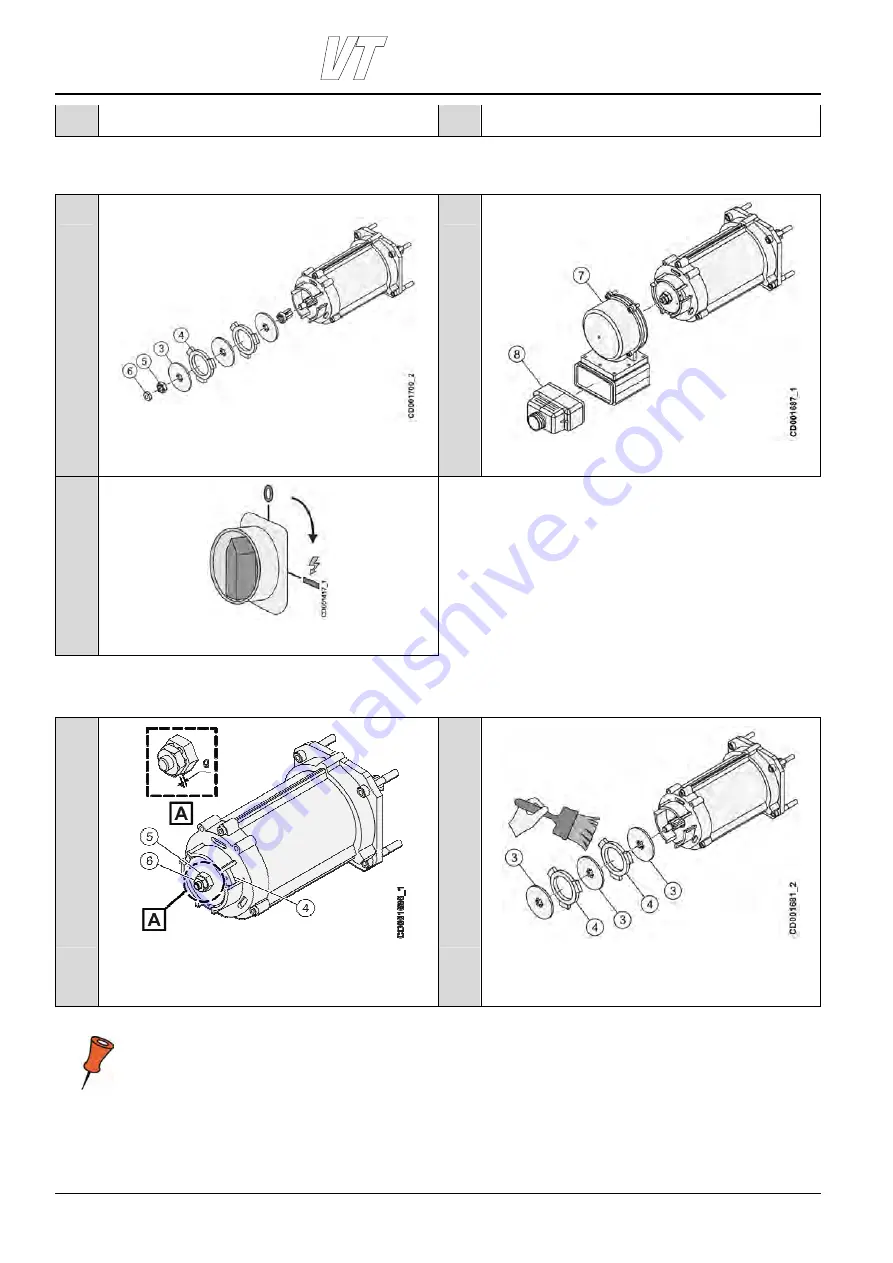
Open the motor cover (7).
Unscrew the adjustment nut (6) and extract the ring (5),
friction discs(3), and brake discs (4) and other brake parts.
Reassembly
1
2
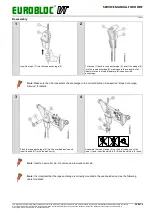
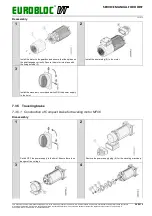
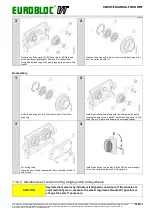
Install the brake parts, friction discs (3), and brake discs (4).
Place the ring (5) and screw in the adjustment nut (6).
Fasten the motor cover (7) and the power supply plug (8).
3
Install the machinery covers. Switch ON the power supply to
the hoist and check the proper functioning of the motor.
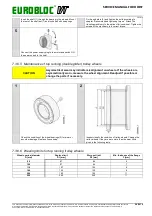
7.3.5.2 Maintenance of traveling brake, compact brake
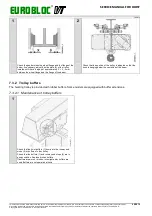
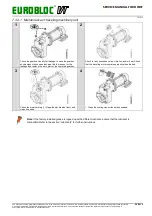
1
2
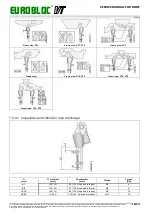
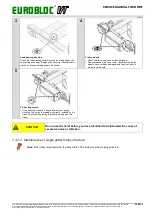
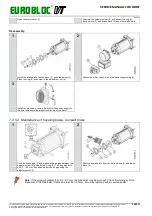
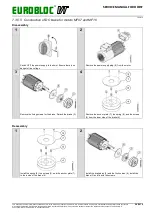
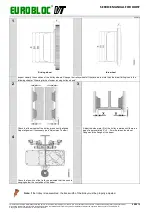
Push the brake disk (4) and measure the air gap between the
adjustment nut (6) and aluminum ring (5). The air gap has to
be 0.2 …0.3 mm. If needed, adjust the air gap using the
adjustment nut (6).
Remove dust and dirt from the friction discs (3) and brake
discs (4).
Note: If the air gap is greater than 0.2…0.3 mm, the brake disc may be worn out. Check the thickness of the
brake disc. If the brake disc thickness is less than 5.0 mm, it must be replaced with a new brake disc.

