EUROBLOC
SERVICE MANUAL FOR HOIST
150/212
This document and the information contained herein, is the exclusive property of Verlinde S.A.S. and represents a non-public, confidential and proprietary trade secret that
may not be reproduced, disclosed to third parties, altered or otherwise employed in any manner whatsoever without the express written consent of Verlinde S.A.S.
Copyright © (2013) Verlinde S.A.S. All rights reserved.
06/2015
5
6
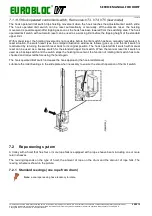
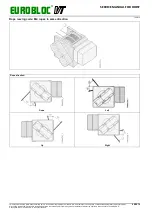
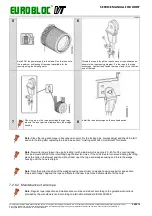
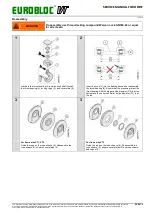
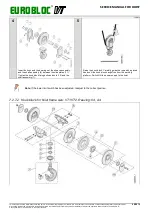
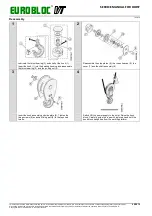
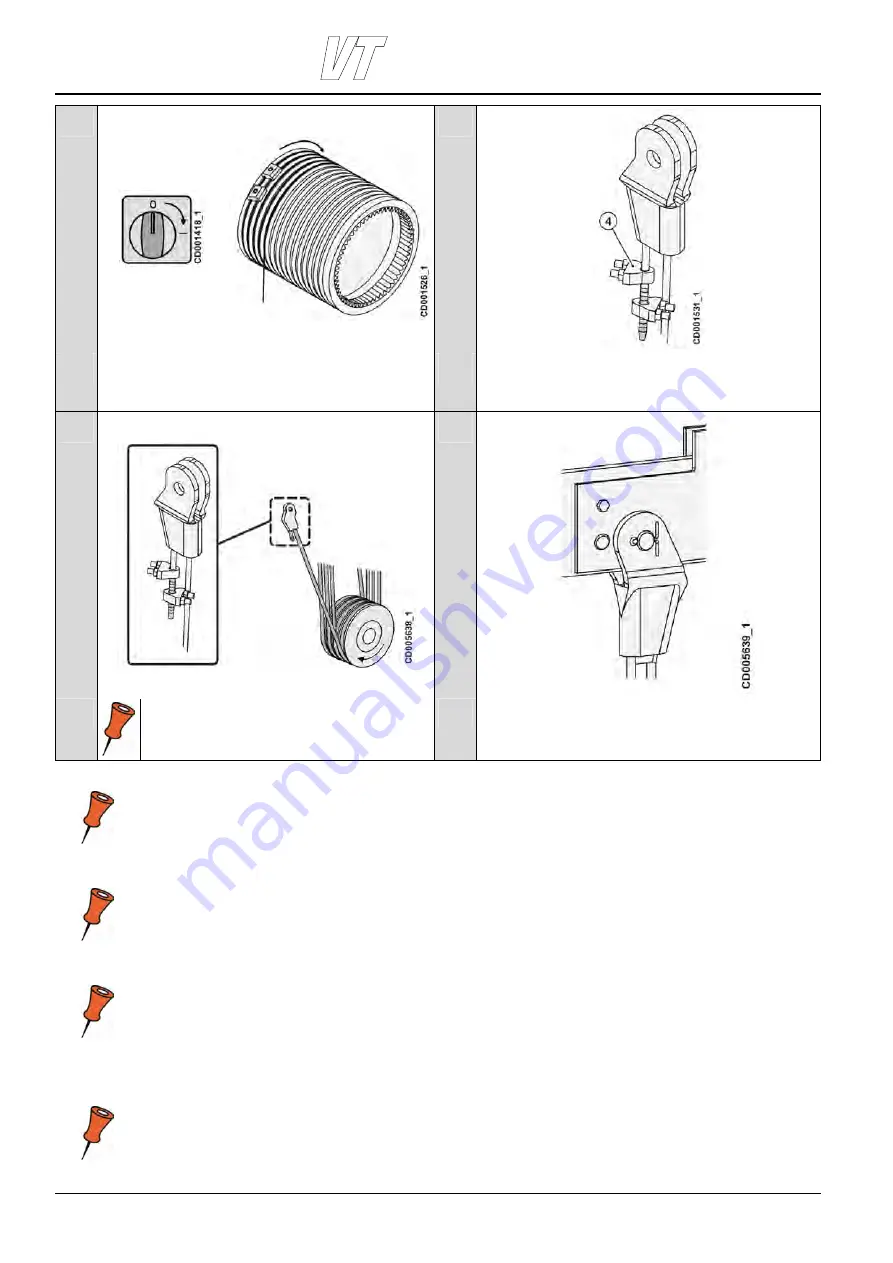
Switch ON the power supply to the crane. Run the rope onto
the rope drum until enough free rope is available for the
reeving, using the hoisting motor.
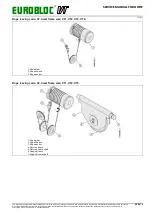
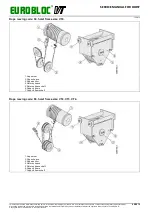
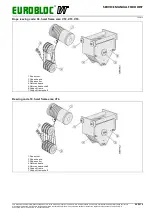
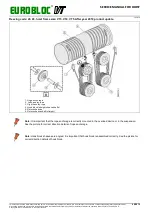
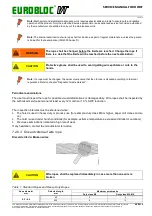
Thread the rope through the rope sheave or rope sheaves as
shown in the rope reeving diagram. Fix the rope in the rope
anchorage, tighten it and fasten the rope clamp (4) on the free
end of the rope.
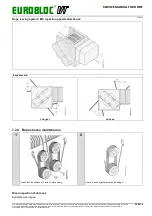
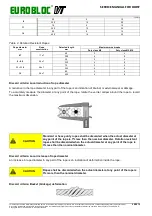
7
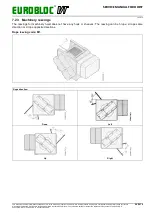
Place the rope in the rope anchorage the right way
around. The bent part must always be in the wedge
housing.
8
Install the rope anchorage on the overload device.
Note: Place the rope anchorage in its suspension point. Fix the locking pins. Always adjust and check the limit
switch for hoisting after replacing the rope. See section “Hoisting limit switch, Adjustment” for details.
Note: New wire rope is taken into use by testing it with a load, which is approx. 20 - 40% of the nominal load.
This load must be lifted to the total lifting height about ten times. If the hook tries to turn around during the lifting,
place the hook in the lowest position without load, open the rope end wedge housing and rotate the wedge
housing until the hook is straight.
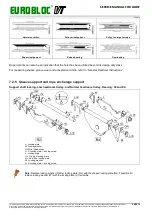
Note: Note the correct position of the wedge housing (see sticker on wedge housing support or see section
“Rope anchorage”).Append the rope certificate for the new rope to the documentation for the hoist.
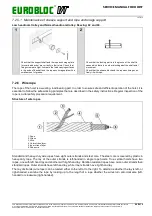
7.2.6.2 Maintenance of wire rope
Note: Regular rope inspection and maintenance must be carried out according to the guideline instructions
provided by the manufacturer and according to international standard ISO 4309:2009.

