EUROBLOC
SERVICE MANUAL FOR HOIST
67/212
This document and the information contained herein, is the exclusive property of Verlinde S.A.S. and represents a non-public, confidential and proprietary trade secret that
may not be reproduced, disclosed to third parties, altered or otherwise employed in any manner whatsoever without the express written consent of Verlinde S.A.S.
Copyright © (2013) Verlinde S.A.S. All rights reserved.
06/2015
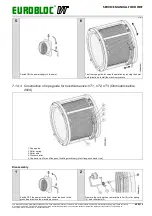
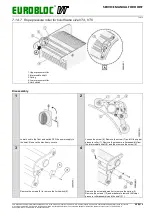
Reassembly
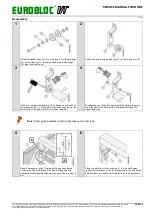
1
2
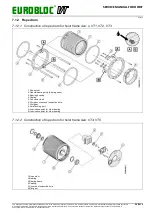
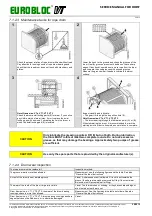
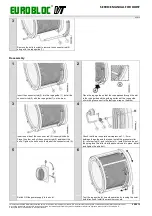
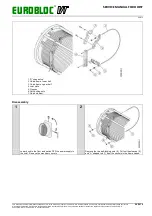
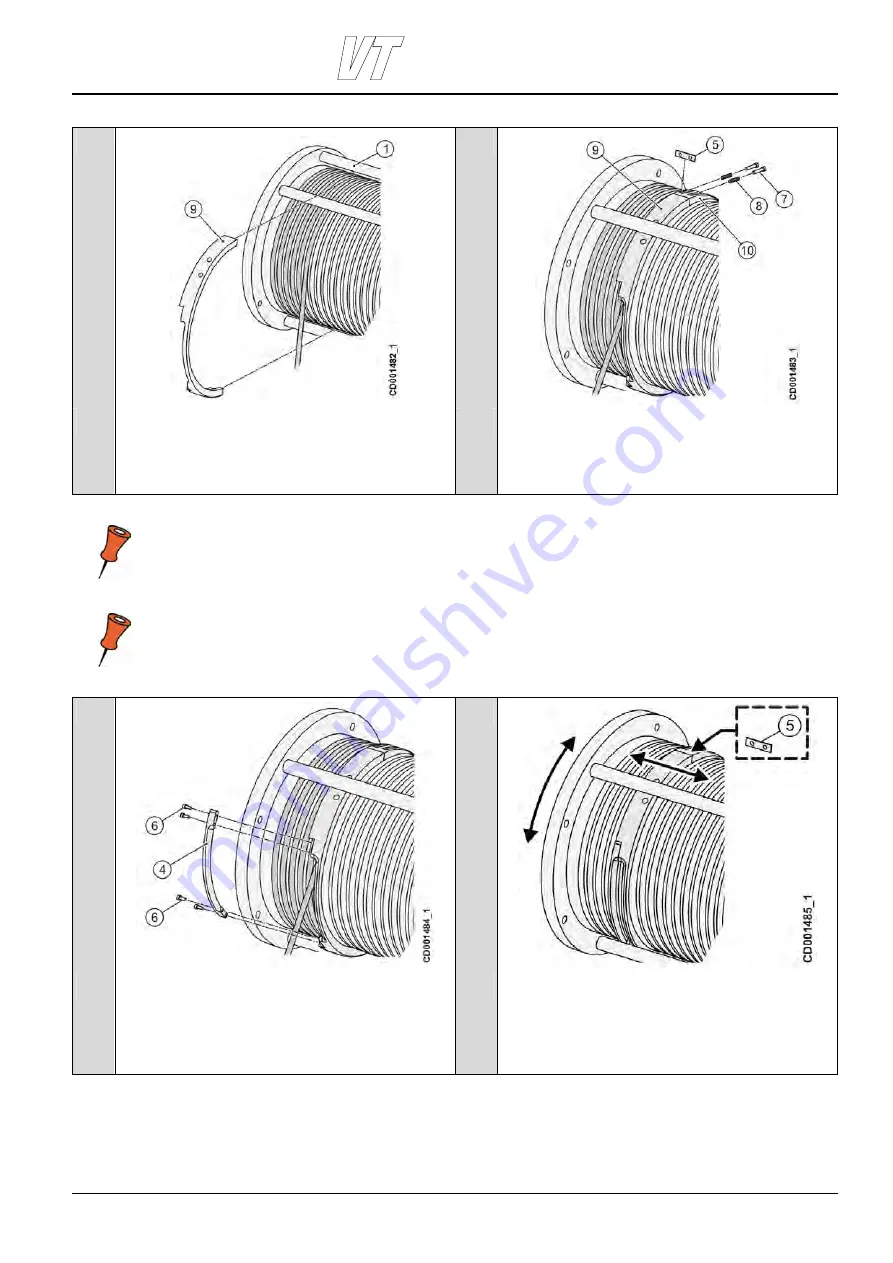
Dismount one intermediate shaft (1) and place the front half of
the rope guide (9) on rope drum so that the grooved side is
pointing away from the rope fixing clamps.
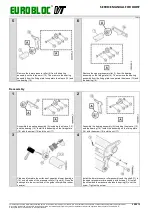
Place the rear half of the rope guide (10) on the rope drum so
that the fixing holes align and fix the rope guide halves (9),
(10) together with the screws (7) and springs (8). Make sure
that there are at least 2.5 mm of spacer plates (5) between the
rim halves at both ends. Tighten the screws until the springs
are compressed to a length of 15 mm.
Note: It is recommended to remove the shaft that is at the top corner, opposite to the side where the rope
leaves the drum.
Note: Position the rope guide so that the rope leaving from the drum comes through the slot at the front. The
rope must be in the middle of the guide to be correct.
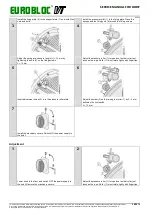
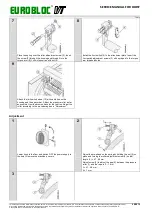
3
4
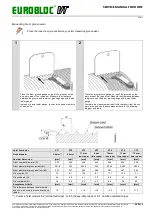
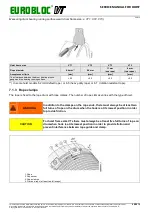
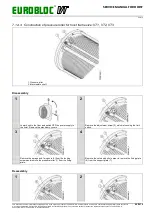
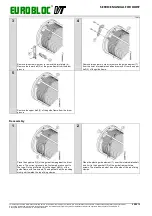
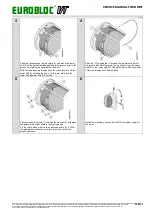
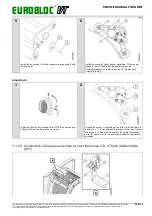
Install the rope exit gate (4) in place with four screws (6).
Tighten the screws.
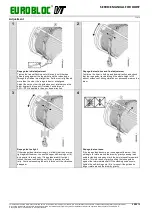
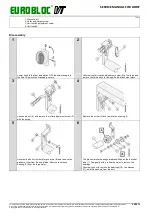
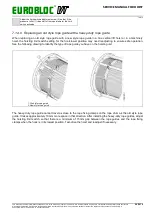
Test the tightness of the rope guide by grabbing it by hand
and rotating it around the rope drum and moving it back and
forth in the drum axial direction.
• The rope guide should slide without effort on the rope drum.
If the rope guide feels too tight on the drum (that is, no axial
movement), add or remove the spacers (5) between the rope
guide halves until proper tightness is achieved.

