61
Configuring System Information
EdgeSwitch
™
Administration Guide
Ubiquiti Networks, Inc.
Use the buttons to perform the following tasks:
• If you make changes to the page, click
Submit
to apply the changes to the running configuration.
• Click
Refresh
to refresh the page with the most current data from the switch.
To retain the changes across the switch’s next power cycle, click
System
>
Configuration Storage
>
Save
.
After configuring all email alert settings, click
Test
to send a test message to the configured address(es).
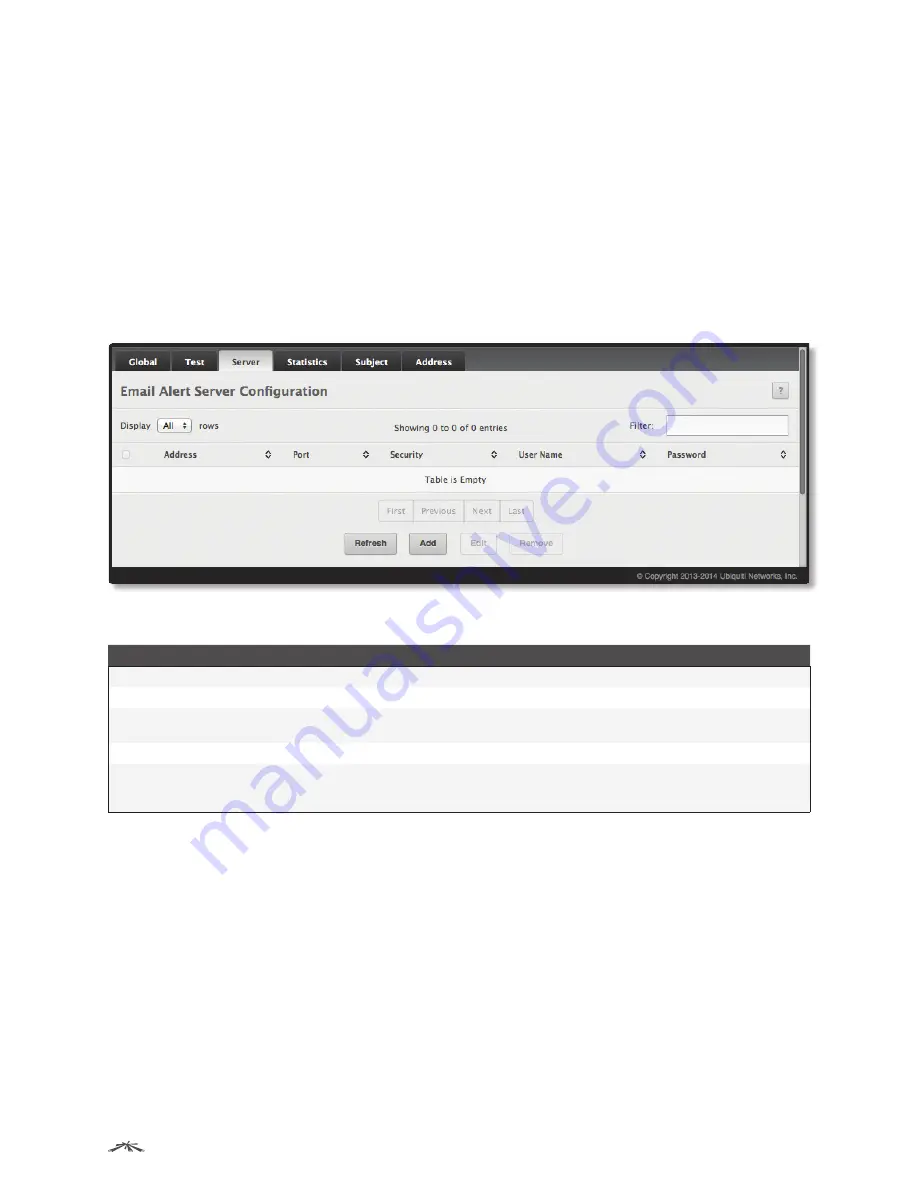
Email Alert Server Configuration
Use the
Email Alert Server Configuration
page to add, edit, and remove information about the network SMTP
(mail) server that handles email alerts sent from the switch.
To access the
Email Alert Server Configuration
page, click
System
>
Advanced Configuration
>
Email Alerts
>
Server
in the navigation menu.
Email Alert Server Configuration
Email Alert Server Configuration Fields
Field
Description
Address
The IPv4/IPv6 address or host name of the SMTP server that handles email alerts that the device sends.
Port
The TCP port that email alerts are sent to on the SMTP server.
Security
The type of authentication to use with the mail server, which can be
TLSv1
(SMTP over SSL) or
None
(no
authentication is required).
User Name
If the
Security
is
TLSv1
, this field specifies the user name required to access the mail server.
Password
If the
Security
is
TLSv1
, this field specifies the password associated with the configured user name for
mail server access. When adding or editing the server, you must retype the password to confirm that it
is entered correctly.
Use the buttons to perform the following tasks:
• To add an SMTP server, click
Add
, configure the desired settings, and click
Submit
to apply the changes.
• To edit the information for an existing SMTP server (except the
Host Name or IP Address
field), select the
check box next to the entry and click
Edit
. When finished editing, click
Submit
to apply the changes.
• To delete a configured SMTP server from the list, select the check box next to the entry to delete and click
Remove
.
• Click
Refresh
to refresh the page with the most current data from the switch.
To retain the changes across the switch’s next power cycle, click
System
>
Configuration Storage
>
Save
.


