


110
Configuring System Information
EdgeSwitch
™
Administration Guide
Ubiquiti Networks, Inc.
Configuring Time Ranges
You can use these pages to configure time ranges to use in time-based access control list (ACL) rules.
Time-based ACLs allow one or more rules within an ACL to be based on a periodic or absolute time. Each ACL
rule within an ACL except for the implicit
deny all
rule can be configured to be active and operational only
during a specific time period. The time range pages allow you to define specific times of the day and week in
order to implement time-based ACLs. The time range is identified by a name and can then be referenced by
an ACL rule defined with in an ACL.
Time Range Configuration
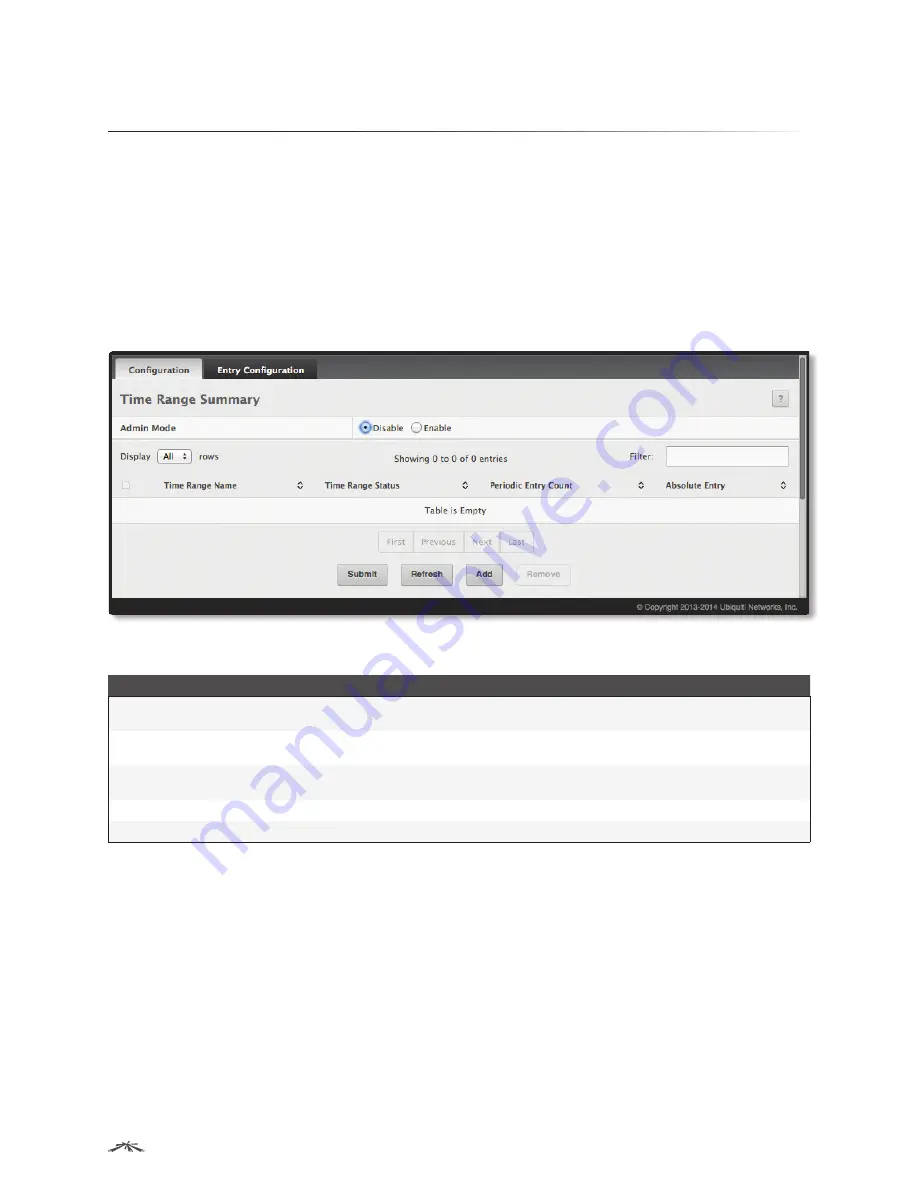
Use the
Time Range Summary
page to create a named time range. Each time range can consist of one
absolute time entry and/or one or more periodic time entries.
To access this page, click
System
>
Advanced Configuration
>
Time Range
>
Configuration
.
Time Range Summary
Time Range Summary Fields
Field
Description
Admin Mode
Used to
Enable
or
Disable
the Time Range administrative mode. When enabled, actions with
subscribed components are performed for existing time range entries.
Time Range Name
The unique ID or name that identifies this time range. A time-based ACL rule can reference the name
configured in this field.
Time Range Status
Shows whether the time range is
Active
or
Inactive
. A time range is
Inactive
if the current day and time
do not fall within any time range entries configured for the time range.
Periodic Entry Count
The number of periodic time range entries currently configured for the time range.
Absolute Entry
Shows whether an absolute time entry is currently configured for the time range.
Use the buttons to perform the following tasks:
• To add a time range, click
Add
, enter a name for the time range configuration, and click
Submit
to create
the time range.
• To delete a configured time range, select each entry to delete, click
Remove
, and confirm the action.
• If you change the
Admin Mode
setting on this page, click
Submit
to apply the change.
• Click
Refresh
to update the information on the screen.
To retain the changes across the switch’s next power cycle, click
System
>
Configuration Storage
>
Save
.


