


189
Configuring Routing
EdgeSwitch
™
Administration Guide
Ubiquiti Networks, Inc.
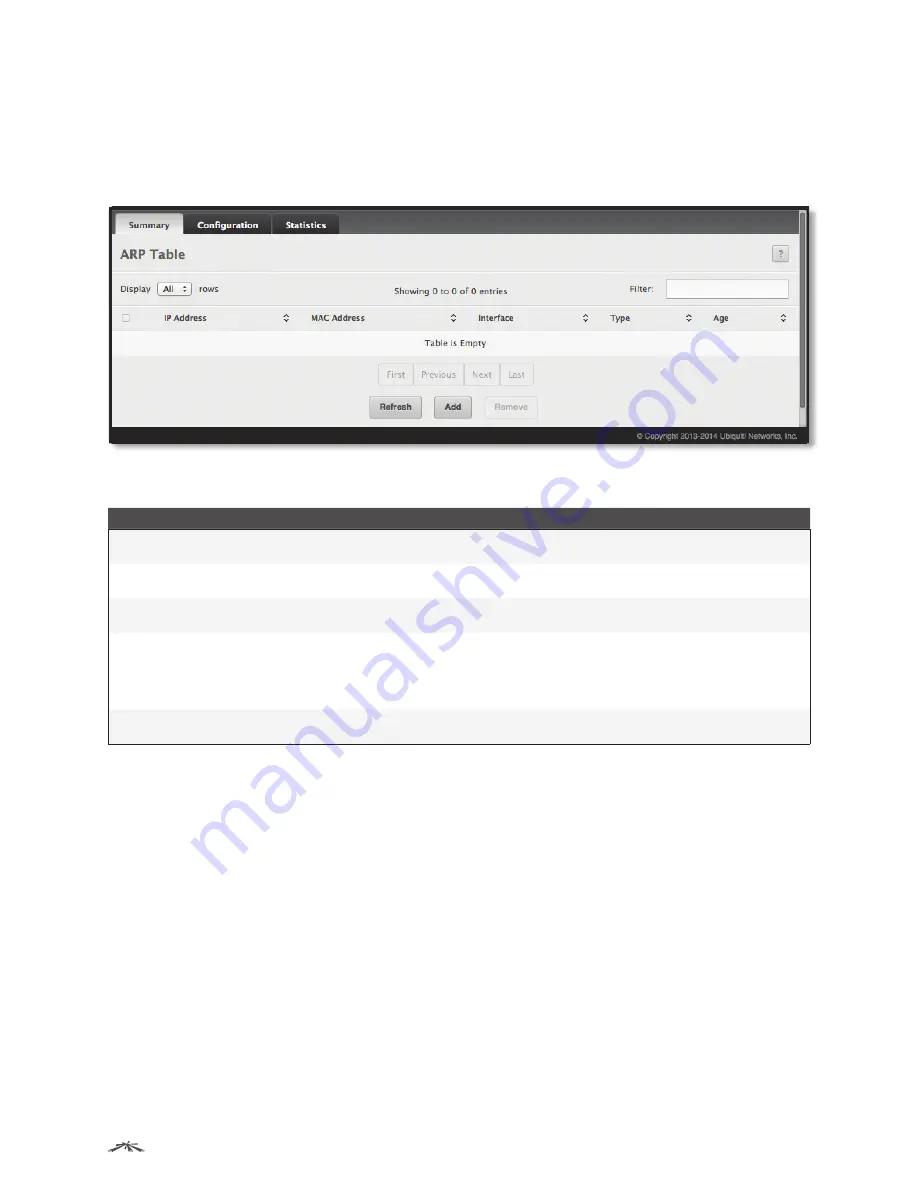
ARP Table
Use the
ARP Table
page to add an entry to the Address Resolution Protocol table.
To display the page, click
Routing
>
ARP Table
>
Summary
in the navigation menu. The
ARP Table
is
displayed at the bottom of the page, and contains the fields in the table below.
ARP Table
ARP Table Fields
Field
Description
IP Address
The IP address of a network host on a subnet attached to one of the device’s routing interfaces. When
adding a static ARP entry, specify the IP address for the entry after you click
Add
.
MAC Address
The unicast MAC address (hardware address) associated with the network host. When adding a static
ARP entry, specify the MAC address to associate with the IP address in the entry.
Interface
The routing interface associated with the ARP entry. The network host is associated with the device
through this interface.
Type
The ARP entry type:
•
Dynamic
An ARP entry that has been learned by the router
•
Gateway
A dynamic ARP entry that has the IP address of a routing interface
•
Local
An ARP entry associated with the MAC address of a routing interface on the device
•
Static
An ARP entry configured by the user
Age
The age of the entry since it was last learned or refreshed. This value is specified for
Dynamic
or
Gateway
entry types only (it is left blank for all other entry types).
Use the buttons to perform the following tasks:
• To add a static ARP entry, click
Add
. In the
Add Static ARP Entry
dialog box, configure the information for
the new ARP entry, and click
Submit
to apply the changes and save the entry to the ARP table.
• To delete one or more ARP entries, select each entry to delete and click
Remove
. Note that ARP entries
designated as
Local
cannot be removed.
• Click Refresh to update the information on the screen with the most current data.
To retain the changes across the switch’s next power cycle, click
System
>
Configuration Storage
>
Save
.


