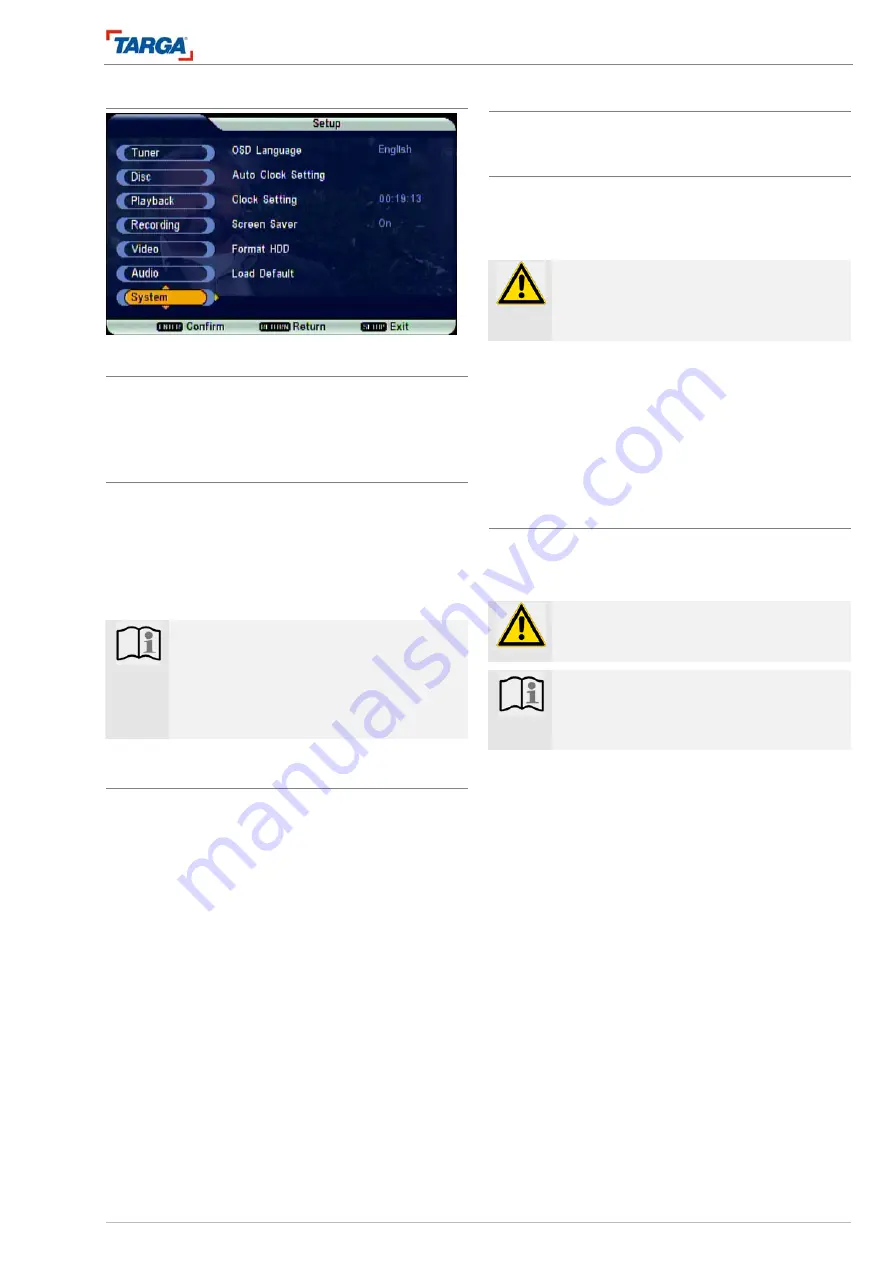
Setup menu
System menu
DRH-5700x
29
System menu
OSD
language
Menu language
Select a language for the Setup menu and the screen
menus.
Setting the time automatically
The current date and time are set automatically once
the automatic channel search is complete.
1. Select the option [Auto Clock Setting] and press
ENTER.
2. The time is set automatically and the new system
time is displayed.
Note
The TV channel may not transmit a date or
the date and/or time transmitted may be in-
correct. The recorder will then display the in-
correct time.
In this case, the time must be set manually.
Setting the time manually
1. Select the option [Clock Setting] and press EN-
TER.
2. Enter the date and time.
W
/
X
: move the cursor to the previous or next col-
umn.
S
/
T
: change the setting at the current cursor posi-
tion.
3. Press ENTER to confirm.
Screen saver
Activate or deactivate the screen saver.
Format HDD
This function formats the hard disk drive (HDD). All
data, such as saved TV recordings, DVDs copied to
the HDD and data copied to the jukebox (video, pho-
tos, audio data) is deleted.
WARNING!
Data cannot be recovered once deleted!
Make a backup DVD of all data copied onto
the hard disk before formatting.
1. Select the submenu [Format HDD] and then press
ENTER to confirm.
2. A warning message appears: press [OK] to con-
firm or select [Cancel] to exit the menu without
formatting the disk drive and then press ENTER.
3. If you pressed [OK] to confirm, the bar indicates
the progress of the formatting process.
Default settings
The recorder can be reset to original delivery status
(reset). All personal settings are reset to the default
values.
WARNING!
Connect your television to the recorder using
a scart cable before resetting!
Note
Resetting the recorder will delete the chan-
nel list and any settings you stored for re-
cording purposes.
1. Select the submenu [Load Default] and then press
ENTER to confirm.
2. A warning message appears: press [OK] to con-
firm or select [Cancel] to exit the menu without re-
setting the unit and then press ENTER.
3. If you pressed [OK] to confirm, the bar indicates
the progress of the resetting process.
4. The automatic installation assistant for initial setup
appears once resetting is complete, see page 21.


