217
Virtual Fence
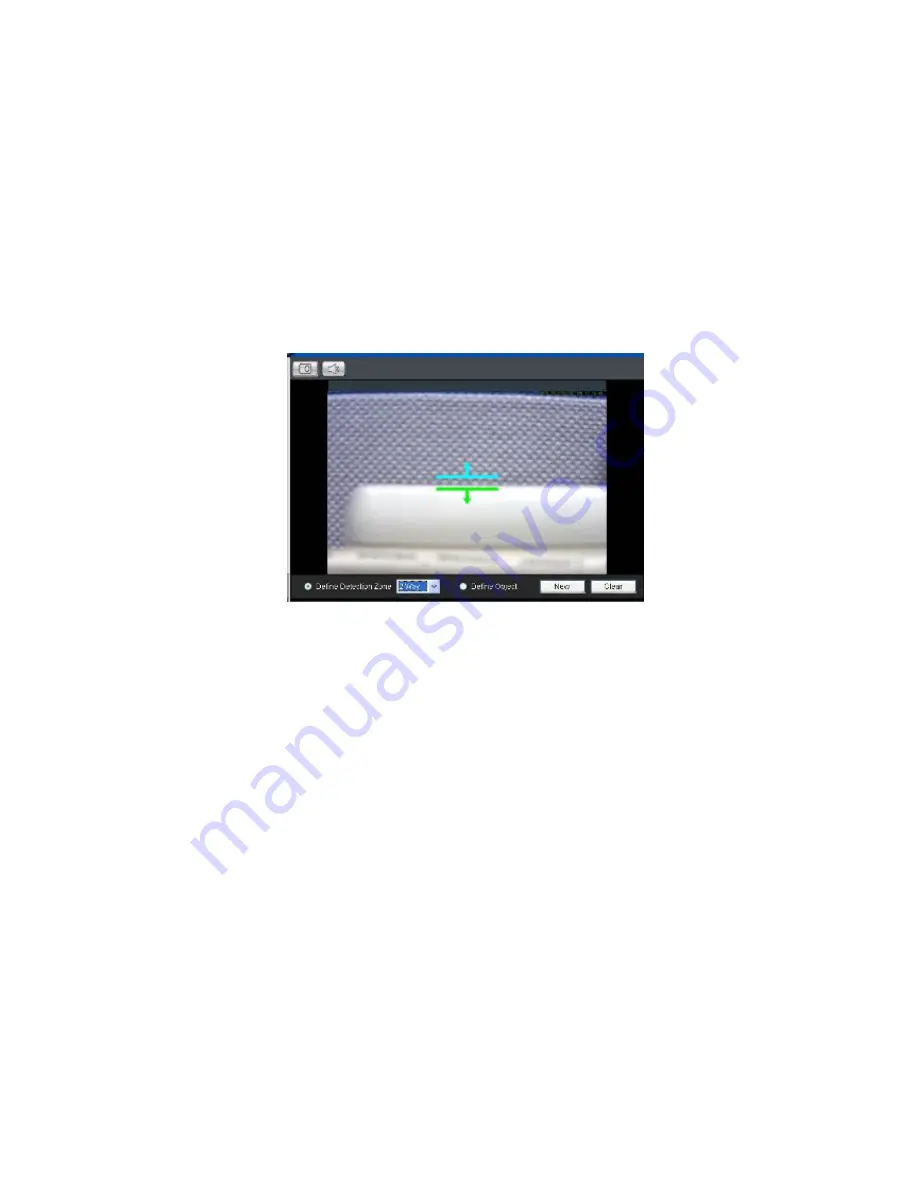
Virtual fence involves using the software to create a fence-crossing detection of
the demanding object. To configure:
1.
Select Virtual Fence from the Event Type dropdown.
2.
Select
Define Detection Zone
and click the
New
button to create a
new window. Up to 3 detection windows can be set for each camera.
The current window will be highlighted with a one/two-way arrow (blue
means “in”, green means “out”).
3.
Click and drag the white arrows along the window border around the
one/two-way arrow to resize the space between the fences/adjust the
length of the fences.
4.
Turn the window border with the orange arrow to change the directions
of the fences.
5.
Select
Define Object
and click the
New
button to create an object box.
6.
Click and drag the white dots along the window border to resize it and
define the minimum size of objects that will be detected.
7.
Adjust the sliders in the
Playback Control
section. (Settings will be
applied to all existing windows)
Sensitivity
–
Adjusts window sensitivity from 0 (low) to 100 (high).
Duration (Sec)
–
Adjusts how much time between each check for
the fence-crossing.
Содержание NVR2100 Series
Страница 1: ...NVR2100 Series User Manual Release 1 3 ...
Страница 62: ...62 The following windows will prompt for validation ...
Страница 67: ...67 5 Optional You may go to the VI setting panel by clicking Go to VI Settings ...
Страница 80: ...80 ...
Страница 269: ...269 Edit Device Allows you to edit the added I O box Delete Device Allows you to delete the added I O box ...
Страница 274: ...274 13 5 2 Functional Authority Functionalities can be authorized according to different user levels ...
Страница 285: ...285 6 When completed all storage subsystems within the IP address range will appear in the sidebar ...


