8.
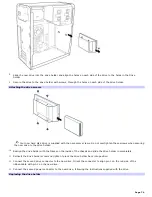
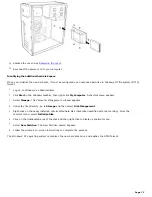
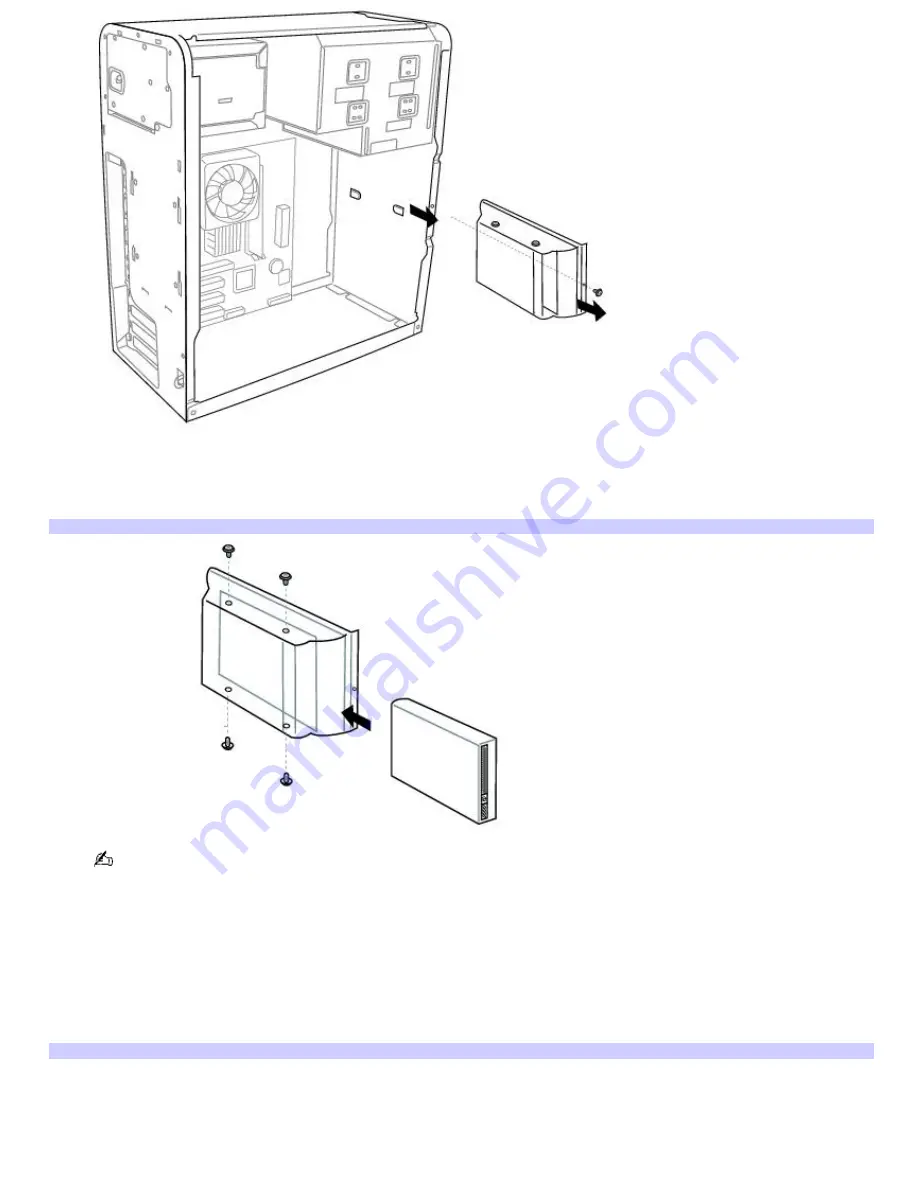
Slide the new drive into the drive holder and align the holes on each side of the drive to the holes in the Drive
holder.
9.
Secure the drive to the drive holder with screws, through the holes on each side of the drive holder.
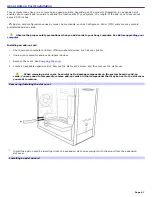
Attaching the driv e screws
Your new hard disk drive is supplied with the necessary screws. Do not overtighten these screws when securing
the new drive to the drive holder.
10.
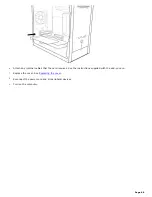
Realign the drive holder with the tracks on the inside of the chassis and slide the drive holder in completely.
11.
Reinsert the drive holder screw and tighten to lock the drive holder back into position.
12.
Connect the second drive connector to the new drive. Orient the connector to align pin 1 on the red side of the
ribbon cable with pin 1 on the new drive.
13.
Connect the second power connector to the new drive, following the instructions supplied with the drive.
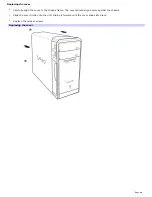
Replacing the driv e holder
Page 74
Содержание PCV-RS220 Online Help Center (User Guide)
Страница 22: ...5 Follow the on screen instructions to finish setting up your dial up connection Page 22 ...
Страница 72: ...2 From the Date Time tab change the settings as desired Click Apply then click OK Page 72 ...
Страница 80: ...3 In the Screen saver area open the drop down list box and select None Click Apply 4 Click OK Page 80 ...
Страница 99: ...4 Select the Tone or Pulse option Click OK Page 99 ...

