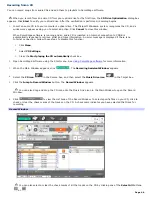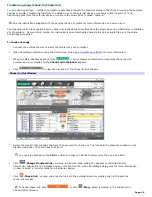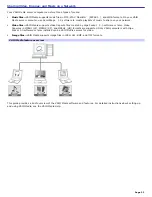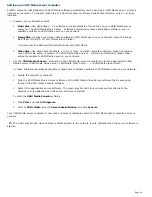
Setting up a VAIO Media client computer
Any networked VAIO
®
computer that shipped with the Microsoft
®
Windows
®
XP operating system installed, can be used as a
VAIO Media client computer. A VAIO Media client computer can view or listen to media content located on a VAIO Media
server computer.
To set up a VAIO Media client computer
If the client computer did not ship with VAIO Media software preinstalled, transfer and install a copy from the server
computer.
To transfer a copy of VAIO Media software to a client computer, follow these steps:
1.
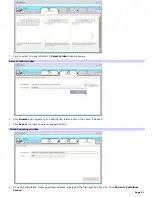
On the VAIO Media server computer, click
Start
, point to
All Programs
, point to
VAIO Media
, and then click
Install VAIO Media to other VAIO
.
The
Using other PCs
wizard starts.
2.
Click Get Installer.
3.
A file download message box appears. Click Save.
4.
Select a location to save the file
, VM20Inst.exe
.
5.
After saving the application, navigate through the network and locate the client computer.
6.
Save the file to the client computer.
You can copy the file to storage media that can be read by the client computer, such as a CD-R disc or Memory
Stick
®
media, for transfer and set up of the installer package to client computers.
The VM20Inst.exe file is 16MB in size. Verify the capacity of the storage media before attempting to save the
application.
When the VAIO Media software is installed on the client computer, register the client computer with the VAIO Media server
computer.
To register a VAIO Media client computer
Begin the registration process when the installer package is set up on the client computer.
1.
Add the file at the client computer and run the
VM20Inst.exe
file.
2.
Restart the client machine when the file is loaded. VAIO Media software appears in the
Start
menu.
3.
Click Start on the Windows taskbar, point to VAIO Media, point to Register to Servers, and then click Start.
4.
At the server, perform the following steps:
1.
Click Start on the Windows taskbar, point to VAIO Media, point to Console, Click Register devices.
2.
Click to select the client to be added from the list of recognized devices.
5.
To register a client to a server, perform the following steps:
1.
Go to Access Control Settings.
2.
Click to select Access this computer from other devices connected to the network.
6.
Click Register. Both server and client machines should be active during this process.
Stand by status is automatically canceled 5 minutes after clicking
Start
.
7.
At the server, accept the new client.
As the server and client recognize each other, the server generates a 4-digit number for the client. Type this
Page 55
Содержание PCV-RS220 Online Help Center (User Guide)
Страница 22: ...5 Follow the on screen instructions to finish setting up your dial up connection Page 22 ...
Страница 72: ...2 From the Date Time tab change the settings as desired Click Apply then click OK Page 72 ...
Страница 80: ...3 In the Screen saver area open the drop down list box and select None Click Apply 4 Click OK Page 80 ...
Страница 99: ...4 Select the Tone or Pulse option Click OK Page 99 ...

