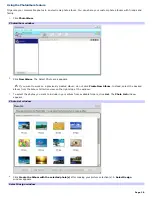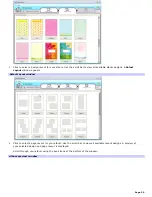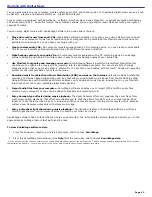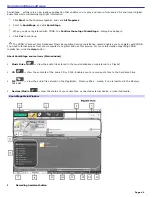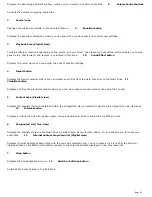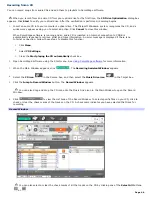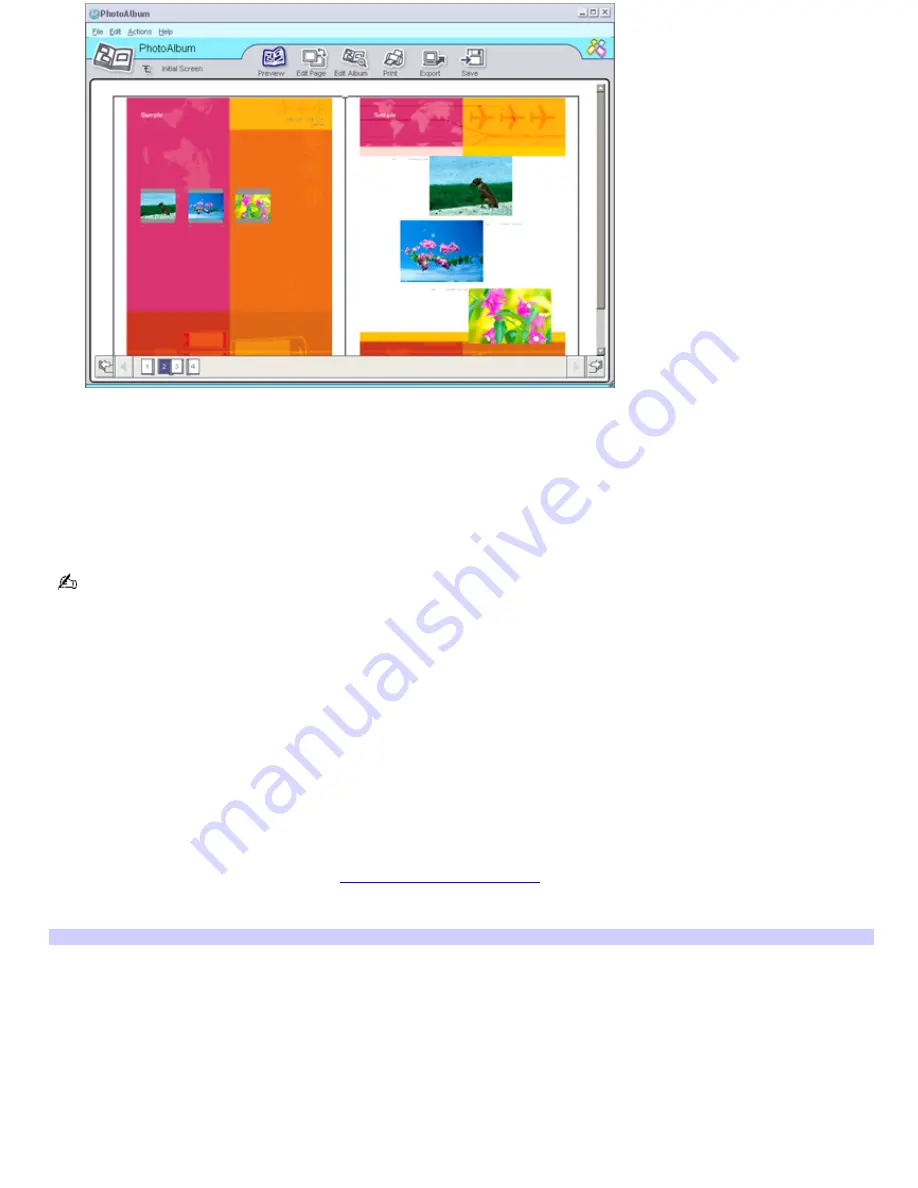
7.
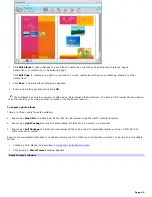
Click
Edit Album
to make changes to your album. Customize your album by adding more pictures, pages,
decorations, or comments, or by deleting pages.
Click
Edit Page
to customize a page in your album. You can customize with your own drawing, stamps or other
decorations.
8.
Click
Save
. The Save Album dialog box appears.
9.
Enter a name for your album and click
OK
.
Photo albums can only be viewed or edited using PictureGear Studio software. To share a PictureGear Studio creation
over the Internet or by using another computer, use the Export feature.
To export a photo album
There are three export formats available:
Export as a
Flash File
to create a small file that can be viewed using Microsoft
®
Internet Explorer.
Export as a
Light Package
to create a compressed file that can be viewed on a computer.
Export as a
Full Package
to create an uncompressed file to be saved to recordable media, such as a CD-R/CD-RW
or Memory Stick
®
media.
Export your completed photo album to enable viewing over the Internet, with another computer, or saving to a recordable
media.
1.
Create a photo album, as described in
Using the PhotoAlbum feature
.
2.
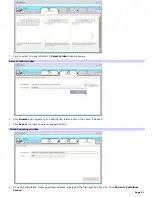
Click Export. A
Select Format
window appears.
Select Form at window
Page 40
Содержание PCV-RS220 Online Help Center (User Guide)
Страница 22: ...5 Follow the on screen instructions to finish setting up your dial up connection Page 22 ...
Страница 72: ...2 From the Date Time tab change the settings as desired Click Apply then click OK Page 72 ...
Страница 80: ...3 In the Screen saver area open the drop down list box and select None Click Apply 4 Click OK Page 80 ...
Страница 99: ...4 Select the Tone or Pulse option Click OK Page 99 ...

