38
Operations
-48 VDC Remote Power Manager
Installation and Operations Manual
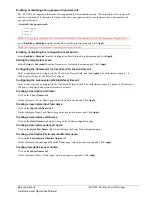
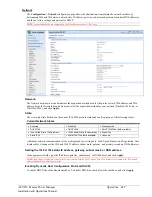
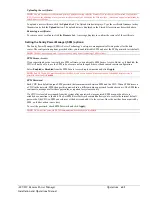
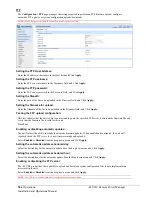
Setting the Fully-Qualified Domain Name (FQDN):
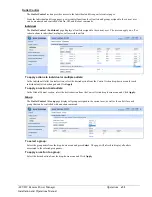
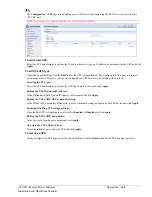
To enable the FQDN, check the Enable checkbox and accept the default name “sentry3-521384” (or type a different
name). To disable the FQDN, uncheck the checkbox. Click
Apply.
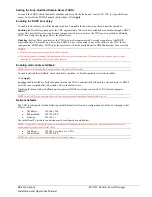
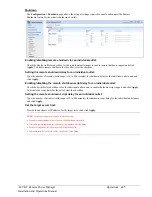
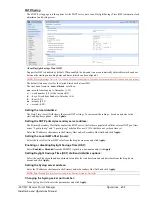
Enabling the DHCP boot delay:
To enable the boot delay, check the Enable checkbox. To disable the boot delay, uncheck (clear) the checkbox.
Enabling
the Boot Delay option gives the CDU approximately 100-seconds to establish a connection through a DHCP
server. This interval allows various network component activities to occur as the CDU powers up (such as obtaining
SNTP time stamps for logging). This is the default state.
Disabling
the Boot Delay option forces the CDU to boot after approximately 5-seconds regardless of the DHCP
acquisition state. This speeds up a boot when a DHCP server is connected to one of the outlets in the CDU. In this
configuration, SNMP traps, SNTP, and other protocols will not be available until a DHCP address has been resolved.
NOTES:
The Boot Delay option executes only when DHCP is enabled.
The firmware can detect network link integrity and will wait for network connection. This means that if the network is not currently
connected, the enabled Boot Delay option will be ignored.
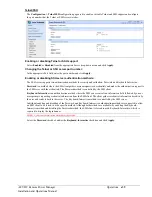
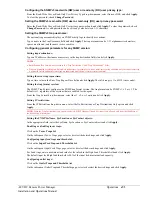
Enabling static address fallback:
NOTE:
The Static Address Fallback option executes only when DHCP is enabled.
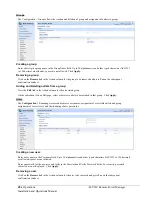
To enable static address fallback, check the Enable checkbox. To disable, uncheck (clear) the checkbox.
Click
Apply.
Enabling the Static Address Fallback option informs the CDU to automatically fall back to a static address if a DHCP
server does not respond after 100-seconds. This is the default state.
Disabling the Static Address Fallback option generates DHCP server requests until the CDU obtains a dynamic
address.
NOTE:
If the DHCP server boot time is excessive, you can need to disable the Static Address Fallback option.
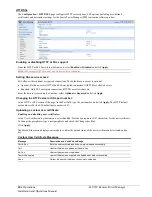
Network defaults
The CDU is configured with the following network defaults to allow unit configuration out-of-the-box through either
Telnet or Web:
IP address:
192.168.1.254
Subnet Mask:
255.255.255.0
Gateway:
192.168.1.1
The initial local PC network connection must be configured as noted below:
NOTE:
Contact your system administrator for instructions in reconfiguring the network connection. Reconfiguration of your network
connection may require a restart to take effect.
IP address:
192.168.1.x (where x is 2-253)
Subnet Mask:
255.255.255.0
NOTE:
The unit must be restarted after network configuration changes.


